Author:
Louise Ward
Date Of Creation:
8 February 2021
Update Date:
1 July 2024

Content
Normally, Excel can automatically detect the tab-delimited text (also known as tab delimited) and paste the data into the correct separate columns. If this doesn't work and everything you paste appears in only one column, either the Excel delimiter is set to another, or your text is using spaces instead of tabs. The Text to Columns tool in Excel can help you quickly choose the right separator and paste the data into the correct columns.
Steps
Copy (copy) all of the text separated by your tabs. Tab-delimited text is the type of format that saves data in cells as text files. Each cell is separated by a tab key, and each record is displayed on a separate line in the text file. Select all the text you want to copy in Excel and copy them to the clipboard.
Select the cell in Excel you want to paste. Select the top left cell in which you want your data to be pasted. Your data will fill the cells below and to the right of the selected cell.
Paste the data. In newer versions of Excel, and in cases where your data is properly delimited using the tab key, cells will usually be filled with exactly the desired data. Each seat separated by the tab key will be converted directly into a new data cell. If all your data appears in the same column, it is likely that the Excel separator has been changed from tab to another, such as a comma. You can change it back to a tab using the Text to Columns tool.
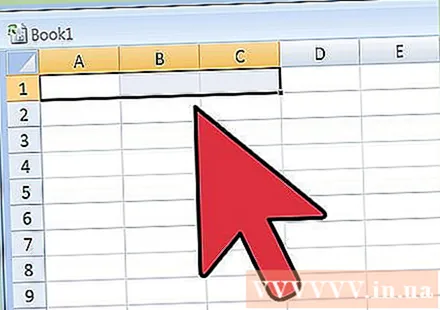
Select an entire column of data. If your tab-separated data is not pasted as expected, you can use Excel's Text to Columns tool to reformat it properly. To do this, you need to select an entire column containing all pasted data.- You can quickly select an entire column by clicking on the letter at the top.
- You can only use the Text to Columns tool for each column in turn.
Click the Data tab and then click "Text to Columns". You will find this feature in the Data Tools section of the Data tab.
- If you are using Office 2003, click on the Data tab and choose "Text to Columns".
Select "Delimited" and click "Next". This makes Excel understand that it is necessary to look for a specific sign to separate cells.
Select the data delimiter. If your data is tab-separated, check the "Tab" box and uncheck any other boxes. You can check multiple marks if the data is separated in a different way. In case your data is separated by multiple spaces instead of a tab key, check the boxes "Space" and "Treat consecutive delimiters as one" (consider multiple consecutive delimiters as one). Note that this can be problematic if there are spaces that are not intended for column division in your data.
Select the format of the first column. After selecting separators, you can set the data format for each column that is being created. You are allowed to choose "General", "Text", and "Date".
- Select "General" for numbers or both numbers and letters.
- Select "Text" for text-only data, such as names.
- Select "Date" for data written in standard date format.
Repeat steps for other columns. Select each column from the box at the bottom of the window and set the format. You can choose to not include the column when converted to text.
Complete the separation. After formatting the columns, click Finish to apply the new separator. The data will be separated into columns exactly like your Text to Column setting. advertisement


