Author:
Eugene Taylor
Date Of Creation:
13 August 2021
Update Date:
1 July 2024

Content
- To step
- Method 1 of 4: Deactivate your account (PC)
- Method 2 of 4: Deactivate your account (mobile)
- Method 3 of 4: Adjust your privacy settings (PC)
- Method 4 of 4: Adjust your privacy settings (mobile)
Facebook is a great way to connect with others, but for many people, it feels like their life is on the street with a Facebook account. There are several privacy options you can set to make your Facebook profile less visible. From the settings of Facebook you can control which people see your messages and you can hide your profile information. If you want to protect your profile completely, you can temporarily deactivate your account. All your data will then be saved, but will be invisible to everyone until you decide to reactivate your account.
To step
Method 1 of 4: Deactivate your account (PC)
 Deactivate your page if you want to hide it for a while. Deactivate your Facebook page if you think you will not be using Facebook for the time being. This action is not permanent, when you log in again your page will be restored. Your profile is completely protected until you do that.
 - If your page is deactivated, you will only be able to see content on Facebook that is set to "Public".
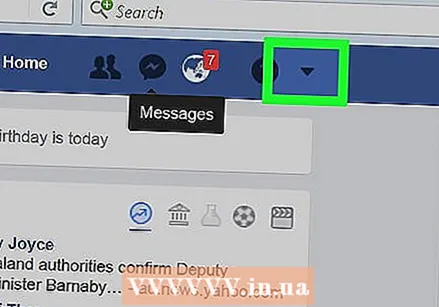
 Click the arrow in the top right corner of the page and select "Settings". Now the "Settings" window opens.
 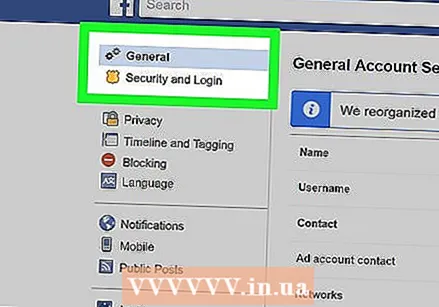 Click on the "General" option. Now the page with general account settings opens (it could be that the page "General" opened already when selecting Settings).
 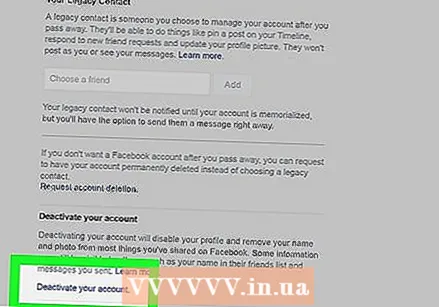 Click on "Edit" next to "Manage Account". The section is now expanded.
 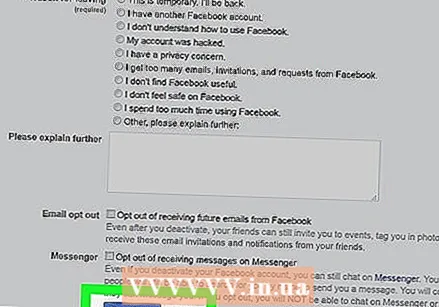 Click on the link "Deactivate your account" and follow the instructions. This will protect your account and you will be automatically logged out. Your account will remain hidden until you log in again. Your name will be removed from most things you've shared, but not all posts. Your data will be saved.
 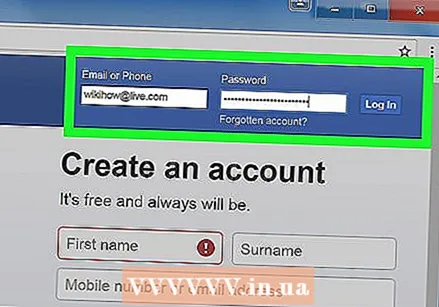 Log back in to recover your account. If you no longer want to protect your account, all you have to do is log in again with your username and password. All data from your account will then be restored and visible again.
Method 2 of 4: Deactivate your account (mobile)
 Open the Facebook mobile app. You can also deactivate your account from the mobile app. Your profile will then be protected and your account will be deactivated until you log in again.
  Tap the menu button (☰). You can find this button in the top right corner (Android), or in the bottom right corner (iOS).
  Select "Settings" and then "Account Settings". You will now be taken to the setup page of your account.
 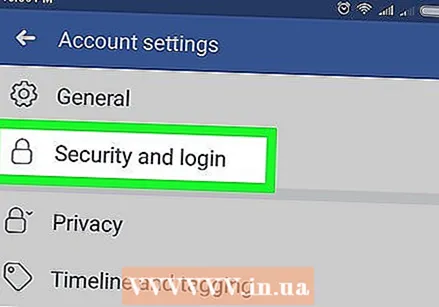 Tap "General" and then "Manage Account". You will now be taken to the management page of your account.
 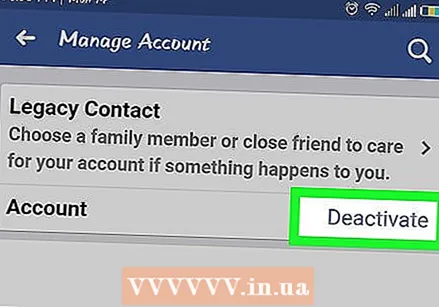 Tap the "Deactivate" link. Now you start the deactivation process.
 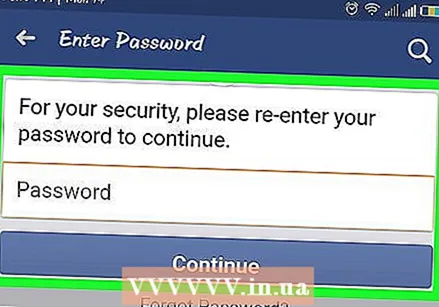 Enter your password. Before you can continue, you will be asked for your password.
 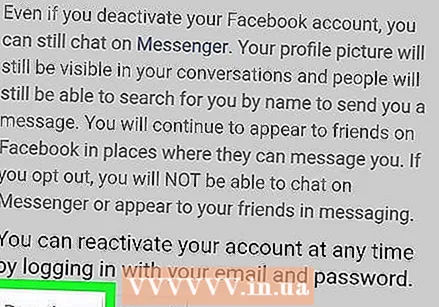 Tap the "Deactivate" button to confirm. At the bottom of the form is a button that says "Deactivate". You can indicate why you are deactivating your account, but that is optional.
 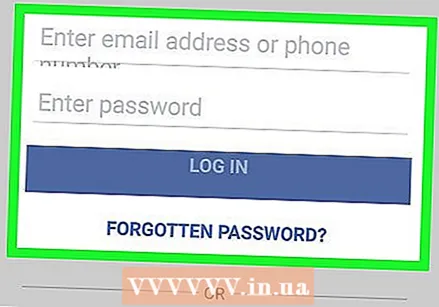 Log back in to recover your account. You can log back in at any time with your email address and password to recover your account.
Method 3 of 4: Adjust your privacy settings (PC)
 Log in to Facebook. You must first be logged in to adjust your privacy settings.
  Click the arrow in the top right corner of the window. The arrow looks like this: ▼.
 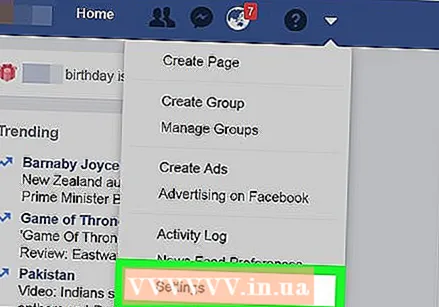 Select "Settings". Now your Facebook settings will open.
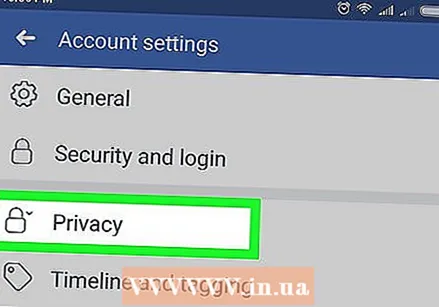
 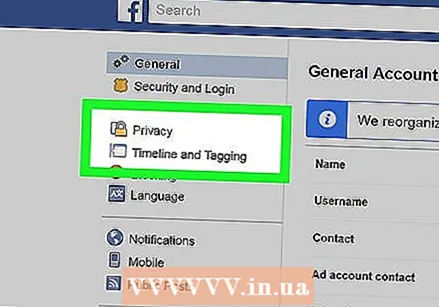 Click on the "Privacy" option in the left column. You will now see the privacy settings page.
 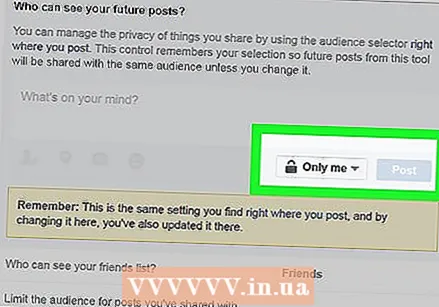 Hide your posts and tags. You can choose to hide your messages so that only you can see them, or you can only make them visible to a select group of friends.
 - Click "Edit" next to "Who can see your future posts?". This way you can indicate which people can see your messages.
- Select "Only me" to completely hide your messages. Now only you can read your messages, no one else. You can also choose from other groups such as "Specific Friends" or a custom list. Keep in mind that friends who can see your messages can share them with their friends again.
- Click on the "Limit Previous Posts" link. This option automatically changes your old messages to "Friends Only". This way you can limit who can see what you have posted in the past. If you want to change old messages to "Only me", you have to manually convert each message separately.
 Make sure that people cannot post anything on your timeline. You can decide who can post messages on your timeline. You can choose to only post messages yourself, or you can lock it completely and turn it off.
 - Click on the "Timeline and Tagging" option in the left column. Now you will get to the timeline settings page.
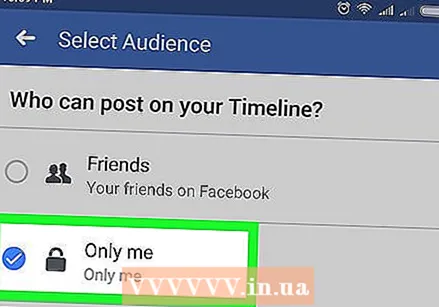
- Click "Edit" next to "Who can post to your timeline?". Here you can indicate who can post content on your personal timeline.
- Select "Only Me" to make your timeline completely private. This way, no one can post anything on your timeline. If you combine this with the previous steps to hide your posts, your timeline will be completely private.
- Click "Edit" next to "Who can see what others post on your timeline?". Here you can indicate who can see content that others post on your timeline.
- Select "Only me". This way, others cannot see what is posted on your timeline.
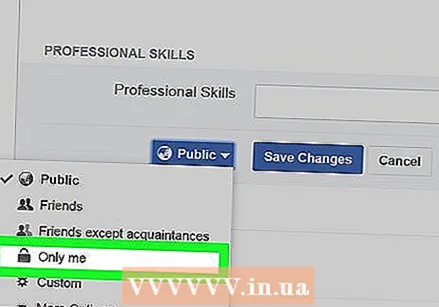 Protect your profile. Everything you have entered in your profile, such as your job, age, place of residence and other things have their own privacy setting. If you don't want others to see this information, make sure you've set "Only me" everywhere:
 - Click the Facebook button in the top left corner.
- Click "Edit profile" next to your profile name.
- Under "Options", click the "Edit" button.
- Click the "Audience" drop-down menu and select "Only Me" to hide that specific piece of information. Click on "Save Changes" and proceed to the next line.
Method 4 of 4: Adjust your privacy settings (mobile)
 Open the Facebook app. You can adjust all privacy settings from the Facebook app.
 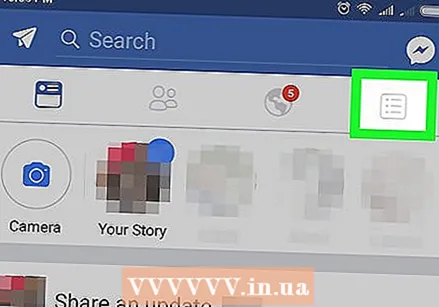 Tap the menu button (☰). You can find this button in the top right corner (Android), or in the bottom right corner (iOS).
 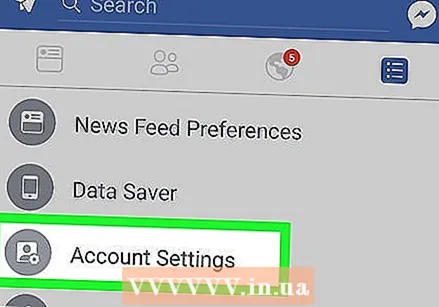 Select "Account Settings". You will now be taken to the setup page of your account.
 - On an iPhone, first select "Settings" and then "Account Settings".
 Tap "Privacy". You will now be taken to the privacy settings page.
 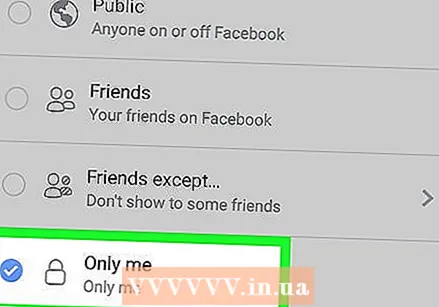 Hide your posts and tags. You can make the posts on your timeline visible only to you, essentially turning your timeline into a kind of private blog.
 - Tap "Who can see your future posts?"
- Select "Only Me" to hide future posts from others.
- Go back to the privacy menu and select "Limit the audience for posts you've shared with friends of friends or public?". Tap "Restrict Old Messages" and confirm. Now all your messages from the past are protected.
 Make sure that people cannot post anything on your timeline. You can decide who can post messages on your timeline.
 - Return to the "Account Settings" menu and select "Timeline and Tagging".
- Tap "Who can post to your timeline?" And select "Only me".
- Select "Who can see what others post on your timeline?" And select "Only me".
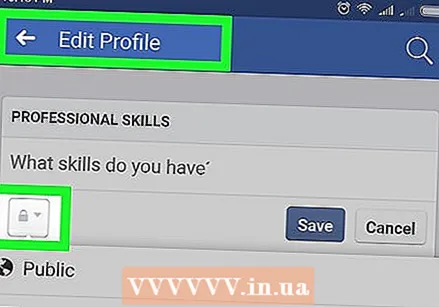 Protect your profile. Each item in your profile has its own privacy setting. Change each setting to "Only Me" to hide it from others.
 - Go back to the main Facebook screen and open your profile page.
- Tap "Add Details".
- Tap the pencil icon (edit) next to a piece of info.
- Click the "Audience" drop-down menu and select "Only Me".


