Author:
Louise Ward
Date Of Creation:
3 February 2021
Update Date:
1 July 2024

Content
This wikiHow teaches you how to add voting buttons to outgoing emails using Microsoft Outlook on PC.
Steps
Method 1 of 3: Create survey
Open Outlook. Click the> Start menu All Apps > Microsoft Office > Microsoft Outlook.
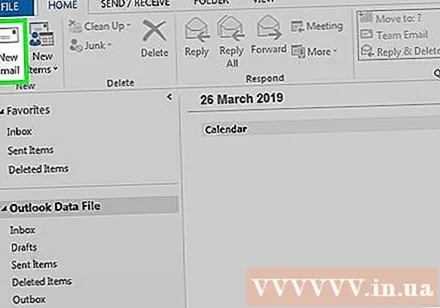
Click New Email (New email) in the upper left corner of Outlook. You can also add a button to send messages that you are forwarding.- To forward the message, click the email and select Forward (Forward).
Click the menu Options (Optional) at the top of the window on the left side.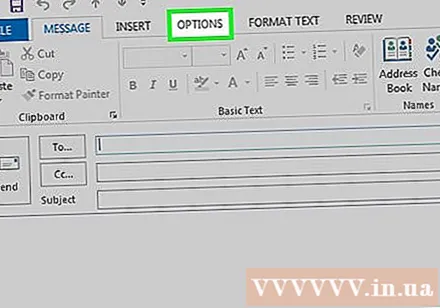
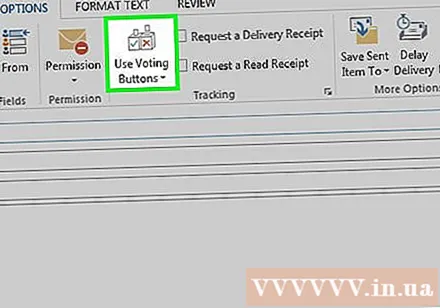
Click Use Voting Buttons (Use the voting button). A drop-down menu will appear.
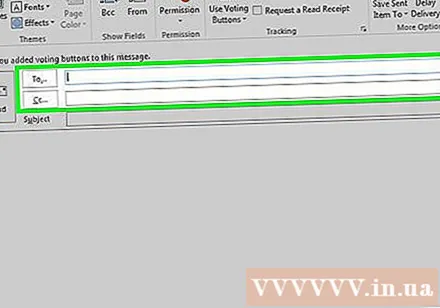
Select the voting button type. After you have made the selection, the message "You Have Added Voting Buttons to This Message" will appear. Here are the different options:
- Approve; Reject: Use when you need authorization for something.
- Yes; No: This is a great way to create a quick survey.
- Yes; No; Maybe: Add additional feedback to Yes / No surveys.
- Custom: Customize private survey options, such as date and time. If you choose this option, check the box next to the “Use voting buttons” line under “Voting and Tracking options”, creating text for button then click Close (Closed).
Enter the recipient you want to send. Enter one or more email addresses in the To: and CC: fields if necessary.
Add the subject and body of the message. Use the subject and content frames to describe the survey in detail.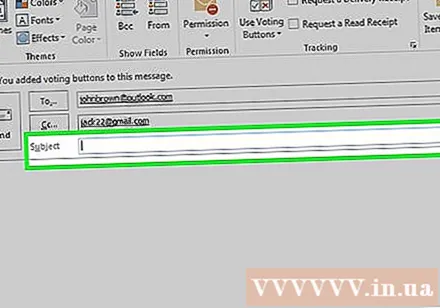
Click Send (Send) in the upper-left corner of the message.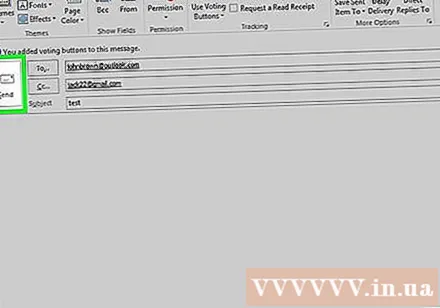
- When the message is sent to the recipient, they can click it Click here to vote (Click here to vote) to access the buttons, then do the voting. The response will be sent to your inbox.
- You can view all replies as a table. To do so, open one of the replies, click The sender responded (Replied by the sender) in the message subject, and select View voting responses (See voting responses).
Method 2 of 3: Voting a survey
Open Outlook. Click the> Start menu All Apps > Microsoft Office > Microsoft Outlook.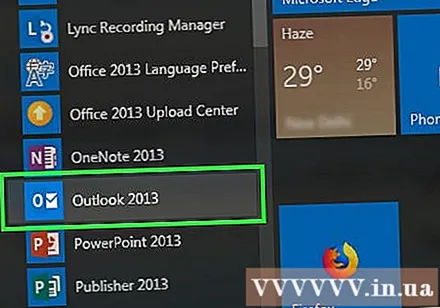
Double-click the message containing the survey. The email content will open in a separate window.
- If you are viewing a message in the reading pane, click Click here to vote is displayed in the subject of the email and skip to the end.
Click the card Message at the top of the window.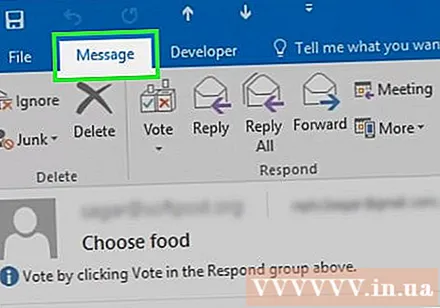
Click Vote (Vote) is located below the heading “Respond”.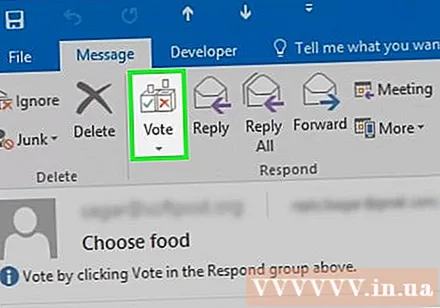
Click the option you want. Your vote will be added to the survey results. advertisement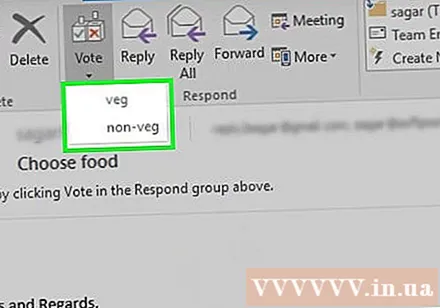
Method 3 of 3: Review survey results
Open Outlook. Click the> Start menu All Apps > Microsoft Office > Microsoft Outlook.
- Use this method after you have created the survey and want to see the results.
Click on folder Sent Items (Sent item) is in the left pane.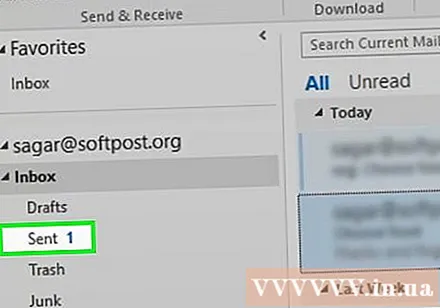
Click the message containing the survey. The email body will open in the reading pane.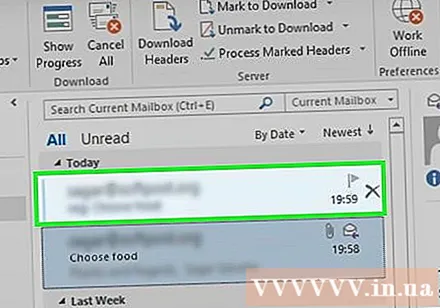
Click the card Message (Mail) is at the top of the window.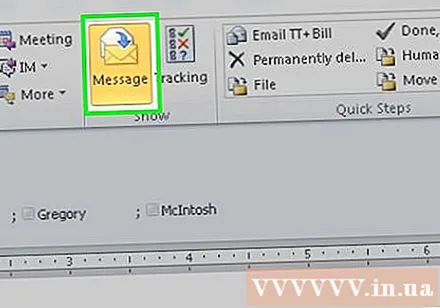
Click Tracking (Subscribe) is located below the "Show" heading. The results of the survey will appear in a tabular format in the window.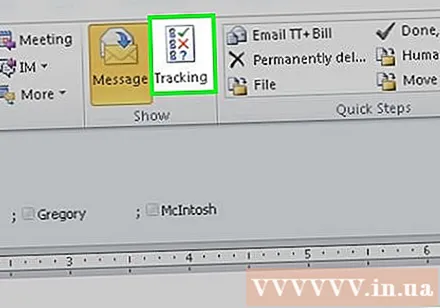
- You will not see the button Tracking until at least one recipient has voted.


