Author:
Peter Berry
Date Of Creation:
12 February 2021
Update Date:
1 July 2024
Content
iMessage is messages sent over the Internet between iOS devices. With the iMessage feature, iPhone, Mac, iPad and iPod Touch devices can receive messages when they are connected to Wi-Fi (wireless network) or 3G / 4G network. Your iDevice will automatically send iMessage messages when you text another user if they also use iMessage.
Steps
Part 1 of 5: Understand the basics
Send iMessage messages using the Messages app. IMessage messages are sent using the Messages app, just like SMS messages. iMessage and SMS sent to the same person are gathered in a conversation.
Send messages to Apple users when they're not using the carrier's SMS service. iMessage will not count the number of characters. Matching messages will be sent automatically. No need to switch when texting different people.- Messages sent to other iMessage users will be blue. SMS messages will be green.

Activate iMessage on all Apple devices. iMessage is sent to all your connected Apple devices as long as they have a network. iMessage isn't available on your Android device or Windows computer.
Connect to Wi-Fi or mobile data to use iMessage. iMessage requires a network connection. You will need to connect to Wi-Fi or a 3G / 4G network to use this feature. If your iPhone is offline, iMessage will switch to SMS mode. If your iPod or iPad isn't connected to Wi-Fi, you won't be able to use iMessage.
- iMessage does not apply carrier messaging fees. iMessage will use mobile data unless you have Wi-Fi.
Part 2 of 5: Turn on iMessage

Create an Apple ID. iMessage requires a free Apple ID. You will log in to each device with this ID. iMessage will sync across all your devices.- You can create an Apple ID for free now. You will need to enter a valid email address to verify your account.
Sign in to your iOS device with Apple ID. Once you have an Apple ID, you can use it to sign in to your iPhone, iPad, or iPod Touch. You can use your ID to log in to multiple devices.
- Open the Settings app and select "Messages".
- Turn on "iMessage" and select "Use your Apple ID for iMessage" (iPhone only).
- Enter your Apple ID and password. Activation may take some time.
Activate iMessage on your OS X computer. You can send and receive iMessage from an OS X computer running Mountain Lion or higher.
- Open the Messages app. You can find it in the Dock bar or in the Applications folder.
- Click on "Messages" and select "Preferences".
- Make sure your Apple ID is selected. If you don't sign in with your Apple ID, press the + button and sign in.
- Select "Enable this account". Now you can send and receive iMessage.
Part 3 of 5: Send and receive messages
Set up the address where you can receive messages. On iPhone phones, iMessage can be sent to your phone number or email address. If you have multiple email addresses associated with your account, you can choose which ones you want to use.
- Open your device's Settings app and select "Messages".
- Select "Send & Receive" and then select an address to use. You can also add an email address to which you want to receive messages. You can only use one Apple ID email address associated with a device at a time.
- Select the address or phone number from which you want to send the message.
Open the Messages app. Like SMS messages, iMessage is sent using the Messages app.
Select the "Compose" button to start a conversation. You can start a new chat with anyone in your contact list. That would be iMessage chat if they were also using iMessage.
Select the "Send" button. You can tell if the message is a standard SMS or iMessage by looking at the Send button color. If the button is blue, the message will be sent as iMessage. If the button is green, it will be sent as SMS.
- iPad and iPod can only send messages to other iMessage users.
Attach pictures and videos. You can attach a media file to a message just like text. iMessage allows you to send them without carrier's multimedia messaging charges.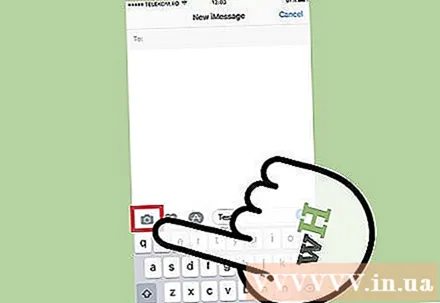
- Select the Camera button in the bottom left corner of the conversation.
- Select Photo Library to view all pictures and videos on your device.
- Select an image or video to add it to your message.
- Send Message. If you are sending messages using cellular data, it will charge carrier messaging charges.
Part 4 of 5: Use more iMessage
Send voice messages using iMessage. You can send voice messages to iMessage contacts. This feature requires iOS 8 or higher.
- Open a Messages conversation.
- Hold down the microphone button in the bottom right corner.
- Continue to press and hold and say the message you want to record.
- Swipe upwards to send the recorded message.
Submit map information. You can share your location from Apple Maps to any iMessage contact.
- Open the Maps application and find the location you want to share.
- Select the Share button in the top right corner.
- Select "Message" from the list of options. Please select the "Send" button to send the location. When a recipient tapes the map during the conversation, it opens the Maps application.
Turn off iMessage preview on your device's lock screen. By default, the preview of the message appears on the lock screen of your device. If you want to increase privacy, you can turn them off.
- Open the Settings app and select "Notifications".
- Select "Messages" and then scroll down to "Show Previews". Turn it off.
Set up automatic deletion of old iMessage messages. Old messages can take up a lot of device space, especially videos and pictures attached. By default, your device will store the entire message history. You can set up your iOS device to automatically delete old messages if you're running iOS 8 or higher.
- Open the Settings app and select "Messages".
- Select "Keep Messages" and select "30 Days" (30 days) or "1 Year" (1 year). You will be asked if you want to delete any messages on the device that are older than the set time limit.
Leave a group chat if you don't want to receive notifications. You can leave a messaging group if you do not want to receive notifications. This only works if all members using iMessage and iOS 8 or higher.
- Open the conversation you want to leave.
- Select "Details" in the top right corner.
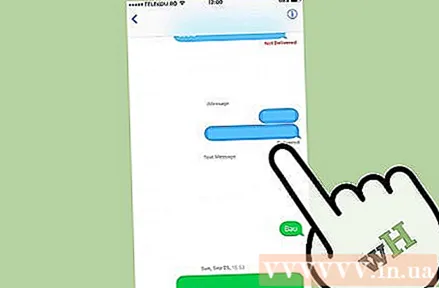
- Scroll down and select "Leave this Conversation". If the option is greyed out, at least one member isn't using iMessage on an iOS 8 device or higher.
Enable / disable "Read Receipts" to show or hide the reading of the message. Any iMessage contact will be able to see if you've read their most recent message. You can disable this feature if you do not want to share information.
- Open the Settings app and select "Messages".
- Enable / disable "Send Read Receipts" as needed.
Part 5 of 5: Troubleshooting
Checking connection. iMessage requires an internet connection. If you can't access any web pages, the error is with network connection, not iMessage. Try disconnecting and then reconnecting to the wireless network. You can also reboot the device.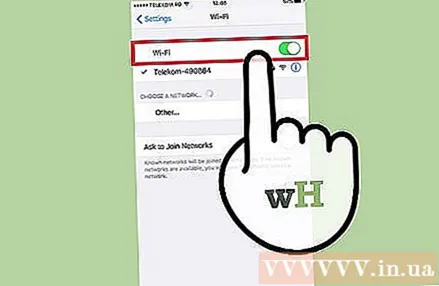
- You can check the status of the iMessage service at.
Check your iMessage settings if you're unable to send regular text messages. Sometimes a few iMessage settings can cause service problems.
- Open the Settings app on your iOS device and select "Messages".
- Make sure that "Send as SMS" is activated. This will ensure that messages are sent as SMS if iMessage is not available.
- Select "Text Message Forwarding" and turn off all forwarding. Forwarding allows you to send and receive SMS messages on any iCloud device, but it also causes the problems.
Check the date and time settings. iMessage cannot function and connects to iMessage servers with incorrect date and time settings.
- Open the Settings app and select "General".
- Select "Date & Time", then check that the time zone setting is correct.
Restart the device if it does not send or receive messages. A quick restart sometimes fixes the iMessage error. Please press and hold the Sleep / Wake button (power button) on the iOS device. Use Power slider to turn off the device. Press and hold the power button to turn on the device again.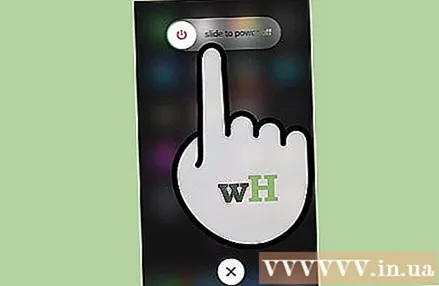
Perform a system restore if iMessage continues to fail. Sometimes, a system restore is the only way to fix the error on an iOS device. You can create backup data using iTunes and download it after restoring to protect your data.
- Connect your iOS device to your computer and open iTunes. Select your iOS device from the buttons in the top row.
- Select the Back Up Now button. It will create a backup of your iOS device on your computer.
- Select the Restore iPhone / iPad / iPod ... button (Restore iPhone / iPad / iPod…).
- Wait for your device to recover and reinstall. Select the backup you just created when setting up the device.
Turn off iMessage if you switch to a non-Apple phone. Turn off iMessage before changing phones, or you can't receive text messages from old iMessage contacts.
- If you still keep your iPhone, open the Settings app and select "Messages". Please turn OFF "iMessage". The iMessage server will take some time to process the change.
- If you no longer use your iPhone, go to and enter your phone number. You will receive an SMS message on your new phone with a code. Enter this code in the second field on your web page to turn off iMessage.


