Author:
Robert Simon
Date Of Creation:
20 June 2021
Update Date:
1 July 2024
Content
Once you've found the village and collected a few villagers, there are a few steps you can take to breed them. The first step is to build houses with doors everywhere in the village, to ensure that there are more doors than the villagers. Then, you need to trade with the villagers, usually to convince them to be willing to breed. You can also build gardens and feed the villagers to encourage breeding.
Steps
Method 1 of 4: Breeding villagers
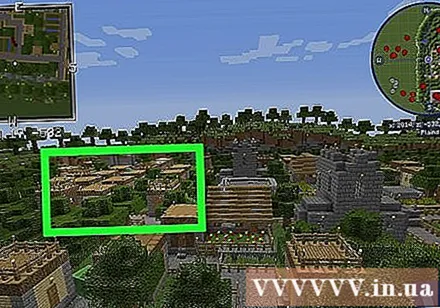
Search for a village. You can find villages in plain, desert and Savanna communities. The village should have at least 2 villagers (villagers). Please be patient. The village is not always easy to find. You may need to explore for a while before you find the village. You should use the map (map) from the beginning to know where you are standing.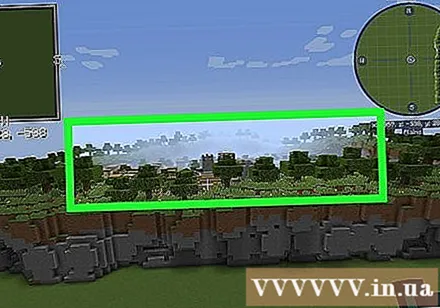
- You can also heal zombie villagers by throwing Splash Potion of Weakness and feeding them golden apple. Make sure it is not exposed to sunlight until the zombie villager has been completely healed, otherwise it will burn.
Build more houses (houses) with doors in the village. Villagers will continue to propagate as long as the total number of villagers remains less than 35% of the valid (rounded) gates in the village. A valid door is any door where on one side leads to a room with a roof, and on the other to the outside.- To increase the number of gates in the village, you can build a single structure that includes many doors.
- To add more doors to the village, build structures with multiple doors.

Build gardens for villagers. The villagers are very fond of farming. Many gardens have available in most villages. You can build more to make the villagers more willing to breed. To build a garden, look for a well-lit area and dig a ditch next to the soil masses and fill the ditch with water. Then use a hoe to plow the block. You can grow seeds or vegetables in the block of soil, or let the villagers make their own.- You can also throw food to the villagers. The villagers will be willing to multiply when they have 3 breads, 12 carrots, or 12 potatoes in their inventory.
- To craft the bread, you need to select the crafting table and place three wheat stalks in any row of the 3x3 frame. Then drag the bread and drop it into the inventory.
- You can also throw food to the villagers. The villagers will be willing to multiply when they have 3 breads, 12 carrots, or 12 potatoes in their inventory.
Exchange (trade) with villagers. Talking with the villagers was the first step in making them willing to multiply. Each villager has a separate item he wants to exchange in order to own another item. You must have the items the villagers want in your inventory to exchange with them. Swapping with the same villager repeatedly unlocks new items that villagers can trade in. You need to trade with the villagers until a new exchange occurs so that they will become willing to breed. After that, subsequent exchanges will have a 1/5 chance of making the villagers willing to multiply again. A green effect will appear when the villagers become willing to breed after exchanging.- Willingness to propagate does not by itself cause villagers to seek mates. The two villagers who are willing to propagate must stay close together.
- After they propagate, the villagers have no need and must be re-excited.
Method 2 of 4: Build houses in the village
Collect the ingredients. Village houses can be made from whatever ingredients you want. Not all materials require tools for harvesting or harvesting, but tools help make the process faster. You can learn more about crafting tools in Minecraft yourself. Here are the popular ingredients, and how to collect them: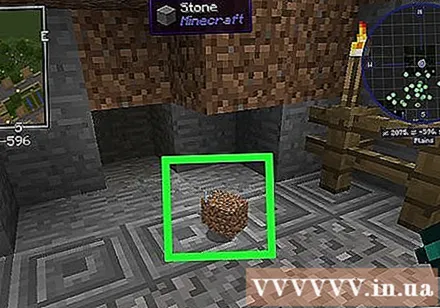
- Land (Dirt): Land is everywhere. To collect soil, simply use your hand (or a shovel) until the block cracks and falls off a small block of dirt. You need to step through a small block of soil to collect it.
- Wood plank: To collect wood, you need to get up close to a tree and punch the trunk with your hand (or use an ax) until the trunks crack and fall off a small block of wood. You need to step over the block to pick it up. Then open the crafting and crafting menu of wooden planks.
- Cobblestone (Cobblestone): The cobblestones are a bit stiffer (and better explosion-proof from Creeper monsters). To exploit pebbles, you first need to craft and equip pickaxes. Use the pickaxe to knock on rocks inside caves or along the mountain sides.
Choose a location. You need to make sure the location you choose is within the village. The game considers the village center to be the average coordinate of all the doors in the village. The village's outer parameter is 32 blocks from the center or farthest door, depending on which one is further away.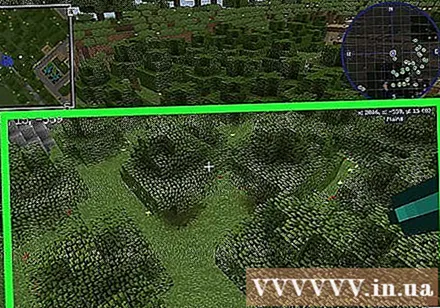
Construct. You need to use the materials you collect to build the exterior of your home or structure. It can be any shape you want, as long as there is an opaque mass on the top for the roof. It should be at least three blocks tall so that the villagers (and the player) have room to move around. Leave a 2-block high space close to the wall for the door.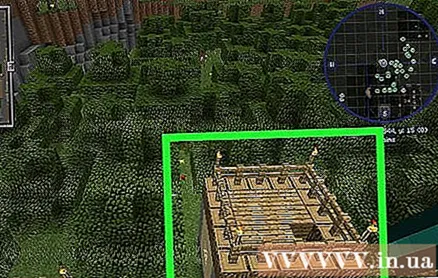
- To build, you need to place the ingredients in the hot bar at the bottom of the inventory. Then mark to equip the ingredients in the hot bar. Next point the crosshair at the center of the screen where you want to place the ingredient, then right click (or press the left trigger) to place the block. You can learn more about building in Minecraft yourself.
Construction and crafting table. The crafting table is constructed using four wooden planks from the crafting menu. After building your crafting table, you need to place it anywhere in the world.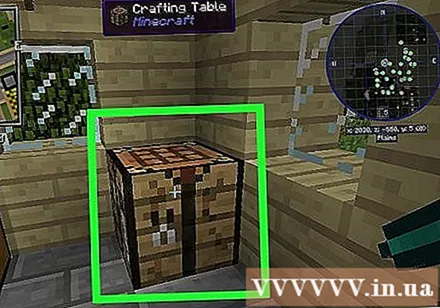
Use fabricated table to make door (door). To make the door, you need to select a fabrication table and place 6 wood planks in the 3x3 frame of the crafting table. Then pull the door to the inventory.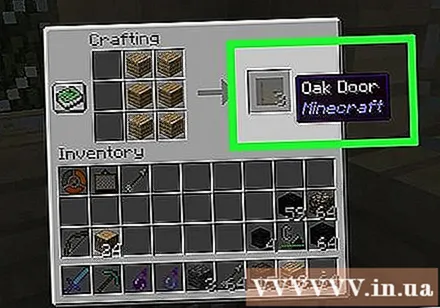
Place doors in your project. To place a door in the building, you need to point the crosshair in the center of the screen at the foundation of where you left the door empty. Then right click (or press the Trigger button on the left side of the console) to set the door. The more gates there are in the village, the more willing the villagers are to multiply.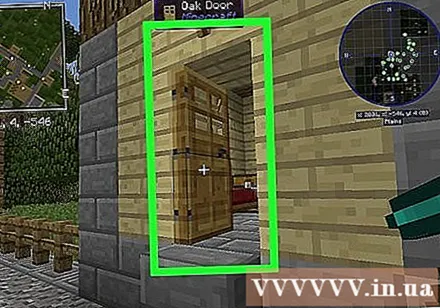
- The villagers can find the gate located 16 blocks horizontally, and 3 blocks above or 5 blocks below the village ground. A valid door must have more opaque masses on the top within five blocks on one side of the door (inside) than the other (outside).
Method 3 of 4: Exchange (trade) with villagers
Selection of villagers. To choose villagers, you need to stand in front of them and focus your gaze on them. Then right click or press the Trigger button to the left of the handle. A window will be displayed.
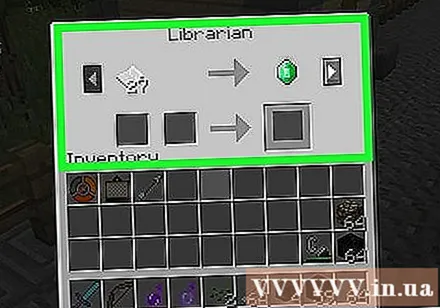
See the inventory of the villagers. The accommodation at the top of the window shows the villagers what to sell. The box in the lower left corner of the window shows what the villagers want in exchange. You must have the items they want in your inventory in order to trade.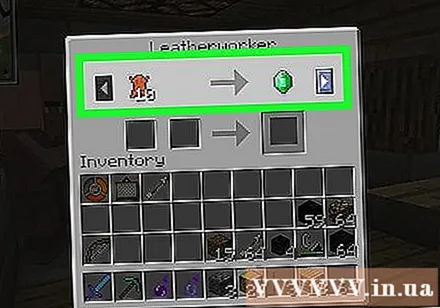
Select the item you want to buy. To select an item, you need to either click it or press the confirm button on the handle. The item you intend to exchange is automatically removed from the inventory, and the item you intend to buy is placed in the inventory.
- Villagers only have one or two items when you first trade with them. The more you trade, the more items they will sell.
Method 4 of 4: Build a garden (garden) for villagers
Exploit pebbles (cobblestone), coal (coal) and iron ore (iron ore). All these materials are in caves (cave). You need a pickaxe to exploit these ingredients. You can learn more about crafting pickaxe and other tools in Minecraft yourself.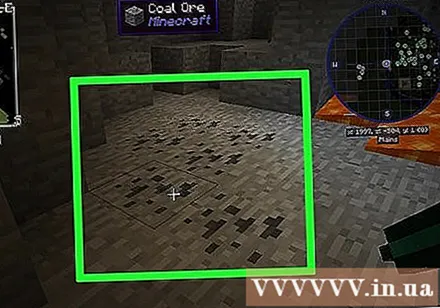
- A stone is a gray block. You need to use the pickaxe to extract the pebbles from the rock.
- Coal (coal) looks like a block of rock with black dots. You need to use the pickaxe to extract coal from the coal block.
- Iron ore blocks look like rocks with yellow dots. You need to use hoe or more rock to mine iron ore.
Construction and crafting table. The crafting table is constructed using four wooden planks from the crafting menu. After building your crafting table, you need to place it anywhere in the world.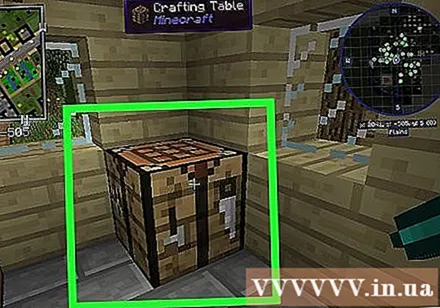
Use a fabrication table to fabricate and place a furnace. To make a kiln, you need to select a crafting table and place 8 cobblestone blocks on the entire rim in the 3x3 frame. Then drag the furnace drop into the hot bar (hot bar) below the bag. Once you have the furnace in the hot bar, you need to equip it and place it by right-clicking or pressing the Trigger button to the left of the gaming controller.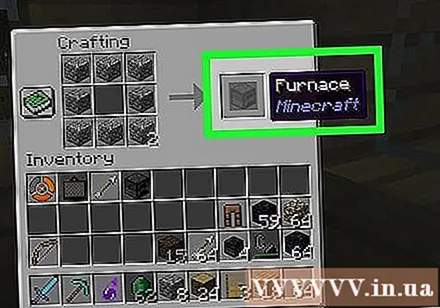
Use the furnace to melt iron. To melt iron ore, you need to select the furnace and place the coal in the box at the bottom of the window (below the icon that looks like a flame). Then place the iron ore blocks in the box at the top. Wait a few minutes for the iron to finish melting. Once the iron ore has been melted, you need to select the furnace and pull the iron bar from the box on the right and place it in the inventory.
Use the fabrication table to make the bucket. To craft a bucket, you need to select a crafting table and place the block of iron in the square to the left of the second row, the square to the right of the second row, and the square in the middle of the 3x3 frame. Then pull the bucket into the inventory.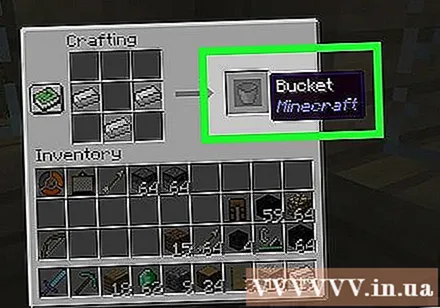
Seek a bright spot in the village. Look for a spot in a village with lots of sunlight, and about 5x10 cubic feet of land.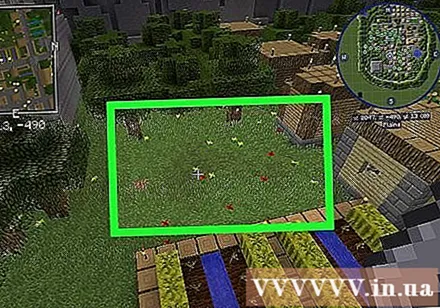
Trench in the center of the garden. You can use your hand (or a shovel) to dig a ditch in the center of the garden. The ditch should be only 1 block deep.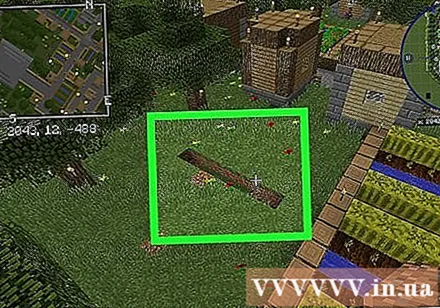
Use a bucket to get water. Place the bucket in the hot bar and equip it. Then locate the water source nearby and use the bucket to get the water.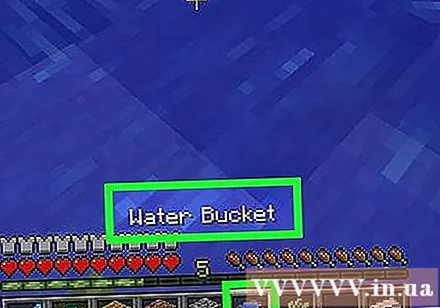
Fill the ditch with water. After taking the water, you need to go back to the garden with the ditch and fill it with water.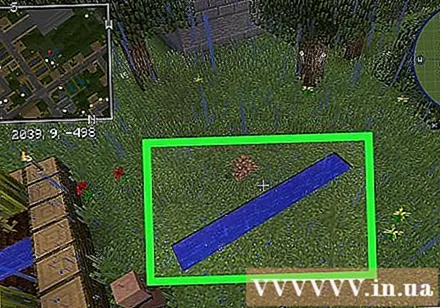
Use crafting table to make hoe (hoe). To make a hoe, you need to select the crafting table and place two sticks in the second and third square of the first column in the 3x3 frame. Then place two wood plank, cobblestone, iron bar or diamond in the first and second boxes of the first row. Next is pulling the hoe into the inventory.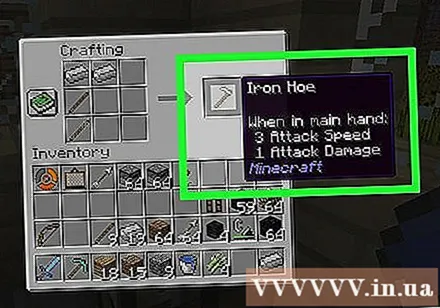
- Canes are crafted from wooden blocks in the crafting menu.
Gather ingredients to plant. Carrots, potato, wheat seed, beetroot, cocoa seed, melon, and pumpkin can all be grown. And grow up.
- Carrots, potatoes, beets, and wheat seeds can be harvested from existing areas in the village garden. You can also harvest the wheat seeds by harvesting grass.
Use a hoe to plow the garden. You need to put the hoe in the hot bar at the bottom of the inventory. Then equip it. Next, you will use it to plow the soil around the water-filled ditch two cells wide.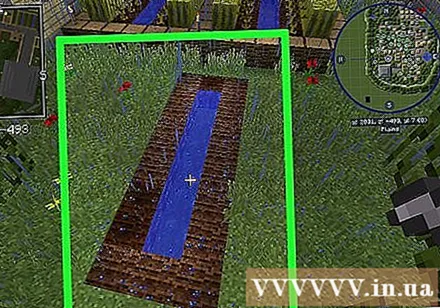
Plant tree. After plowing, you need to place the crop on the hot bar and plant the tree in clusters by right-clicking or pressing the Trigger button on the left of the handle. Then wait a few days for the plant to grow.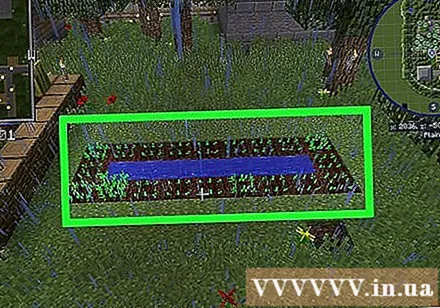
Harvest the tree. Once the trees are big enough, you need to click on them or press the Trigger button on the right to harvest.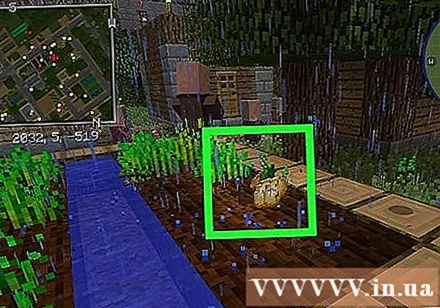
- Villagers will often harvest trees for you and plant new ones in the gardens you build for them.
- If the villagers have 3 breads, 12 carrots, 12 potatoes or 12 beetroots in their inventory, they will gladly multiply.
- To craft the bread, you need to select the crafting table and place three wheat stalks in any row of the 3x3 frame. Then drag the bread and drop it into the inventory.
Advice
- When villagers feel satisfied and have their needs met, they will be more willing to multiply.
- Try to multiply the villagers as often as possible, because the more villagers there are, the easier it is to exchange, contributing to increase your chances of finding a good exchange.
Warning
- Try not to expose the Zombie Villager to sunlight while healing them, as they will burn and die from sunlight, wasting potions and yellow apples ( golden apple) yours.


