Author:
Laura McKinney
Date Of Creation:
2 August 2021
Update Date:
22 June 2024

Content
With Ubuntu Linux, you can use a number of utilities to format the USB, such as the Disk Utility feature that comes with Ubuntu or the Terminal. Whichever feature you use, formatting the USB drive will only take you a few minutes.
Steps
Method 1 of 2: Use Disks Utility
Click the Dash button and find "disks" (CD driver). Disks will appear in the list of returned applications.

Run Disks from search results. A list of connected devices will appear in the left pane.
Choose your USB from the list of devices. Details of the USB will appear in the right pane.
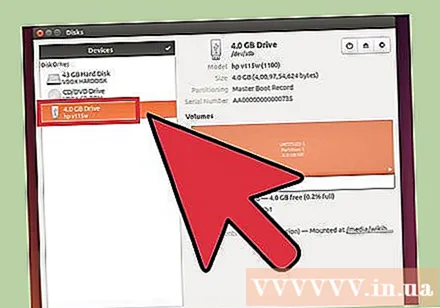
Choose at least one drive. Most USB drives have only one drive, but if your USB drive has more than one drive, you can choose one or all of them.
Click the Gear button located under the drives and select "Format" (Format). The format options will be displayed.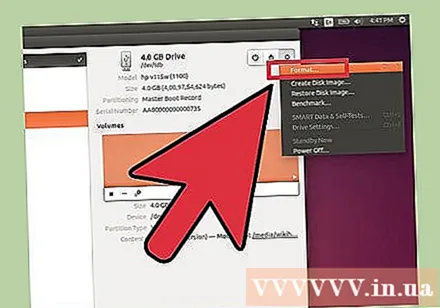
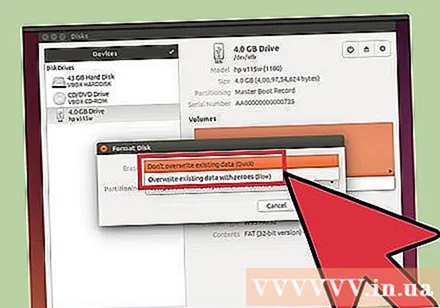
Select the content you want to remove. The Quick format option will erase any data on your drive. Slow format option will erase everything and check for errors on the USB.
Choose the file system format. There are several formats to choose from. However: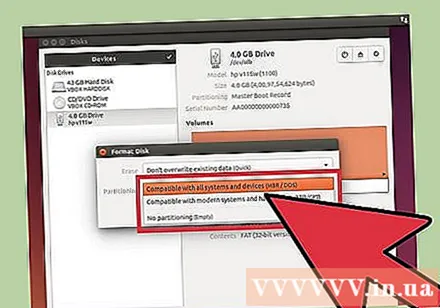
- For maximum compatibility with other devices, select "FAT" (FAT32). This format is compatible with all computers and nearly all USB-capable devices.
- If you are only going to use USB for Linux, select "ext3". This format gives you advanced Linux write and file access permissions.
USB format. Click the format button and wait for the USB to finish formatting. With a large capacity USB, this process can take a while, and deleting any data on it also increases the waiting time. advertisement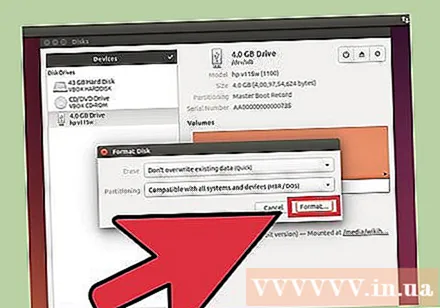
Method 2 of 2: Using Terminal
Open Terminal. You can open Terminal from the Dash toolbar or with a key combination Ctrl+Alt+T.
Type.lsblkand press↵ Enter. A list of storage devices currently connected to the computer will be displayed.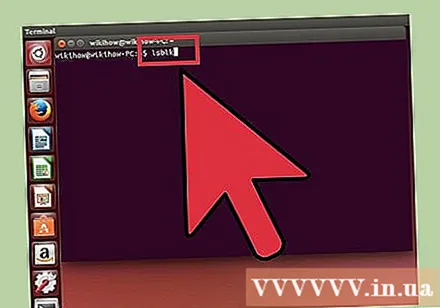
Identify your USB. Use the SIZE column to find the USB flash drive in the list.
Disconnect the partition on the USB. You will need to disconnect the connection before formatting the USB. Type the following command and replace it sdb1 by USB partition name.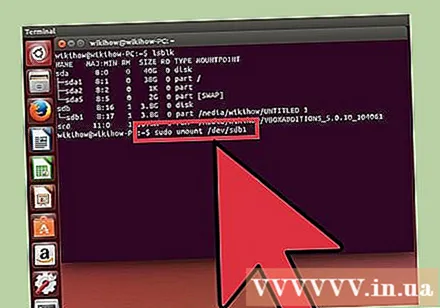
- sudo umount / dev /sdb1
Erase all data on the USB (optional). You can erase everything on the USB by entering the following command. Instead sdb with your USB name.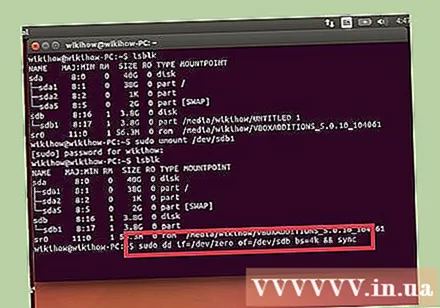
- sudo dd if = / dev / zero of = / dev /sdb bs = 4k && sync
- This process will take a while and the computer may hang a bit.
- With Ubuntu 16.04 and later: sudo dd if = / dev / zero of = / dev /sdb bs = 4k status = progress && sync.
Create a new partition table. The partition table controls the drives on the USB. Enter the following command, instead sdb with your USB name.
- Type sudo fdisk / dev /sdb and press ↵ Enter. Press O to create an empty partition table.
Press.Nto create a new partition. Enter the size of the partition you want to create. If you only want a single partition, enter the full size of the USB drive.
Press.Wto log and exit. This may take a while.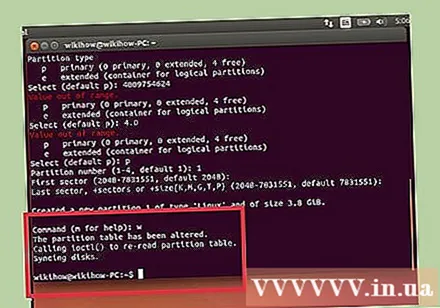
Run .lsblkagain to check your new partition. This partition will be listed under the USB name.
Format the new drive. Now that the new drive has been created, you can format it with the type of file system you want. Enter the following command to format the USB flash drive as FAT32 - the most compatible file system format. Instead sdb1 by the name of your partition:
- sudo mkfs.vfat / dev / sdb1
Disconnect the USB when finished. After formatting is complete, you can safely disconnect the USB drive:
- sudo eject / dev / sdb


