Author:
Laura McKinney
Date Of Creation:
4 August 2021
Update Date:
1 July 2024

Content
- Premature: head circumference = 31 cm, height = 11 cm
- Infant: head circumference = 36 cm, height = 13 cm
- Young children (from 6 months old): head circumference = 41 cm, height = 15 cm
- Children and adolescents: head circumference = 51 cm, height = 19 cm
- Adult: head circumference = 56 cm, height = 21 cm
- Adults: head circumference = 61 cm, height = 24 cm
- The color doesn't matter, but dark colors will make it difficult to see clearly and count the rows, so it's a good idea to use light-colored wool for your first hat.
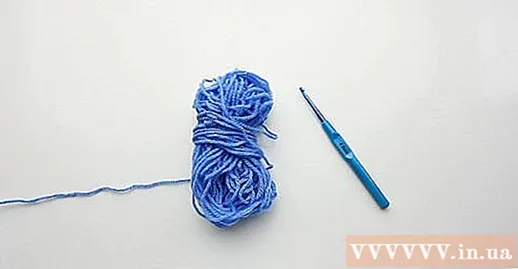
Selection of hook needles. The size of the hook depends on the size of the wool you use. For soft 4-fiber mixed wool (recommended) you will need to use aluminum h / 8 needles. This size is a pretty good choice for beginners, as it will fit in a variety of wool sizes and is very comfortable to hold. Also, you should make sure that you handle the hook needle correctly. There are two common ways:
- How to hold a knife (holding a hook is the same as holding a knife to cut something).
- The way of holding the pen (holding the hook is the same as when you are about to write something).
Method 2 of 3: Basic stitching
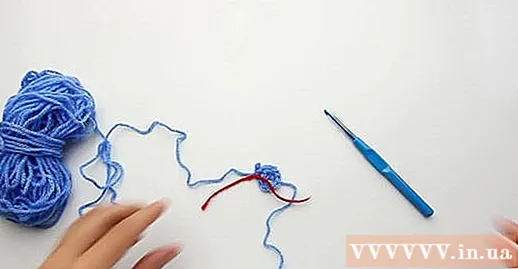
Create knots. The knot is the starting point of the hook process - the knot helps to hold the thread in place. To create the knot: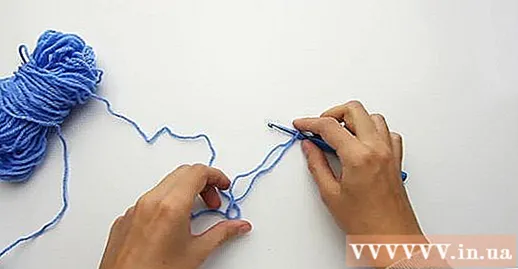
- Keep the ends of the yarn in the palm of your hand, and wrap it around the tip of your index finger and under your middle finger.
- Wrap it around the tip of your index finger, below the first circle.
- Pull the wool in the middle, and tuck it in the center of the large circle you created around your finger.
- Thread the needle through the small circle you just created, and pull the end of the wool to tighten it.
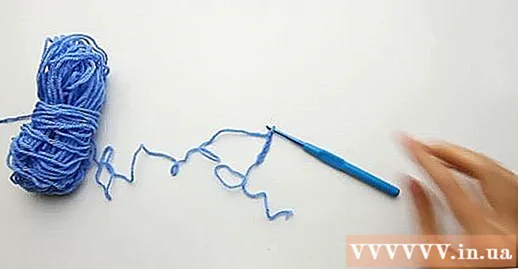
Sticky nose hook. The pitcher row is the first row of the hook. Since you're hooking your hat, the pinstripe shouldn't be too long - just hook about 5 stitches is enough.- To hook the pin first, hold the end of the knot and slide the hook needle forward so that space forms the needle end. Wrap the yarn over the needle tip once, and then pull the needle back through the first knot. You have completed the first hook! Repeat five times to make the stitches.
Hook the end stitches to complete the first row of stitches that you create. This will finish off your pinnacle, by aligning it with the circle. Insert the end of the hook needle through the center of the first pin, and hook one tip (as usual).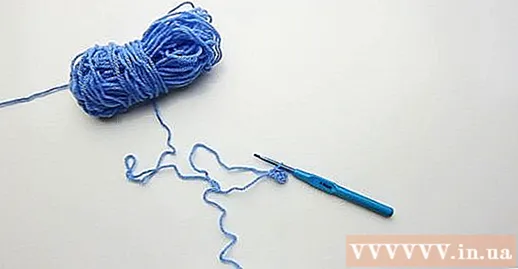
Mark the starting point. When hooking, you need to count the number of stitches. To do this, you must know the starting point of the hook row. There are two common methods of marking the starting point: wrap a thread of wool around the first hook in the second row, or put a toothpick clip on the hook tip. When you hook to this marker of each row, you will know that you have completed a hook row. advertisement
Method 3 of 3: Hook the cap from the basic nose
Hook in a circle shape. To hook the hat from the basic nose, you need to hook it in a circle pattern. This means you will hook a small circle - the base of the hat (the tip of the hat). When you pass the needle tip, you need to helically initiate the second row of hooks adjacent to the first row.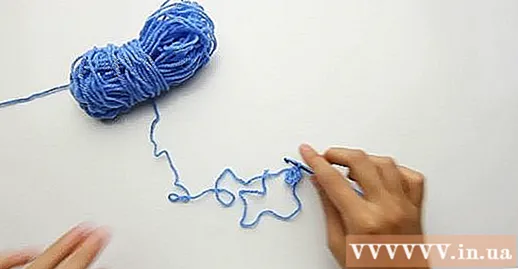
- When hooking your hat, make sure that you continue to hook it spirally. Do not change direction at any point.
Second row hook with double hook. From now on, you'll use the double nose to hook your hat. It will help you attach new rows of hooks to each other in a spiral in the middle, so that you do not form loose hooks.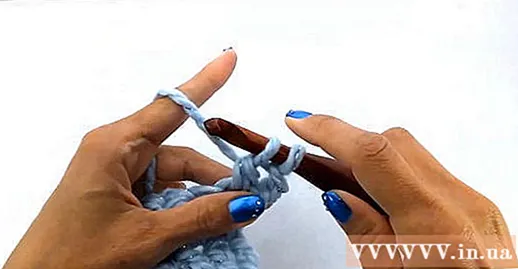
- To do double stitches, you start with a hook with a circle on its head.
- Pass the hook needle through the circle and into the pin below / next to it (attached to the spiral ring). You should now have two circles on the top of the hook.
- Finish with a regular hook; Wrap the wool yarn around the crochet needle, and pull the wool thread through two circles on the crochet needle. You will always end up with a single circle on the needle tip when completing a double stitch.
Modify the model. Once you have completed the background, you can change the hook style slightly to further enhance the body of the hat. For each row of stitch, you will start with double stitch, working with single stitch, double stitch, and so on until the row is completed.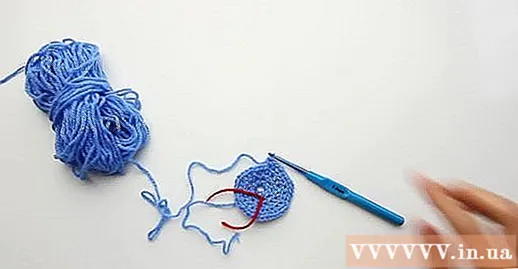
Count the number of stitches. The first few rows should be pretty easy, but as you get more hooked you need to count the number of stitches. Double stitch is counted as 2 stitches, and single stitch is 1. For example, if you are hooking a row of 5 stitches, it would be 1 double stitch, 1 single stitch, 1 double stitch - complete. Here is the number of stitches for each row that you need to hook:
- First row: 5 sts
- Second row: 10 sts
- Third row: 30 sts
- Fourth row: 45 sts
- Fifth row: 60 sts
- Sixth row: 75 sts
- Seventh row: 90 sts
Continue to hook the single stitch after the seventh row. To complete the hat, you will need to hook a few more rows of single stitches. This method will increase the length of the hat, rather than continue to make it wider. You should start hooking the single stitches once the crown has reached the size you want. To finish the product, you need to knot and hide the ends of the excess by braiding them inside a crochet cap.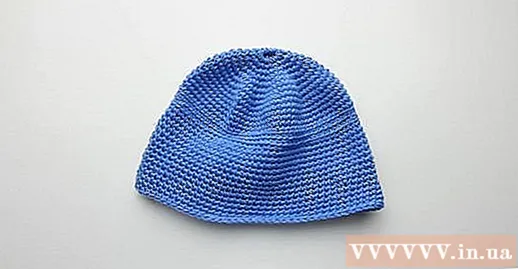
- To hide excess wool from the hat, you can braid them inside the hat. Leave about 15 cm after the knot is made and then use the embroidery needle to braid excess wool through the rim and inside the hat. Then, tie the ends of the yarn after braiding a few centimeters inside the hat.
Advice
- If this is the first hat you make, you will need to practice before hooking up the type of hat you plan to wear or give.
What you need
- Needle hook
- Wool
- Drag
- Embroidery needles (optional)


