Author:
John Stephens
Date Of Creation:
23 January 2021
Update Date:
1 July 2024
- Use a wooden blister to push the cuticles in. A metal sparkler can also work, but wood is better for the nail. If you don't have an effervescent, use a wooden popsicle stick.
- It is easier to push the gel inwards when it is wet and soft. Soak your hands in lukewarm water for a few minutes before using an effervescent, and it's better to prepare your hands a few days in advance to make them easier to handle.
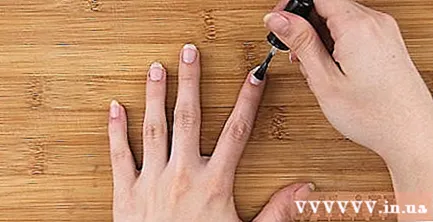
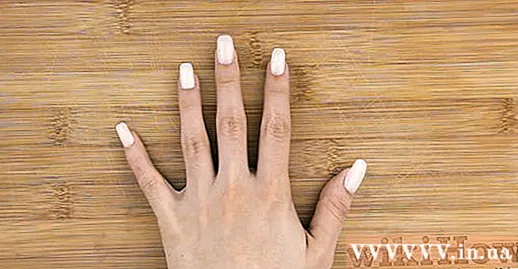
Stick the nail tip. Find the tip of the nail about the size of the nail. If the tip does not fit completely, file it. A slightly small nail tip is better than a slightly large one. Dab a little bit of glue onto the nail tip from side to side and apply it to the nail, so that the bottom edge of the acrylic nail is roughly halfway above the surface of the nail. Hold for five seconds to allow the glue to dry. Do the same on all 10 fingers, then trim the nails to the desired length.
- If the tip of the nail is mislaid, soak your hands in water for a few minutes to remove, then dry the tip of the nail and glue it back.
- Use only a small amount of adhesive so it does not stick to the skin.
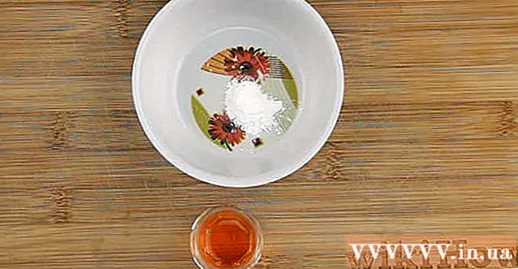
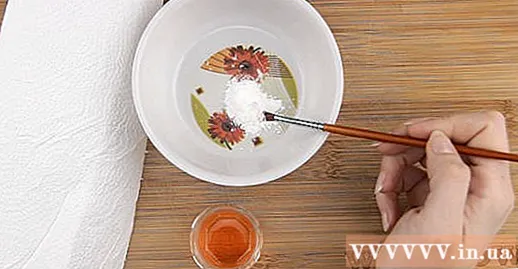
Dip the brush in the acrylic liquid. Immerse the brush completely and make sure all air bubbles are released. Then, sweep the brush against the edge of the bowl to remove any excess liquid. Dip the brush in the acrylic powder so that the tips of the brush stick with some damp powder.
- It may take a few practice times to get the right ratio between liquid and acrylic powder. The acrylic mixture on the brush tip should be moist enough to apply, but not too wet. The acrylic mixture should stick on the brush tip without dripping.
- Have a paper towel ready in case you need to absorb any liquid and wipe the brush between spreads so that the acrylic doesn't stick to the brush.
- Be sure to wipe the brush on a paper towel between acrylic spreads. Once you get used to the job, you don't need to wipe your brushes as often. The purpose of this is not to let the acrylic stick to the brush. If the acrylic is still on the brush, soak the brush in the liquid, then wipe the brush again.
- To prevent clumping of the acrylic, be sure to apply it in small streaks and in the same direction.
- Less is faster! If you spread too much acrylic on your nails, it will take a long time to file. When you are first starting out with acrylic manicures, you should apply it little by little.
- If you apply the acrylic correctly, there will be a slight curve, rather than a sharp curve, where the tip of the acrylic meets the real nail. You may need to use more than one acrylic per nail to achieve this.
- Do not apply acrylic to the cuticles. The acrylic layer should begin to be a few millimeters away from the cuticle so that it will stick to the nail instead of the skin.
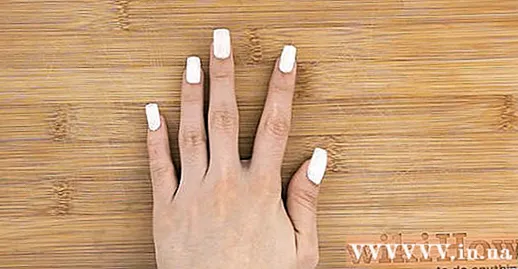
Shape the nail tip. Now that the acrylic nail is dry, you will use a nail file (180 grit) to shape the tip and file it to the desired length. File the nail surface with a 240 grit nail file block to remove the scratch caused by a 180 grit file. Finish by filing with a 1000 grit file block, if you want even more shine with a 4000 grit file block. With a 4000 grit file, the nail will be as glossy as painted!
- Be sure to use a small brush to wipe away any dust generated by the filing, so it doesn't mix with the nail polish!
- If the nails are green, yellow or look unhealthy, do NOT apply acrylic on them. Onychomycosis or other nail problems will not be cured! The condition will get worse if you put acrylic nails on it. Nail fungus is very contagious, so don't use unpasteurized tools on you or anyone else.


