Author:
Louise Ward
Date Of Creation:
4 February 2021
Update Date:
1 July 2024
Content
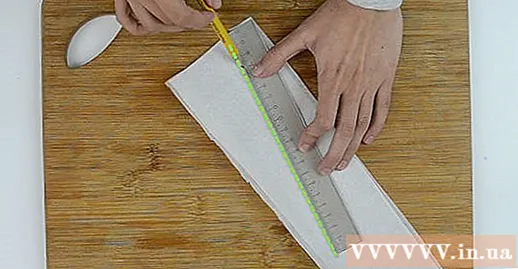


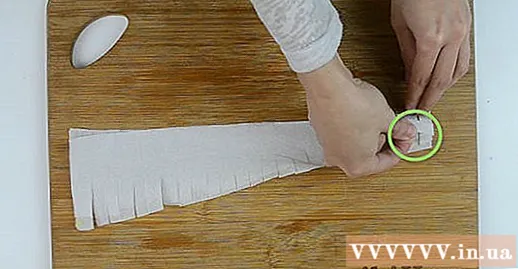
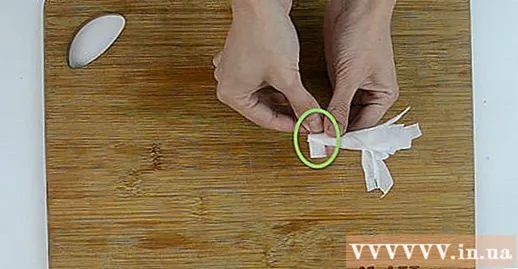
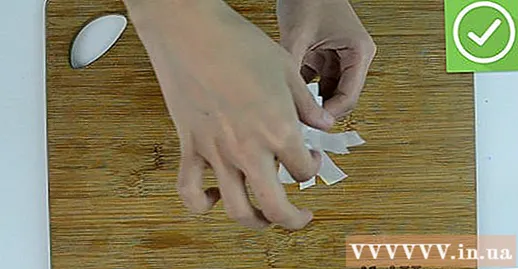
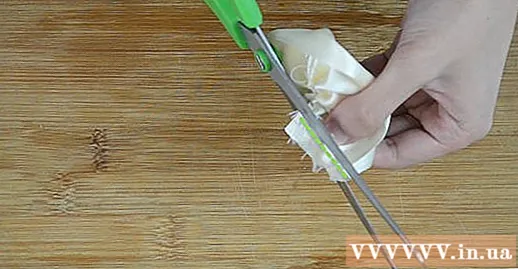
Cut tassel. Cut the fringes down from the top of the diagonal. Cut until the bottom line of the paper.
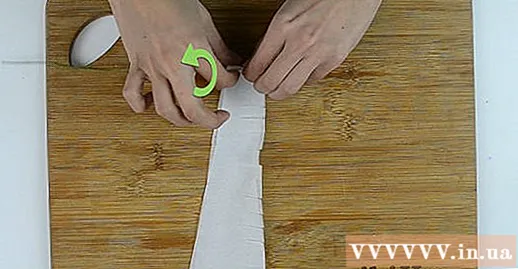
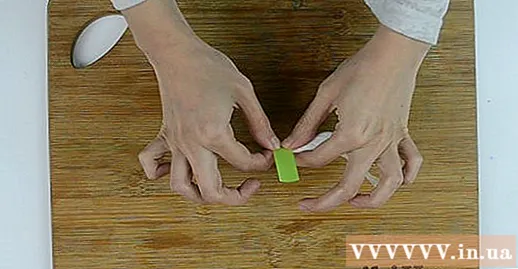
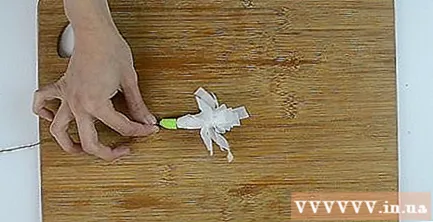
Stick the end of the paper around the flower stem. Use clear tape so that the adhesive won't be exposed.
Stitch the comb along the length of the ribbon. This stitch will go the length of the ribbon, helping you to create the flower shape when finished.
- Pierced only. Button the tail end to help keep the thread on the fabric.
- Route the needle from front to back, along the edge of the ribbon. Pull the thread over until the button is held. Slide the needle from front to back, then pull the thread. Repeat until complete stitches are completed.
Method 3 of 3: Making Fabric Flowers
Fold the fabric in half vertically.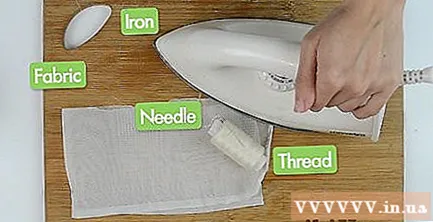
Stitch together the edges of the fabric on either end of the piece.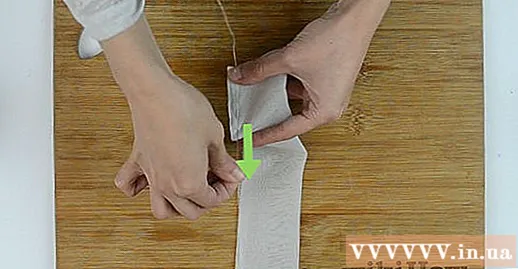
Turn the cloth upside down. The stitching at the ends of the fabric should be on the inside.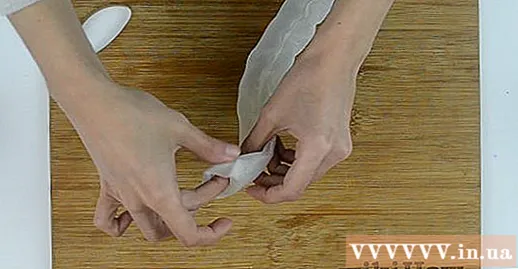
Iron the ends of the fabric. Do not iron in the middle, otherwise the crumpled lines of the flower will not be visible.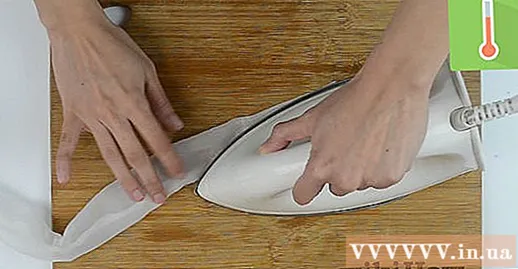
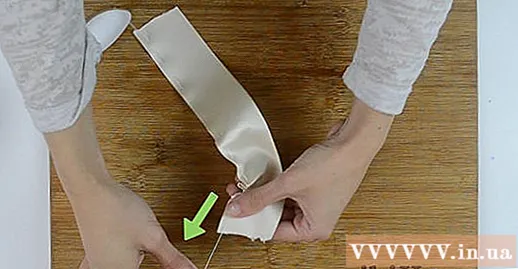
Sew the comb along the edge of the fabric. Pierce the needle and then snap it back. Sew the comb along the length of the edge of the fabric. After that, continue stitching until the other end.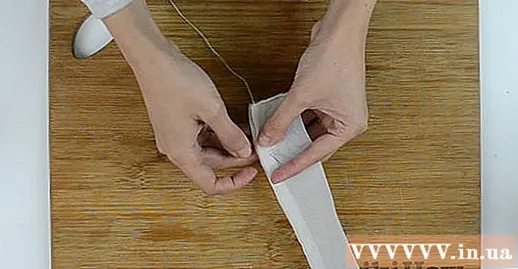
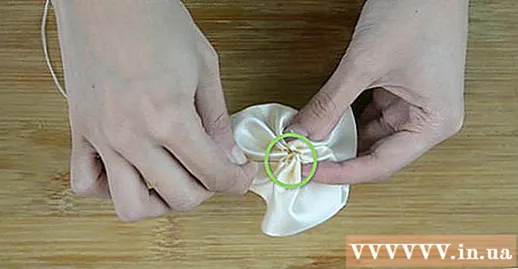
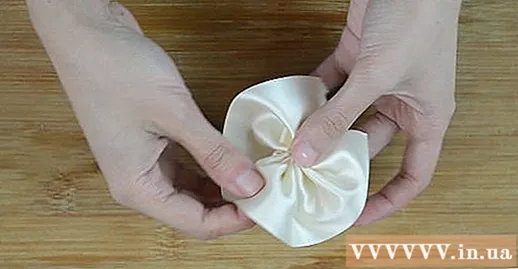
Draw back the fabric.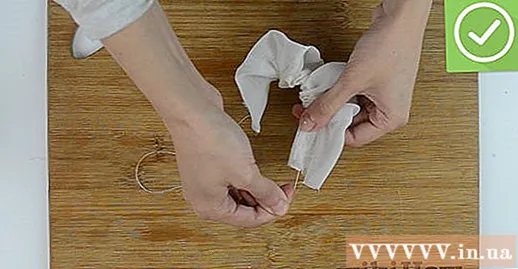
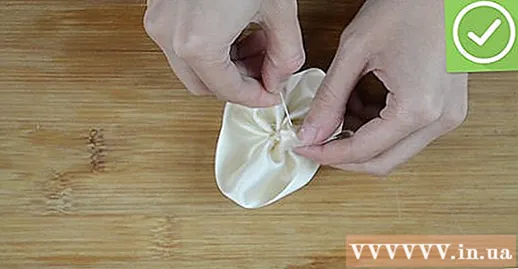
Sew the ends of the fabric back together. Use the remainder of the sewing thread to connect the ends of the fabric to keep the flower shape.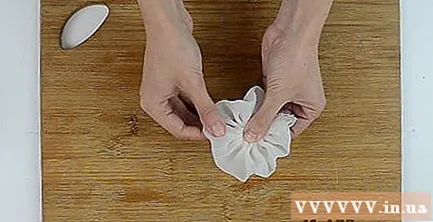
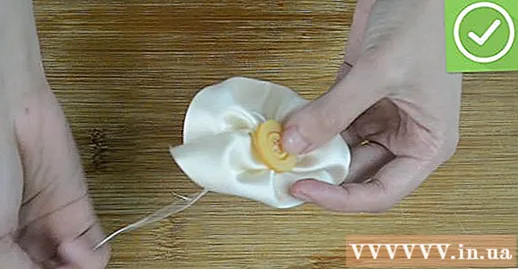
Finish. advertisement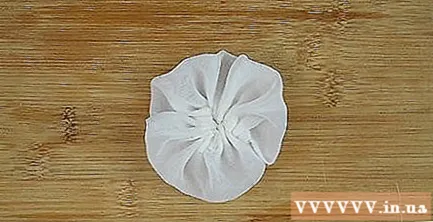
Advice
- For confetti, roll the paper evenly so that the bottom of the flower is even.


