Author:
Lewis Jackson
Date Of Creation:
13 May 2021
Update Date:
1 July 2024

Content
Non-baked biscuits are a great snack that you can make without using the oven. Baked biscuits are just as varied as standard baked cookies. Read on if you're interested in learning some cake recipes that can satisfy your sweet cravings.
Resources
Basic non-baked biscuit ingredients
Make 12 cookies
- 2 cups (400 g) of sugar
- 1 cup (220 ml) of milk (or a milk substitute)
- ½ cup (120 g per piece) of butter
- 1/4 - 1/3 cup (30 - 40 g) cocoa powder
- 3 cups (420 g) of instant oats
- 1 cup of chocolate chip (optional)
Raw materials for making biscuits without baking peanut butter
Make 12 cookies
- 2 cups (400 g) of sugar
- ½ cup (120 ml) of milk
- ½ cup (120 g) butter
- 4 tablespoons cocoa powder
- Pinch of salt
- ½ cup (120 g) of smooth peanut butter
- 2 tablespoons vanilla extract
- 3 cups (420 g) of instant oats
Vegan biscuit ingredients, free of peanuts and gluten
Make 12 4cm2 square cookies
- 2 tablespoons coconut oil
- 2 tablespoons almond milk, soy milk or other non-animal milk
- 1/4 cup (40 g) palm sugar or brown sugar
- 2 teaspoons - 1 tablespoon of vanilla extract
- 1/4 teaspoon salt
- 3/4 cup (100 g) of oatmeal (gluten free) or finely ground oats
- 3/4 cup (100 g) of almond powder
- 1/4 cup ground sugar
- 1/3 to 1/3 cup (60 - 90 g) veggie chip chocolate or dark chocolate
Steps
Method 1 of 3: Make basic non-baked biscuits
Place stencils in a baking tray. These cookies do not require baking, but you will still need a container to place the cookies. You can also put the cupcake lining into the cake mold. Each cupcake lined paper cup will contain a teaspoon of flour.
- You should place the baking tray in the refrigerator while preparing the dough. This will cool the tray and the cookie will harden faster.
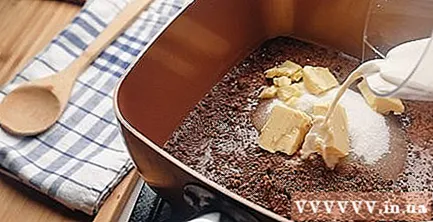
Add sugar, butter, milk and cocoa powder in a saucepan. Use a spoon or spatula to mix all ingredients. Be sure to chop the butter well before you put it in the pot to make it melt faster.- If you are lactos intolerant, consider almond milk, coconut milk, soy milk, or lactose-free milk.
- Add 1/4 teaspoon salt to reduce sweetness. Salt also helps to enrich other flavors. You can add salt to the pot before the butter is melted and stir well.
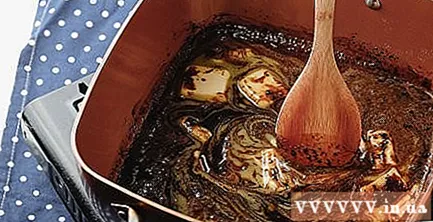
Turn on the stove and let it simmer. Stir the dough repeatedly to prevent it from burning and wait until the butter melts. This process takes about 3-4 minutes.
When the dough starts to boil, take the pot off the stove and add the oats. Remember to use instant oats. Stir the oats in with a spoon or spatula. Keep stirring until the oats are well mixed.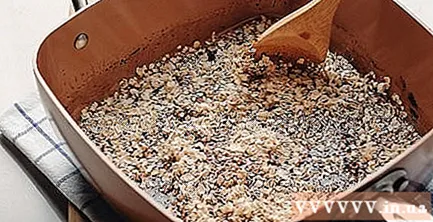
Use a spoon to place the powder on the wax paper. Scoop each spoon of flour and place it on the stencils into balls. If you want, you can smooth the cake by pressing the back of the spoon down each dough.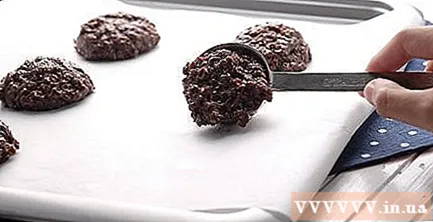
- Try squeezing some round biscuits. Roll the dough into small balls first, then roll the dough in a bowl of grated coconut, crushed peanuts or cocoa powder.
Try adding ingredients to the top of the cookie. You can also sprinkle melted chocolate or caramel sauce on top.
Refrigerate the tray for about 30 minutes. If you don't have much time, you can put the cookies in the freezer for about 15 minutes.
Enjoy when the biscuits have hardened. If you put the cookie on too soon, it will start to melt and disintegrate. advertisement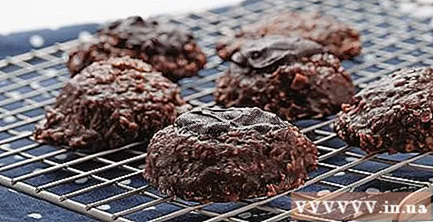
Method 2 of 3: Make peanut butter cookies
Place parchment paper in the baking tray. Place the baking tray in the refrigerator while you cook the dough. This will cool the tray and allow the cake to freeze faster.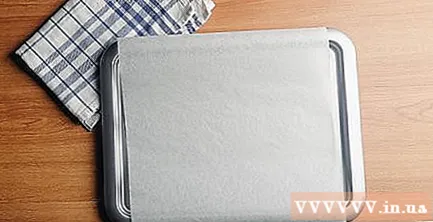
Mix sugar, milk, butter, cocoa powder and salt in a saucepan. Mix all ingredients with a spoon or spatula. You should make the butter into small pieces so that the butter will flow faster in the next steps.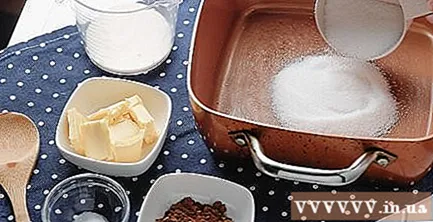
- If you are lactose intolerant, try almond milk, coconut milk, or lactose-free milk instead of regular milk.
- If you don't like peanut butter, you can make a chocolate hazelnut cake. Start by reducing cocoa powder to 2 tablespoons. You can also use hazelnut chocolate to sprinkle it over peanut butter in the next step.
Turn on the stove and boil the mixture for 1 minute. This step will help dissolve the sugar. In the end you will have a liquid mixture.
Add peanut butter, vanilla and oats to the pot. Turn the heat to medium low and put the rest of the ingredients in the saucepan. Stir continuously until the oats are well mixed.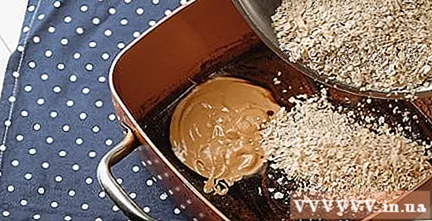
- If you want to make a chocolate hazel cake, use 1 cup (250 grams) of hazelnut chocolate instead of peanut butter.
Remove the pot from the stove. Once all the ingredients are mixed, remove the pot from the stove and place it on a heat-resistant surface.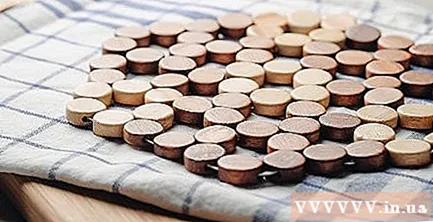
Scoop each spoon of flour and place it on stencils. You will have each pig cake. If you want, you can press the back of the spoon down onto the cake to flatten it.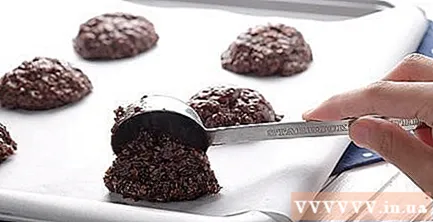
- You can also roll the dough into small balls, then roll it into a bowl of grated coconut, crushed peanuts or cocoa powder.
Consider adding ingredients to the cake. You can sprinkle melted chocolate or caramel sauce over the biscuits for a more delicious flavor.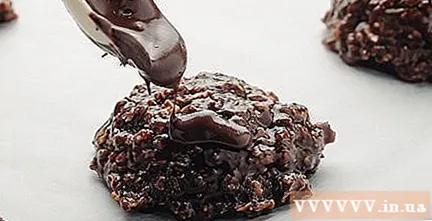
Place the tray in the refrigerator for at least half an hour or in the freezer for about 15 minutes.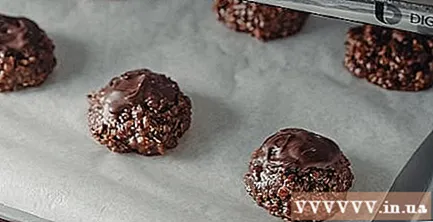
Enjoy the cookies when they are cold and hard. If you take it out too soon, the cake may smudge. advertisement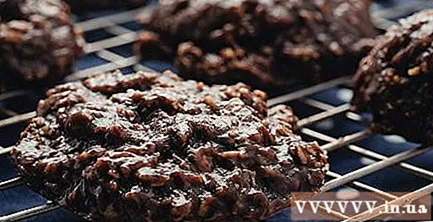
Method 3 of 3: Make vegan cookies, free from peanut butter and gluten
Melt coconut oil in a saucepan over low heat. Coconut oil is usually solid, so you need to heat it up to melt.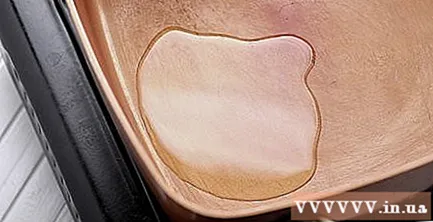
Pour almond milk, coconut sugar, vanilla into a saucepan and stir well with a spoon or spatula. Turn the heat to medium and stir the mixture. You can also use brown sugar instead of coconut sugar. If you don't like the almond flavor, try soy milk, coconut milk or lactose-free milk.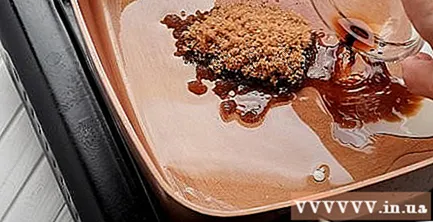
Stir in oatmeal, pureed sugar and salt. Finally, the mix should have a solid and homogeneous texture. If you find the dough is too fluffy, you can add more oats or almond flour. If the dough is too dry, add some coconut oil or milk. Don't forget, however, that the cake will harden when refrigerated, so don't add too much flour.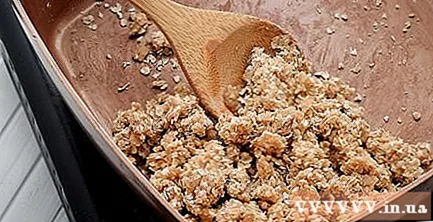
Remove the pot from the stove and add the chocolate chips. You can also use solid chocolate. Be sure to use vegan or non-animal milk. Add the chocolate chips to the dough and stir well.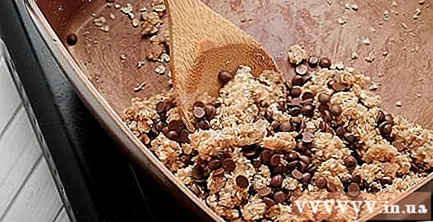
If you don't like to eat sweet, you should use dark chocolate for vegetarians. This will not be too sweet.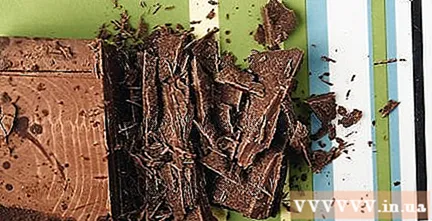
Place parchment paper in the baking tray. You are going to spread the dough over the tray, so it might be a good idea to use tape to fix the parchment paper to the baking sheet. This way, the stencils will not move during the operation.
Scoop the dough onto the parchment paper and press it into a rectangle. You should make the cake to measure 18x 20 cm and about 1.5 cm thick. Use a finger to flatten the edges of the cake.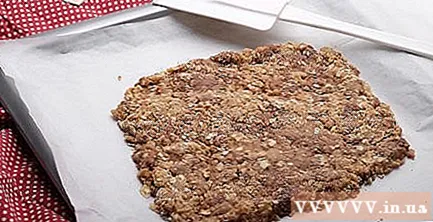
Place the cake tray in the refrigerator and wait until the dough has hardened. This should take at least 30 minutes. If you want faster, you can put the tray in the freezer for about 15 minutes.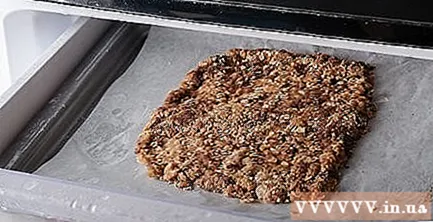
Cut the dough into about 4 cm squares and serve. Use a sharp knife to cut the dough. advertisement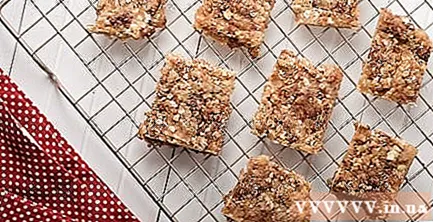
Advice
- If you have a dairy allergy, try almond milk, coconut milk, soy milk, or lactose-free milk. You could also try margarine or coconut butter.
- If you are allergic to peanuts, try other nut butters instead, such as hazelnut butter or almond butter.
- Try using an ice cream scoop instead of the regular spoon. The ice cream scoop can help make it easier to scoop the batter onto the tray.
- Use cereal instead of oats. If you don't like oats, you can use your favorite cereal in the cake. Try grains like granola, bran, or corn flakes.
- You can also use almonds or any kind of nuts, or use barley.
- If you don't have stencils, you can spray non-stick cooking oil on the tray.
What you need
- Pot
- Spoons big or spat
- Candle paper, silicone tray or foil
- Baking tray or baking pan
- Refrigerator or freezer
- A kitchen
- Knife
- Coffee spoon or tablespoon


