Author:
Lewis Jackson
Date Of Creation:
9 May 2021
Update Date:
1 July 2024

Content
Usually to connect an external hard drive to your computer, you just need to plug in and that's it. However, with a Macbook Pro or any other Mac, the hard drive must be formatted to a file system supported by the Mac. This process will erase all data on the hard drive. If, like most hard drives on the market, your hard drive is preformatted with NTFS format, with Mac OS X, you can only read and not write data on this hard drive.
Steps
Part 1 of 3: Connecting the hard drive
Use the supplied cable to plug the hard drive into your Mac. Most hard drives are connected via USB, and you can simply plug the USB cable into the open port on your Mac. Typically each side of a Mac is equipped with at least one USB port.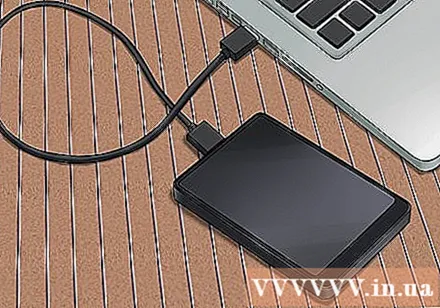
- Some Mac drives come with Thunderbolt or FireWire cables. In this case, you need to plug in the correct port or use an adapter if you don't have the right port on your Mac.
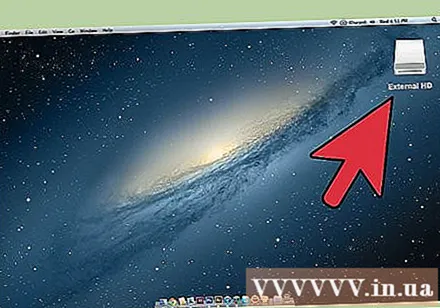
Check the hard drive on the screen. If properly formatted and connected, the hard drive will appear on the Mac desktop with a USB or Thunderbolt logo.- The hard drive icon may not appear on the screen even though it is properly connected. You can check the hard drive on the left pane of any of the Finder windows, under the "Devices" heading.
- You can set your hard drive to appear on screen by clicking the Finder menu, choosing "Preferences" then clicking the "External disks" box.
- If the hard drive does not appear in the Finder or desktop, refer to the instructions in the next section.
Open the hard drive to view the contents. Double-click the hard drive on the desktop or choose from the left pane of the Finder window to view its contents. You should now be able to drag, drop files to the hard drive, or copy files to your Mac's internal hard drive. advertisement
Part 2 of 3: Format the hard drive
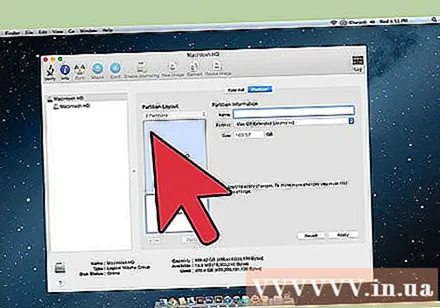
Open Disk Utility. Most external hard drives are pre-formatted to work with Windows. However, that format limits how they function on a Mac. If your new external hard drive is pre-formatted for Windows, you can read it but not write to it. To reformat the standard file system, you can use Disk Utility.- On the desktop, click the "Go" menu, select "Utilities" then "Disk Utility".
- Formatting will erase everything on the hard drive. Not a problem with a new hard drive, but if you are trying to use an old hard drive with content on it, you will have to save the content elsewhere before you begin formatting.
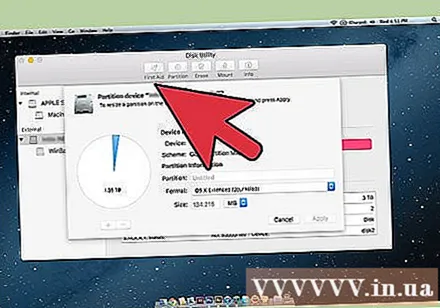
Select the hard drive from the menu on the left. A list of all connected hard drives will be displayed in this menu. Choose your external hard drive from the list.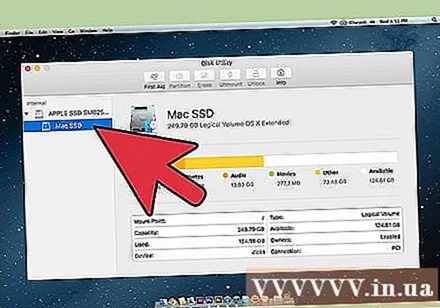
- If the hard drive cannot be found, proceed to the next section.
Click the "Erase" button at the top of the Disk Utility window. Hard drive formatting will begin.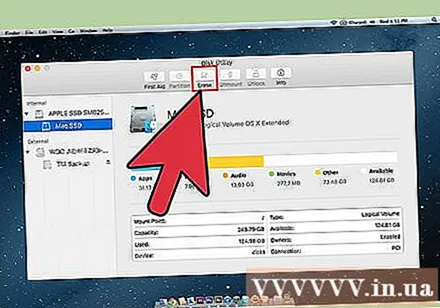
- Formatting will erase everything on the hard drive. Therefore, don't forget to back up any important data that is on your hard drive. If the hard drive is in Windows format, you can still copy the contents to your Mac before formatting.
Select "ExFAT" from the "Format" menu. This format is compatible with Mac OS X, Windows and Linux, allowing you to easily switch operating systems when using.Unlike older versions of FAT, with this new format, the actual limit on file size or partition does not apply (in theory there are but that number is huge), means you it can be used for all sizes of hard drives.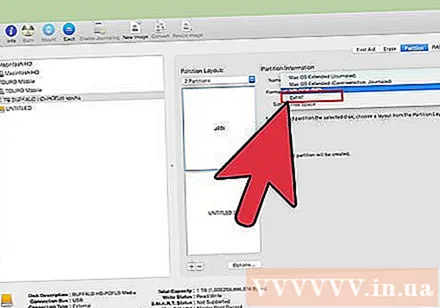
- If you're only going to use a Mac hard drive, select "Mac OS Extended (Journaled)". This format allows you to use all features of your Mac on your hard drive, such as Time Capsule.
Click "Erase" to format the hard drive in the selected format. Once pressed, you cannot undo and all data Existing on the hard drive will be deleted. Depending on the size, each hard drive will have a different format time.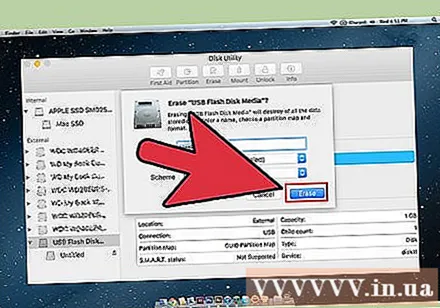
Try using your newly formatted hard drive. Once properly formatted, the hard drive will appear on the Mac screen. Double click to open it, now you should be able to add and move files from there. advertisement
Part 3 of 3: Handling when the hard drive cannot be found
Make sure the hard drive is properly connected. Check to make sure all the cables are connected to your hard drive and Mac. If the cable is loose, the hard drive will not appear.
Make sure the hard drive has enough power. Some external hard drives need to be plugged in separately. You may need a dual USB cable. This cable has a single USB connector that plugs into your external hard drive, the other end in two and both plugs into your Mac.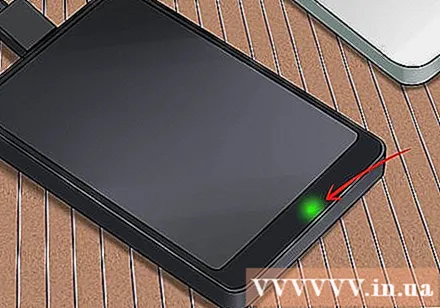
Restart Mac. Many problems with a Mac or hard drive can be resolved by just rebooting. Turn the computer off completely from the Apple menu and turn it on again using the power button. It is more likely that the connected hard drive will appear after the Mac restarts.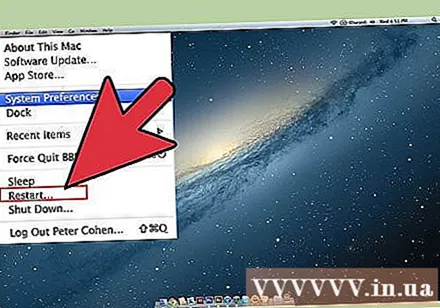
Try a different cable and port. Maybe the USB cable is faulty or the USB port is in trouble. Try using a different USB cable plugged into a different port.
Run First Aid on the hard drive. Disk Utility has a number of error correction functions that can cause the malfunctioning hard drive to work again.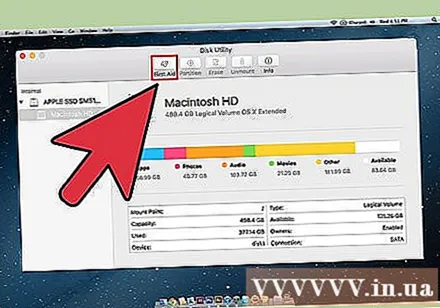
- Open Disk Utility from the Utilities folder.
- Select the hard drive and click the "First Aid" button.
- Click "Run" to begin scanning for errors on your hard drive.
- Allow the utility to fix it. As a result, you may be able to use the hard drive. Note that when the error appears, it can be an early warning sign of hard drive failure.
Consider replacing the hard drive. Any hard drive will be damaged. The longer it is used, the higher the possibility of failure. The failure rate of a new hard drive is also not small. If your hard drive is 4 years or more old and it doesn't show up no matter what you do, chances are it has failed.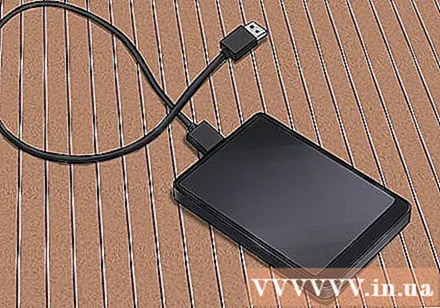
- You can try plugging the hard drive into another computer to see if it appears or not. If the hard drive doesn't show up anywhere, it may be time to buy a new one.


