Author:
Lewis Jackson
Date Of Creation:
11 May 2021
Update Date:
1 July 2024

Content
We all know that it's not easy to take a group photo. Let's learn how to swap faces with editing software and say goodbye to bad group photos. Or you can make a joke with your photoshop skills and swap out your friends' faces for a funny photo. Just select images, stitch them together and make your own edits.
Steps
Part 1 of 3: Prepare two photos
Choose two pictures. Decide which photo will serve as the background and which photo is the face you want to swap with.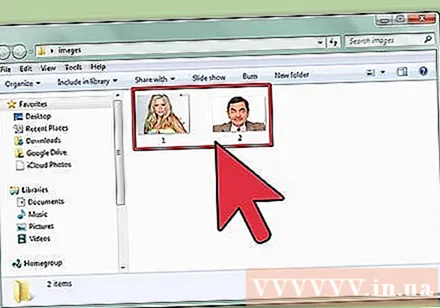
- The subject in the photos does not have to be the same skin color, or even the same gender. With Photoshop's tools, you will be able to blend images brilliantly.
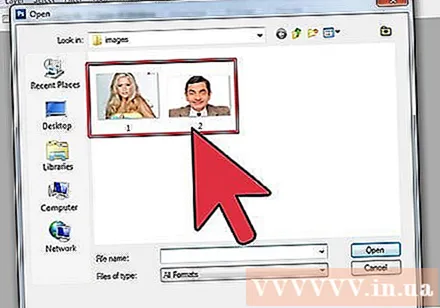
Open the image in Photoshop. You need to upload the image to the layer so that it appears in two tabs.- Don't forget to duplicate the layer so you can reuse it with the original layer at any time if something goes wrong (or maybe you want to redo it).
Open an image of the face you want to join. You need to move the face of this photo to the background layer and finally blend it into the face.
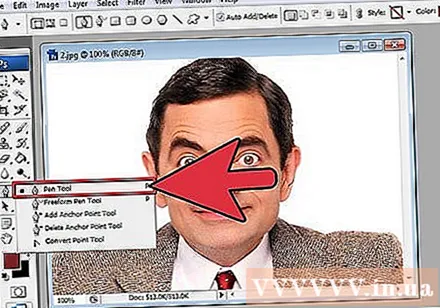
Select the Lasso or Pen tool. Clicking the noose icon in the tool panel or pressing the L. Lasso key gives you the freedom to choose faces in a flexible way. You can also select the brush tool in the tool panel. We recommend using the Pen as you get more control by setting the anchor points.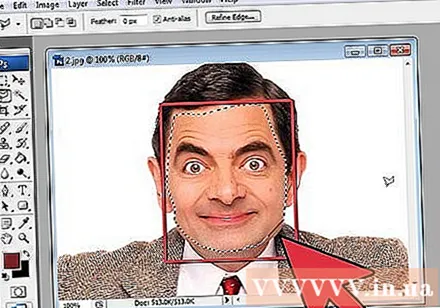
Draw a line around the desired face. Make sure to include all the unique facial features in your selection such as folds, moles, wrinkles, dimples or scars.- If using the Pen, you can align the selection by clicking on points while holding down the Ctrl key to reposition. After setting the anchor points, right-click and choose “Make Selection” from the drop-down menu.
Copy the selection. Press Ctrl + C on your keyboard or click Edit> Copy from the menu to copy the area. advertisement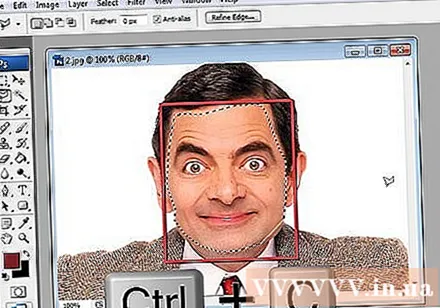
Part 2 of 3: Collage
Attach the desired face to the base layer. Drag the face you want to apply and drop onto the face you want to replace.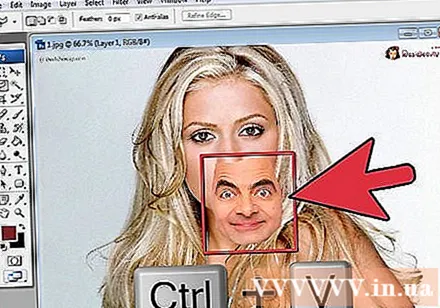
- You can also create a new layer by choosing Layer> New> Layer and pressing CTRL + V or Edit> Paste to paste the face onto another head.
Convert an image into a smart object. Right-click on the image and choose Convert to Smart Object to resize the image.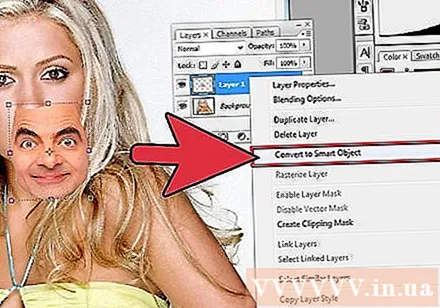
Resize the desired face to fit the head. While on the main layer, click Edit> Free Transform, or Press Ctrl + T to adjust or rotate if needed.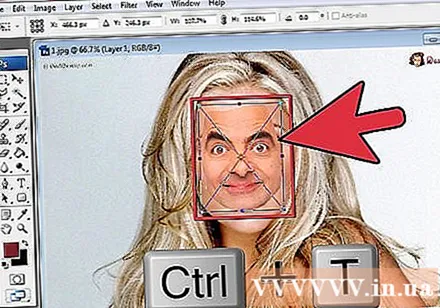
- Set the Opacity to 50% so that you can see both photos while resizing the face.
Align the face straight. The best way to make sure the two faces match is to follow the eyes and mouth. Just make sure your eyes match, then tilt your face until your mouth matches.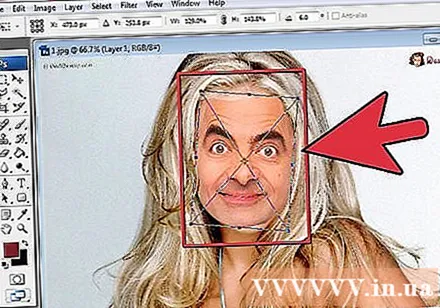
- To tilt the subject, click the corner of the image and rotate it gradually until the images are aligned.
Press agree or enter. The images match and you can change the Opacity to 100% again.
Create a layer mask to combine the faces. Pick the paint brush tool and use it to blur the outlines of the face in the background image. You need to use the smallest brush because the contours are very subtle.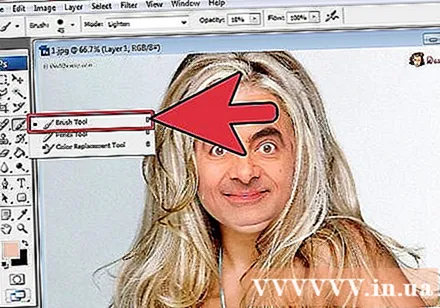
- When using the brush to join the image, the black color is used to erase the image above and show the background, while white is to return the background.
Part 3 of 3: Customization
Create an editing layer. Choose Layer> New Adjustment Layer and choose Hue / Saturation. Check Use Previous Layer to Create Clipping Mask (Use Previous Layer to Create Trimming Mask).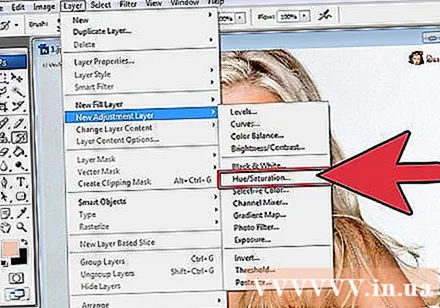
- Creating an adjustment layer is a safe way to perform a lot of editing on an image without losing your previous work.
Skin color correction. At this step, you need to work with Hue / Saturation by clicking Image> Adjustment> Hue / Saturation.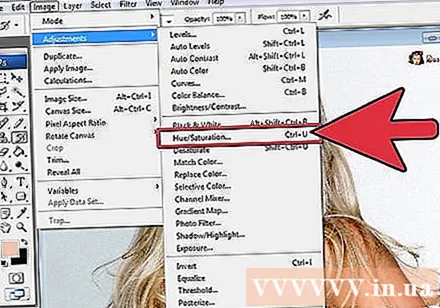
- Enter the appropriate value in the cell or use the slider to make adjustments.
Brightness adjustment. Use the same menu that you used when adjusting the color of the face.
Use the Brush. If you find there are some specific details that need attention, use the brush tool to make small changes. For example, if you notice that your eyes look faint, use a brush to soften them and try different brightness or colors.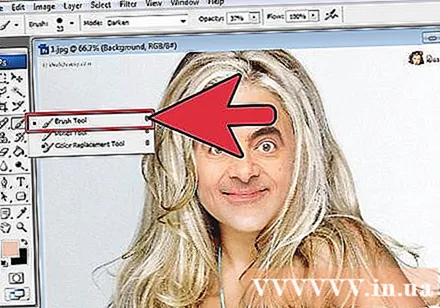
Checking process. Compare images to see if the collage looks real. If not, you need to re-align or blur the outline. advertisement


