Author:
Morris Wright
Date Of Creation:
2 April 2021
Update Date:
1 July 2024
Content
- Ingredients
- To step
- Part 1 of 3: Providing your kitchen
- Part 2 of 3: Grinding your flour
- Part 3 of 3: Using and storing your flour
- Necessities
- Tips
- Warnings
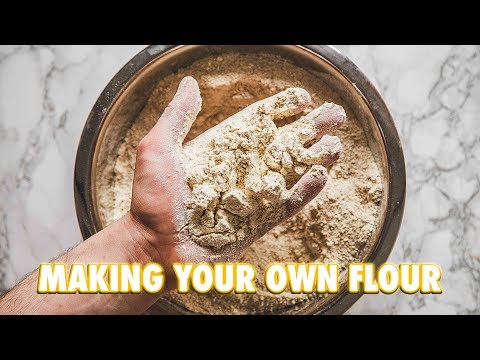
Most people probably think that flour is made somewhere by fairies who work long hours in a factory. The truth is, you can make it yourself in seconds. Why use that processed junk that, by standing on the shelves for weeks, contains less and less vitamins, while you can get the best quality right now? All you need is a grain that you can grind into flour and a machine to do that, like a coffee grinder.
Ingredients
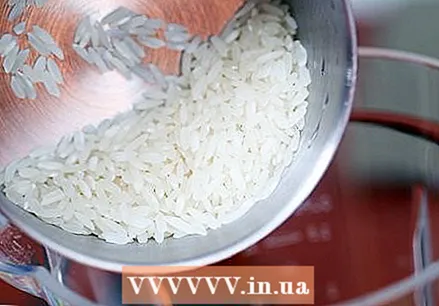
- Any type of grain, nut, or bean that can be ground, such as wheat, barley, oats, rye, quinoa, corn, rice, pea, or chickpea.
To step
Part 1 of 3: Providing your kitchen
 Buy your grains, seeds, nuts, beans.Almost all grains, nuts and beans can be ground into flour. Also try more exotic things like quinoa, popcorn, acorns and peas instead of the more traditional options like rice, wheat, oats and barley. Grains of fresh wheat, rye, oats, and the like can often be found in health food stores and sold in bulk. They are white, reddish brown, brown or amber in color. And it is also cheaper per quantity than the pre-processed stuff!
 - Know what kind of flour you want to make. Do you want wheat flour? Buy whole grains of wheat. Rye flour? Take rye grains. Making flour is not an exact science!
 If you are going for wheat flour, know which one you need for your recipes. Each type lends itself to a different use. Spelled, emmer and einkorn are making a comeback and they are also healthy versions of wheat. Hard red wheat (winter or spring) is best for yeast bread.
 - For breads that don't require yeast (such as muffins, pancakes, and waffles), soft white wheat is the default choice. Spelled, kamut, and triticale are also fine to use.
 Choose the grinding method. If you want to crank for hours before your daily forearm workout, that's fine. Or you throw the seeds / grains / nuts / beans in your blender / food processor / coffee grinder and let it do the work for you. If you use an electrical appliance, the higher the power, the finer the flour.
 - The hand mill has a real advantage: it does not produce heat, which means that the nutrients of the seeds are better preserved. Other than that, it just takes a lot more time.
- The main disadvantage of heavier electric mills is that they are just mills but the price can increase (the cheapest costs a few hundred euros).
- The only downside to using a blender / food processor / coffee grinder is that you don't get the finest quality of flour ("finest" here means the coarseness of the flour, not the quality of the grain). It all depends on the specific product you are using.
Part 2 of 3: Grinding your flour
 Put what you want to grind in your grinder / blender. Make the amount of flour you plan to use at this point - fresh flour can spoil very quickly. Fill the appliance about half way, so that there is room for grinding.
 - 1 cup of grain should yield just over 1 1/2 cups of flour. For beans and nuts, the same applies up to 1½ times the original amount.
 Grind the grains. If you are using a grinder, turn the crank until all the grain has been processed. If you use a blender, turn it on the highest setting and grind the grain for about 30 seconds. Switch off the appliance, remove the lid from the blender and use a spatula to stir the flour to be loosened. After stirring, put the lid back on the device and grind some more.
 - The mechanism determines the speed at which the grains are ground. If you use one of those fancy, high-performance blenders (like Blendtec or Vitamix), your flour will be ready before you can say, "Is the flour ready?" If you grind by hand, then hopefully you will have an afternoon off from work.
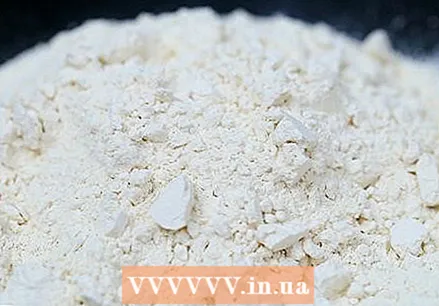
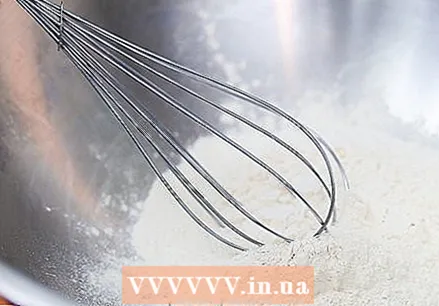
 Continue to grind the grains until the flour has reached the consistency you are looking for. You can check this by pouring the flour into a bowl and taking a close look. Feel for a moment to make sure you are satisfied with the texture (wash your hands thoroughly first!) And if not, continue grinding.
 - The coffee grinder will never be able to get the flour as fine as the flour from the store. Then what you need to do is pass the flour through a sieve to take out the larger pieces and get on with what's left. The result will still be delicious!
Part 3 of 3: Using and storing your flour
 Once you are satisfied with the flour, pour it into a resealable bag or container. You may need more than one if you made a lot of flour, but keeping it fresh will definitely pay for itself in the long run. And it's done: homemade flour for the dough of your dreams!
 - Keep the flour in a dark, cool place. This will prevent it from being unusable by pests and sunlight. If you want, you can put a bay leaf in the flour bag to prevent pests.
 If you make large quantities, keep them in the fridge or freezer. Whole wheat flour, in particular, will quickly turn rancid within a few months of being stored in a regular kitchen cabinet. If the color changes or it starts to smell strange (which will not happen if it is stored refrigerated), don't hesitate and just throw it away.
 - You can freeze the flour by storing it in a resealable freezer bag and putting it in the freezer. It remains good there for years. Don't forget to use some from time to time!
 First, experiment with your flour. You may find that your homemade flour tastes very different from what you expected and behaves very differently during cooking (that's because it's very fresh). So don't use it right away if you're looking for the very best results. Try to experiment a bit first.
 - Fresh flour gives the yeast more grip, so that more fermentation takes place. This can completely change the taste of recipes you've been making for years. It definitely should taste better!
Necessities
- A device for grinding (grain mill / food processor / blender / coffee grinder)
- Rubber spatula (optional)
- Strainer (optional)
- Come on
- Something to store the flour in so that it can be frozen
Tips
- Adding a teaspoon of lemon juice to every two cups of grain will help the flour to rise better.
- If you don't get the right texture with your grinder, try a blender to see the difference. Even though the hand mill is designed to grind grain into flour, a blender can sometimes accomplish this task more effectively.
- Note that different grains have different nutritional value. Do some research before choosing the raw material for the flour you want.
Warnings
- Wheat flour is extremely flammable. Keep the flour away from open fire!
- Like other crops, grains can contain contaminants and natural toxins, so wash them well before consuming them.


