Author:
John Pratt
Date Of Creation:
13 April 2021
Update Date:
25 June 2024
Content
- To step
- Method 1 of 5: Make flower-based drip paint
- Method 2 of 5: Make watercolor paint
- Method 3 of 5: Mix acrylic or oil paint
- Method 4 of 5: Making chalk paint for furniture
- Method 5 of 5: Make flower-based wall paint
- Tips
- Warnings
- Necessities
- Make flower-based drip paint
- Making watercolor paint
- Mix acrylic or oil paint
- Making chalk paint for furniture
- Make wall paint based on flower
Make your own paint with inexpensive ingredients, instead of going shopping for the ready-made version. Paint that is safe for children of all ages can be made quickly with flour or corn syrup. The more experienced artists can mix their own paint with raw pigment and a medium. If you have a DIY project for painting, try making chalk paint for furniture or a flower-based wall paint. Make your own paint for a satisfying and entertaining project that will also save you money.
To step
Method 1 of 5: Make flower-based drip paint
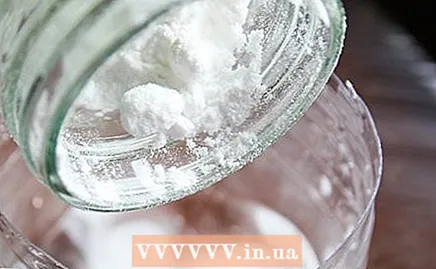
 Place white flour, water and salt in a bowl. Add 1 cup (240 ml) of warm water to a large bowl. Add 340 g flour and 340 g table salt. Mix the ingredients into a smooth liquid.
 - This provides a quick-drying and non-toxic paint that is safe for children of any age.
- Adjust the amount of each ingredient used to make more or less paint. Keep the ingredients in the same proportion.
 Divide the paint into separate containers. Divide the paint evenly among a few small bowls or squeeze bottles. Resealable plastic bags also work well with this type of paint.
 - With a zippered plastic bag, you can later cut a corner to let out an even drop of paint. This eliminates toppled paint pots and reduces mess.
 Add 2 drops of food coloring to the paint. Choose a paint color, then squeeze 2 or 3 drops of food coloring into the paint. Create a color palette for yourself by mixing a different color in each jar. You can add more drops if necessary if the color of the paint is not dark enough.
 - If you can't find a specific food coloring, mix some drops of other colors together. For example, try adding 3 drops of red and 1 drop of blue to make purple.
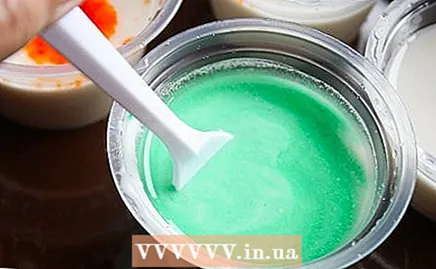 Stir the paint to mix the food coloring. If the paint is in open jars, stir it with a spoon or other utensil. Close bottles or bags and shake or squeeze them. Do this until the paint takes on a consistent color.
 - If you are using resealable bags, leave the bag slightly open so that the excess air can escape. Be careful not to squeeze the paint out of the opening.
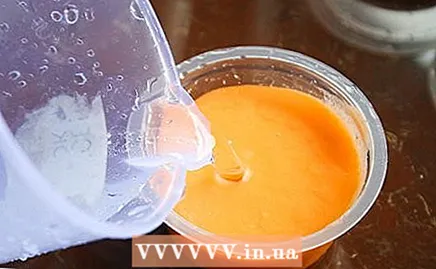 Add more water to thin the paint. Paint made with a flour mixture can turn out quite thick at first. To dilute the paint, gradually pour more water into the jar. Mix the ingredients until the paint is exactly as desired.
 - Since the paint is non-toxic, you can safely touch it with your fingers and even take it out of the jar.
- This paint is usually a bit thicker than the traditional store-bought paint, so it's not that easy to spread.
 Use the paint on paper and put the rest in the fridge. The best paper to use is watercolor paper from a craft store. The paper is made from wood pulp or cotton and can be more resistant than normal printer paper. You can also try similar flat surfaces, such as cardboard, cardstock, or canvas cloths. Store the excess paint in a closed storage container in the refrigerator.
 - You can safely use the paint for about two weeks. However, it can harden over time.
Method 2 of 5: Make watercolor paint
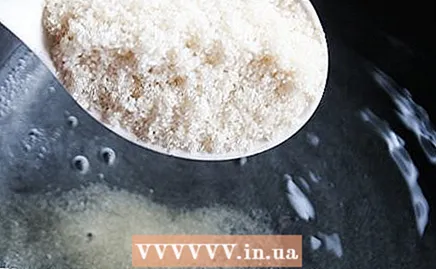 Boil sugar and water in a saucepan. Put 250 ml of water in a suitable pan on the stove. Stir in 450 g white sugar. Reduce heat on the stove to high until the water is boiling.
 - You can buy light corn syrup from the supermarket instead. You don't have to cook it. Mix the syrup with the other ingredients.
- This creates a non-toxic child-friendly paint. It is easier to spread and is more like the store-bought watercolors than the flour paint.
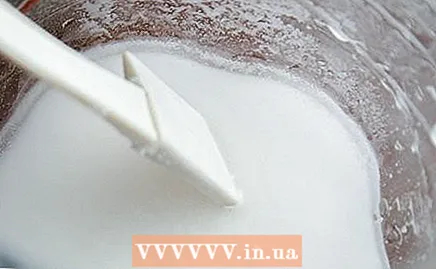
 Reduce the heat and stir the mixture into a syrup. After the water starts to boil, turn the heat down. Stir the sugar mixture continuously, for about 3 to 5 minutes, until the sugar is dissolved. Once the mixture forms a clear syrup, remove the pan from the heat.
 - Scoop up the mixture with a spoon to check for undissolved sugar crystals.
- The longer you cook the mixture, the thicker it will become after it cools. If you cook it for too long, it can burn.
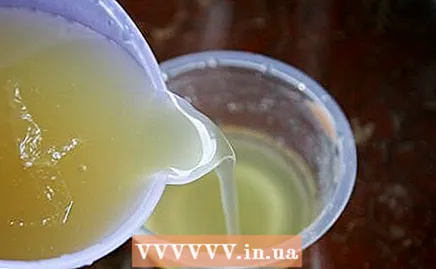
 Mix baking soda, cornstarch, white vinegar, and corn syrup. Pour about 1 ½ tablespoons (22 ml) of corn syrup from pan into a mixing bowl. Add about 45 ml of white vinegar. Also add 43 g baking powder and 43 g cornflour. Mix the ingredients into a smooth liquid.
 - You can find all of these ingredients in most supermarkets.
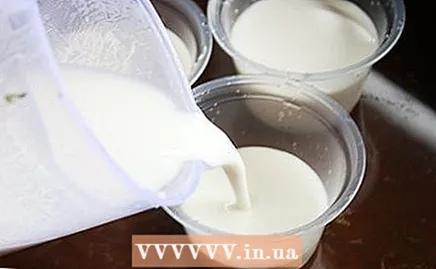
 Put the paint in small containers. Separate the paint into small bowls, such as tea light holders. Use a different bowl for each color of paint you want to make.
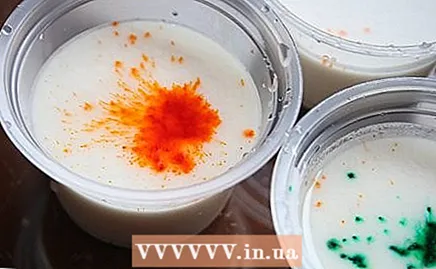
 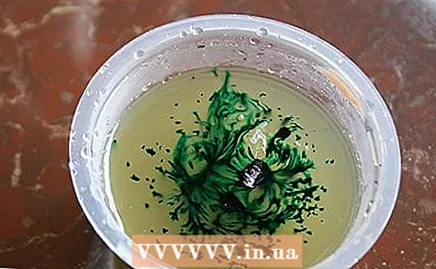 Add 2 drops of food coloring to the paint. Choose a few different dyes to add plenty of color to your artwork. Start with just a few drops of food coloring so that the paint doesn't get too dark. You can add more drops after mixing the paint.
 - If you can't find a specific color, mix different colors together to make it. For example, if you mix 2 drops of yellow and 1 drop of red, you can make orange.
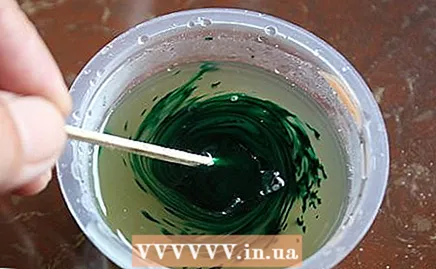 Mix the food coloring with a toothpick. Stir the paint around in the bowl until the food coloring has spread through it. Use a different toothpick for each bowl to prevent the colors from crossing each other. Then you can use the paint on paper. The best surface to use is watercolor paper, as it is more resistant to liquid paint than any other regular paper.
 - Wash off the brush after mixing the colors.
- This paint is the same as the store bought watercolors, so you can mix the colors on paper. The paint also dries slowly and dries faster under heat.
- The paint can be stored in a covered container in the refrigerator. It will usually last up to a few weeks. Discard it if you notice mold growing on it.
Method 3 of 5: Mix acrylic or oil paint
 Wear a dust mask to protect yourself from the paint. Since you are working with paint pigments and a medium, you must protect yourself by wearing a mask or respirator. You could also cover your arms by wearing long sleeves.
 - This paint is non-toxic unless you use metal-based pigments such as "cadmium red". However, this paint is not intended for use on the skin.
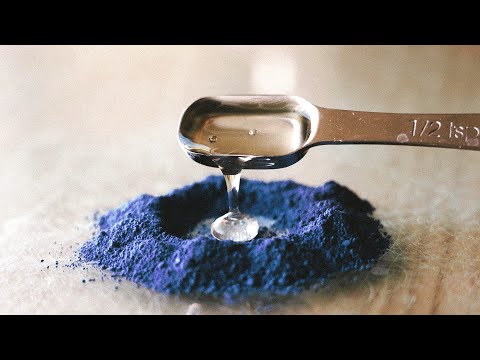
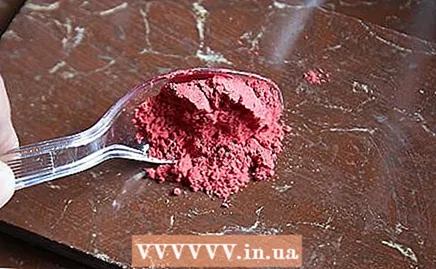 Put raw color pigment on a flat surface to mix. You need dry paint pigment in the color you want to make. Put about one tablespoon (15 g) of pigment on a surface, such as a paint palette or plate.
 - You can find dry paint pigment at hobby stores. Each pigment has a visible color and is appropriately labeled, such as "titanium white" or "red iron".
- Many artists use glass or stone plates. You can find plexiglass at a DIY store and use that to mix your paint.
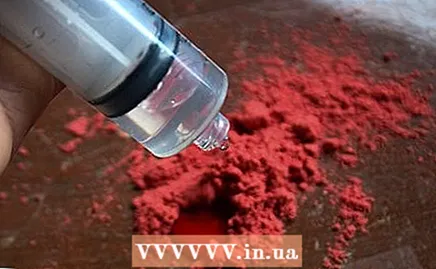 Pour 2 drops of water if you want to smooth the pigment. If you add a little water, you can give the paint the right consistency. Spread the paint to create space in the center of the pigment stack. Using a pipette or dropper, squeeze 2 or 3 drops of water into that area.
 - If the pigment is not completely smooth, the paint can look gritty when you use it later.
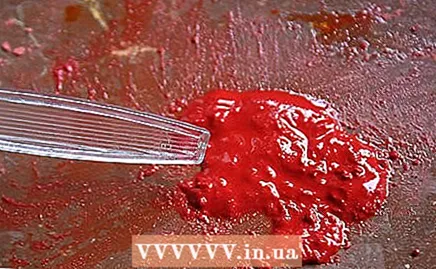 Mix the paint and water with a palette knife. Use a palette knife or spatula to spread the water through the pigment. Mix the paint until it has a smooth, sauce-like consistency. Try to remove any lumps of rough pigment that you see.
 - You may not be able to remove all lumps right away. This is fine because you can thin the paint again later.
- If you often make your own paint, consider purchasing a paint grinder online or at a hobby store. A paint grinder grinds and spreads raw pigment.
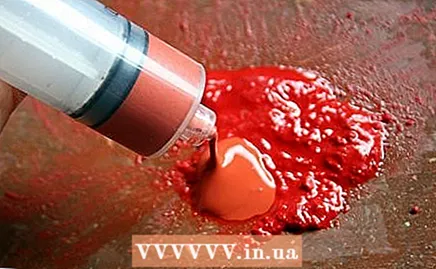 Add the paint medium to the pigment. Start with about 2 tablespoons (30 ml) of liquid paint medium. The medium you choose depends on the type of paint you want to make. Hobby shops sell a variety of acrylic mediums, or you can buy a vegetable oil to make oil color.
 - For example, you can use a gloss medium to make thin, transparent acrylic paint.
- For oil paint, use flaxseed, walnut or poppy oil.
 Mix the paint and add more medium for consistency. Use the palette knife or spatula to combine the pigment and medium. When the paint is the right consistency, it will look smooth, firm and a little glossy. Adjust the paint by adding more of the medium as needed, until it reaches the desired consistency.
 - Add the medium gradually while mixing it into the paint. Check the consistency regularly so you don't add too much.
- Excess paint can be spread on tin foil, wrapped tightly, and stored in a freezer for at least two to three months.
Method 4 of 5: Making chalk paint for furniture
 Mix water and baking soda together in a bowl. Put 45 ml of cold water in a mixing bowl. To do this, use tap water that has a lower temperature than room temperature. Then add about 110 g of baking acid.
 - This paint is an inexpensive way to give furniture an outdated look.
- The paint is non-toxic, but swallowing it could make you temporarily ill.
- The paint can also be made with plaster or unsanded grit, in place of baking soda. Use 110 g of both substances.
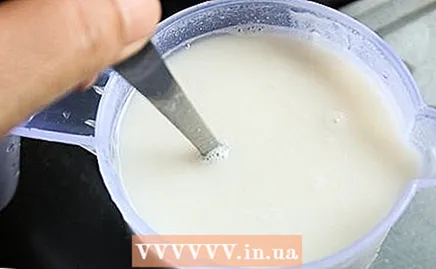
 Stir the mixture until it is smooth. Swirl the mixture in the bowl with a spoon or other utensil. Keep mixing until all of the baking soda is gone. The liquid should look completely smooth.
 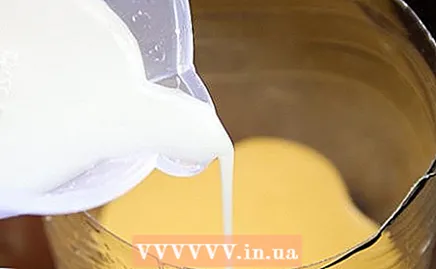 Put the mixture in a cup of latex paint. Place about 1 cup (240 ml) of latex paint in a paint bowl. The paint can be any color you want. Then add the baking soda and water mixture to the paint and stir it with a paint mixing stick.
 - You can buy latex paint at a DIY store. Make sure it's latex based. Oil paints are different and dry more slowly.
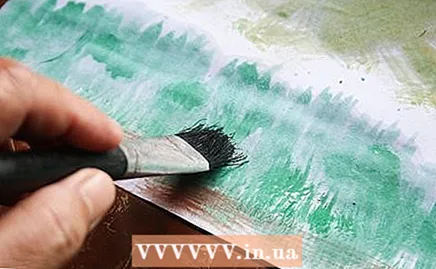
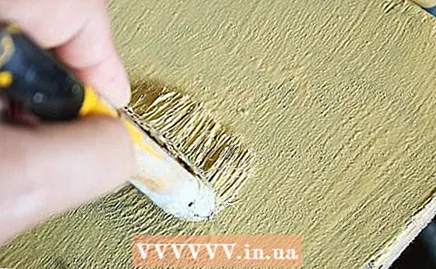 Spread the paint on the furniture with a brush. The chalk paint will look just as smooth as regular latex paint. It should be applied right away to the furniture you want to color. Apply the paint to the furniture to give it a chalky and aged look.
 - The paint will start to dry within a few hours. Wait about a day for it to dry completely.
- Once the paint is dry, you can even sand it with 180 to 220 grit sandpaper.
- To dispose of excess paint, leave it open. Since it is made with latex paint, it will dry on its own. Then you can throw it in the trash.
Method 5 of 5: Make flower-based wall paint
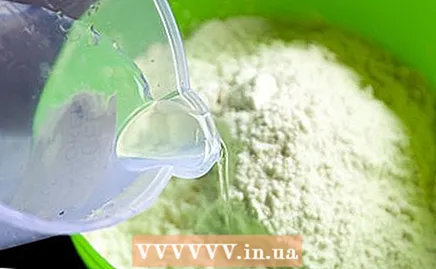
 Mix cold water and flour in a bowl. Make the mixture with cold water. Put 470 ml of water in a bowl. Mix it with about 450 g of flour and stir until smooth.
 - This mixture provides an inexpensive, non-toxic paint that can be used to give walls and other surfaces a matte finish.
- This paint is similar to store bought paint, so it will last for many years.
 Boil 350 ml of water on the stove. Put about 1½ cups of water in a saucepan. Turn up the heat on the stove and wait for the water to boil.
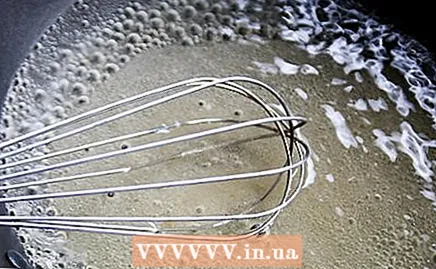
 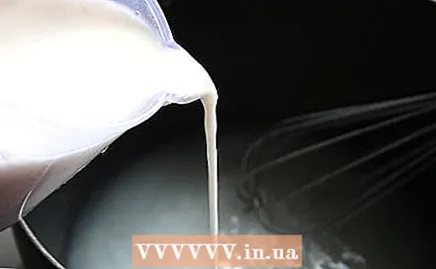 Reduce the heat and stir the mixture into a syrup. Reduce the heat and stir the mixture continuously with a whisk or other mixing utensil. The mixture should turn into a thick paste within three to five minutes. Once it becomes a paste, remove it from the heat.
 - Check the consistency of the paste to make sure it is thick. If it seems runny, let it cook a little longer.
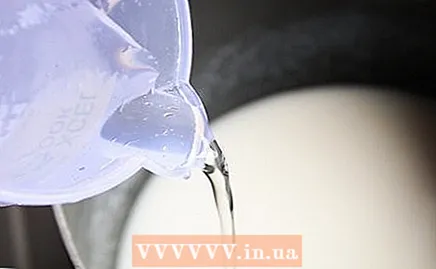 Stir 470 ml of cold water into the paste. Only use cold water so that the paste does not get too thin. Slowly put it on the paste and mix all the time. The water will dilute the paste to a paint-like consistency as you stir.
 - If you add the water too quickly, the paste can thin out more than intended so that it isn't thick enough to cover the walls.
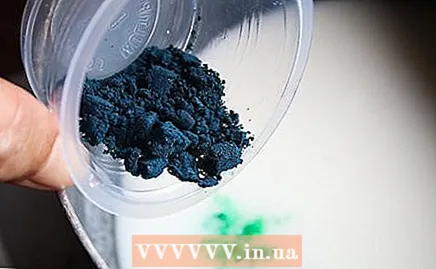
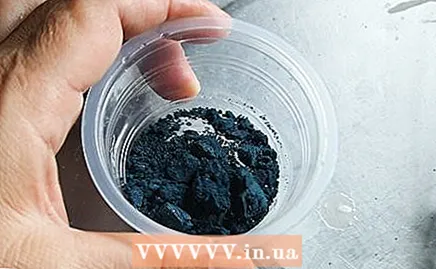 Mix sifted clay and powder filler in a separate bowl. In a bowl, mix approximately 230 g of sieved clay filler with 110 g of powder filler, such as mica or iron sulphate. These ingredients give the paint color and stability, preventing unsightly chips and cracks on the walls.
 - Sifted clay can be ordered online or from garden companies.
- Powder fillers are often available in do-it-yourself stores and can also be purchased online.
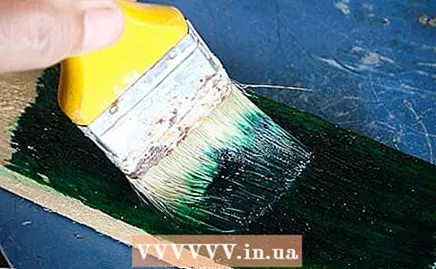
 Add the filling material to the paste. Slowly add the clay mixture to the paste and stir it constantly. Mix the ingredients until the paste has the desired consistency. You can then spread it over the paint surface with a brush, as you would with any normal latex or oil paint.
 - You can thin the paint further by boiling it for up to 30 minutes and then mixing in about 950 ml of linseed oil. Let it cool down before use.
 Use the paint and keep the excess in a sealed stock container. Apply the paint over the area to be painted and wait for the paint to harden. The paint dries in about one hour and hardens within 24 hours. You can apply a second coat of paint to keep it looking great. Move the surplus to a sealed storage bin, such as a paint can, in a closet, garage, or similar.
 - Well-stored paint should last about five to ten years.
- You can also leave the excess paint outside to dry and then throw it away in the trash.
Tips
- Paint can be made in many different ways, so choose a paint that is specific to your project.
- Adjust the amount of paint you make based on the amount needed to avoid wastage.
- Wear an apron to avoid paint stains.
Warnings
- If the paint is intended for very young children, make the paint from organic materials. The paint will not harm them should they ingest it.
Necessities
Make flower-based drip paint
- Mixing bowl
- 240 ml of warm water
- 340 g white flour
- 340 g table salt
- Squeeze bottles or resealable plastic bags
- Food coloring
Making watercolor paint
- Stove
- Pan
- 240 ml of water
- 450 g of white sugar
- 45 ml of white vinegar
- 43 g baking soda
- 43 g cornflour
- Tealight holders
- Food coloring
- Toothpicks
Mix acrylic or oil paint
- Dust mask
- 15 g of crude pigment
- Palette knife or spatula
- Palette or alternative surface for mixing
- Pipette
- Water
- 30 ml of liquid paint medium
Making chalk paint for furniture
- 45 ml of cold water
- 110 g of baking soda
- Mixing bowl
- Latex paint
- Paint bucket or tray
- Paintbrush
Make wall paint based on flower
- 1.3 l cold water
- 450 g baking soda
- Mixing bowl
- Spoon
- Stove
- Pan
- 230 g sieved clay filler
- 110 g mica or other powder filler
- Paintbrush


