Author:
Virginia Floyd
Date Of Creation:
12 August 2021
Update Date:
1 July 2024
Content
- Steps
- Part 1 of 2: Using a regular text editor
- Part 2 of 2: Clearing the List with Find and Replace
- Tips
- Warnings
If you ever want to print a list of songs from Windows Media Player, drag the contents of the library into the playlist, and then open the list in Notepad. After that, the document can be converted into plain text (a more convenient format than the standard Windows Media format) using the Microsoft Word Find and Replace function.
Steps
Part 1 of 2: Using a regular text editor
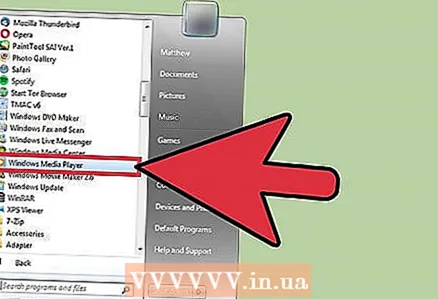 1 Open Windows Media Player. Windows Media Player is included as standard with the Windows operating system.
 - Enter "WMP" in the search box on the taskbar to find Windows Media Player.
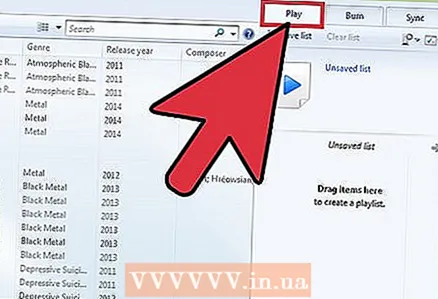 2 Click on the "Playback" tab in the upper right corner of the window, next to the "Record" and "Sync" tabs.
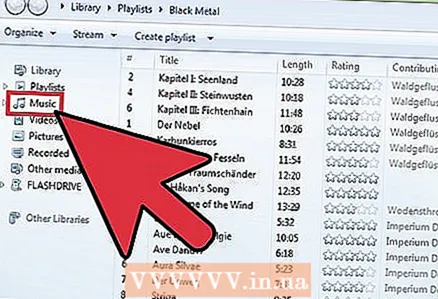 3 Click on "Music" in the options bar on the left side of the window.
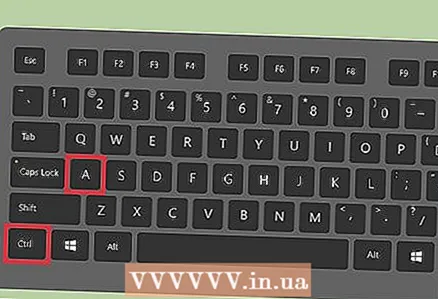 4 Click on a song and then hold down a key Ctrl and press Ato select the entire library.
 5 Click and drag the selected songs onto the Playback panel to add the library to a new playlist.
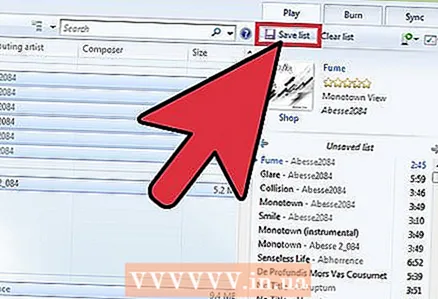 6 Click on the "Save List" option in the upper left corner of the playlist window. You will be asked for the name of the list.
 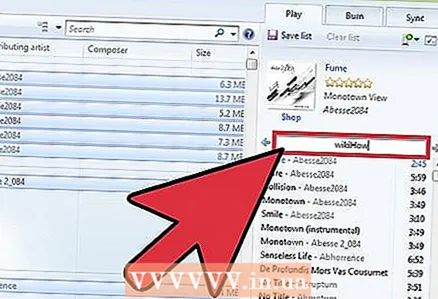 7 Enter a name for the playlist. When done press ↵ Enterto save the list. It will appear in the Playlists section on the left pane.
 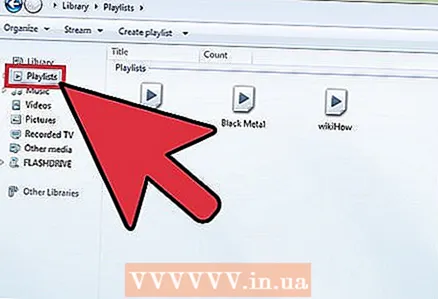 8 Click on the Playlists option to open the Playlists folder. Your list will also be here.
  9 Right-click on the list and select Open File Locations. This will open the folder containing the playlist file.
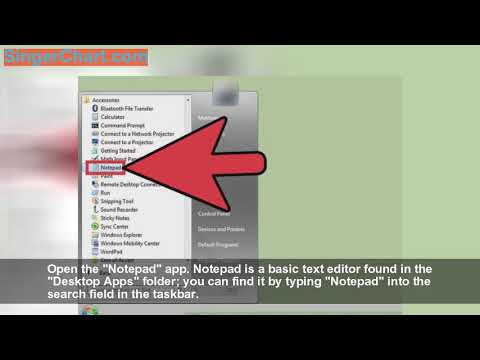
 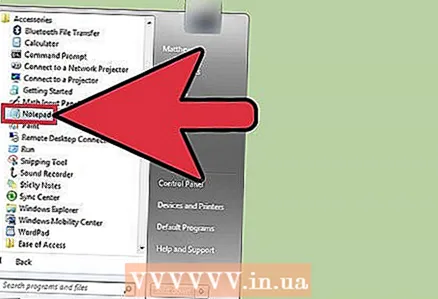 10 Open Notepad. Notepad is a standard text editor located in the Office Applications folder. Find this app by typing notepad into the search box on the taskbar.
 - Or open the Start menu, click on All Programs, and find the Accessories folder that contains Notepad.
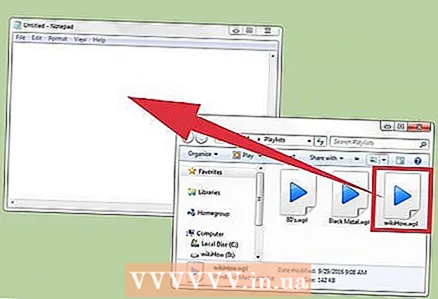 11 Click and remove the playlist file from its folder. The file must be dragged into the notepad interface.
 - To do this, place the Notepad on one side of the screen and the list folder on the other.
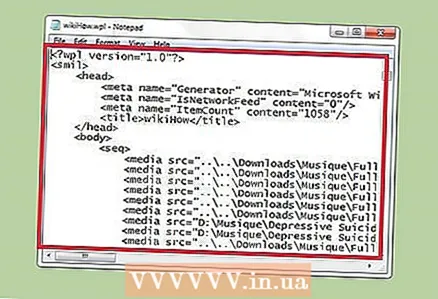 12 Drag the file to Notepad. You will see a long column of text appear on the screen. Notepad saves songs in directory format. This means that the song tags will look something like this: " destination folder Music [Artist name] [Album] [Song name]".
 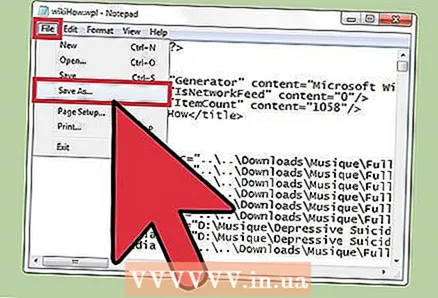 13 Save the file. To do this, click on the "File" button in the left corner of the Notepad, select the "Save As" option, name the file and click "OK". You have successfully saved your song list!
Part 2 of 2: Clearing the List with Find and Replace
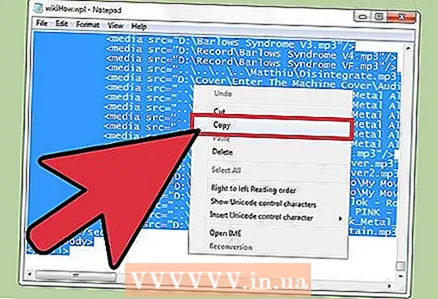 1 Copy the contents of the Notepad. Hold the key Ctrl and press Ato select all text in Notepad, then press the combination Ctrl+C.
 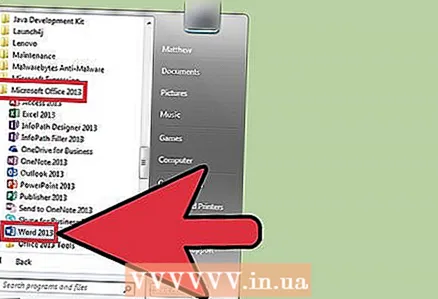 2 Open a new Microsoft Word document. If you don't have Microsoft Word on your computer, download the free version from Google Docs.
 - Depending on your version of Word, you may need to click on the New Document option to open a new document.
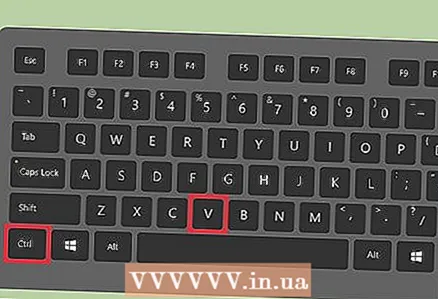 3 Paste Notepad content into Word. To do this, press the key combination Ctrl+V.
 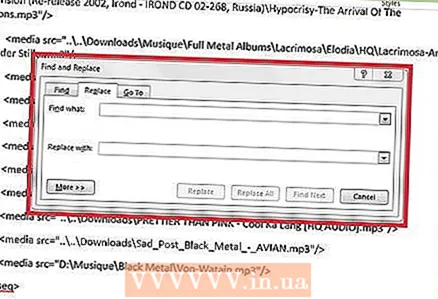 4 Check out the Find and Replace feature. To activate this function, you must press the combination Ctrl+H... Then enter the text that you want to find in the "Find" field, and the replacement text in the "Replace" field. With this feature, you can remove HTML tags from the song list, making it easier to read.
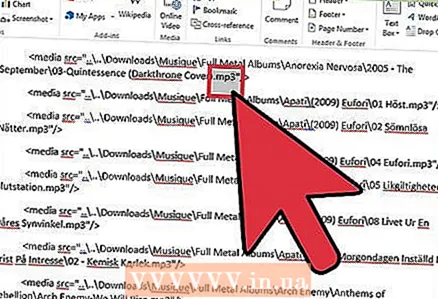
 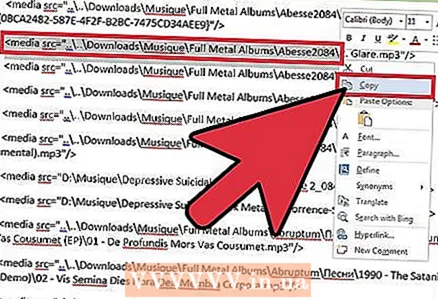 5 Copy the media tags and destination folder. To do this, select the label "media src =" .. "at the beginning of the line, and then copy it by pressing Ctrl+C... The text must be selected up to the artist's name, including "".
 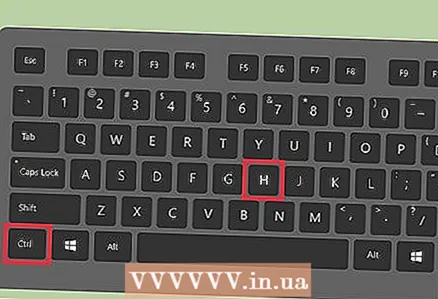 6 Run the Find and Replace function. Make sure that the cursor is at the beginning of the document, so that the find and replace function takes over the entire document.
 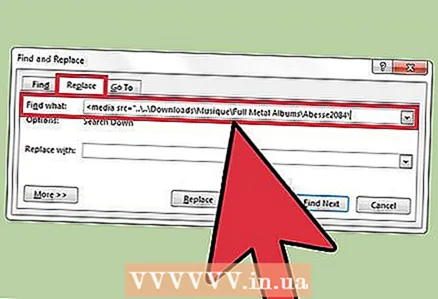 7 Paste the media tag into the Find box. Leave a blank in the Replace With field.
 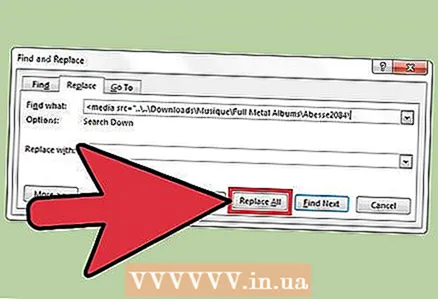 8 Click on "Replace All". If Word asks for permission to search from the beginning of the document, click Yes.
 - If the sections with music are in different folders, you will have to repeat this process several times.
 9 Remove file labels. File tags include mp3, .mp4, .wav, and more. They are located at the end of the line. Remove them by copying the text ". [File type]" /> "at the end of the line and pasting it into the Find field. In the Replace with field, insert a space.
 - If the files are in different formats, you will have to repeat this process several times.
- You should also replace the "" separator with a double space to separate artist names, album names, and song titles into separate columns.
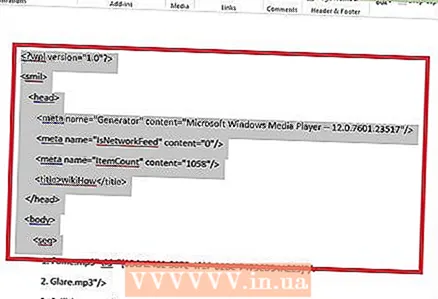 10 Remove the HTML text at the beginning and end of the list. There will be a series of HTML tags at the beginning of the paragraph and before the name of the first artist. The same marks will be at the very end. Highlight them and press Delete... This should be the last part of the text.
 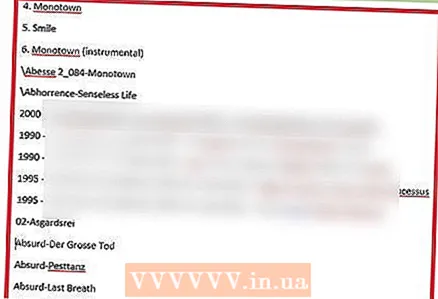 11 Review the list. The song list can now be printed in a readable format!
Tips
- After you paste the list into MS Word, select the No Spacing option at the top of the window to compress the list into a neater format.
Warnings
- Remember to save your list when you're done!


