Author:
Roger Morrison
Date Of Creation:
19 September 2021
Update Date:
21 June 2024

Content
Seeing a successful shave rewarded with razor burn - a common skin irritation after shaving - is of course very annoying. Razor burn can occur anywhere on your body, from your face to your underarms, from your bikini line to your legs. Fortunately, there are a number of ways to get rid of this uncomfortable and unsightly ailment. By following the steps below, you limit the risk of razor burn and other types of skin irritation that shaving can cause.
To step
Method 1 of 2: Change your shaving routine
 Use a new razor. Frequently used blades hit bone and also collect bacteria - two problems that make the burning sensation after shaving considerably worse. Change your razor every two weeks, or after five uses, and clean your blade thoroughly after each shave.
  Shave in the right direction. Shave with short, targeted strokes "with the hair growth". Shaving "Against Hair Growth" increases the risk of ingrown hairs, irritation, and a burning sensation. Shaving with long strokes usually puts too much pressure on the skin. This causes the razor to come into contact with the skin too much, possibly resulting in razor burn.
  Shave at night. When you shave in the morning, there is a good chance that this will precede the application of other products - think of deodorant, for example, after shaving your armpits. In addition, there is the possibility that you will sweat during the day. You can also come into contact with bacteria and toxins in the air. The combination of these things and a freshly shaved skin increases the risk of razor burn. Prevent this by shaving before going to bed. The chance that you will soil the shaved area is so much smaller.
 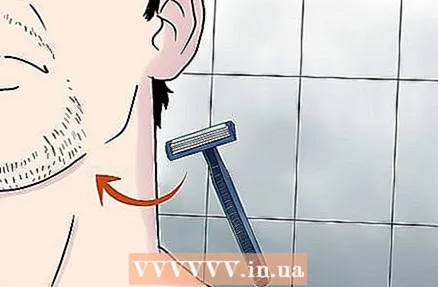 Shave in the shower. Even if you moisten the skin before shaving, the hair will not have enough time to soften. This does not make shaving any easier. Take a warm shower and start shaving after a few minutes; the heat and humidity will have softened your hair making it easier to remove. Don't wait too long, however, after about ten minutes your skin will swell slightly so that you end up with stubble after cooling and drying.
  Clean your blade regularly. If you shave without rinsing your blade, you increase the risk of razor burn. The build-up of hair and cosmetics between the blades means that you have to exert more pressure after each stroke. This increases the risk of cuts and irritation. Rinse your razor between each stroke you make to get rid of all hairs and clogs between the blades.
  Apply cold water to the skin. After every shave, apply cold water to the skin to close the pores. The skin contracts in this way so that small cuts and / or ingrown hairs are naturally counteracted.
  Dip your razor in rubbing alcohol. Do this after you have rinsed the blade for the last time. Razor blades last much longer than most people think. From time to time it may seem that blades get dull quite quickly. However, this is caused by microscopic "teeth" on the edge of the blade. These "teeth" are nothing more than mineral crystals from the water. These teeth tear along the skin so that the blade can sometimes get stuck. This can cause cuts and other types of skin irritation. The alcohol ensures that the water and minerals are displaced, and then evaporate without leaving any residue. Store your razor with the sharp side up.
Method 2 of 2: Treat razor burn
 Use a facial cleansing product.. Even if you don't shave your face, using a facial cleanser with salicylic acid will help kill bacteria on the skin and reduce the risk of razor burn. Rub the area to be shaved with a mild facial cleansing product. Then rinse it off before you start shaving.
  Use a shaving gel. Never shave with just water, and avoid shaving creams that can clog pores. Instead, apply a shaving gel to the area to be shaved, rinsing your razor between each stroke. The gel helps to protect the skin from the blades without clogging the pores.
  Use aloe vera. After shaving, apply a little aloe vera to the shaved area. This will help soothe irritated skin and prevent razor bumps. Leave it on for about 5 to 10 minutes before rinsing it off with cold water. Then pat the skin dry with a clean towel.
  Use an oatmeal mask. Oatmeal has been used for decades as a remedy for skin irritation and is ideally suited to treat razor burn. If you know that you are prone to razor burn, or are already starting to have a mild burning sensation, mix oatmeal with some milk and apply it to the skin. Let it sit for about 5 to 10 minutes, then rinse the skin with warm water.
 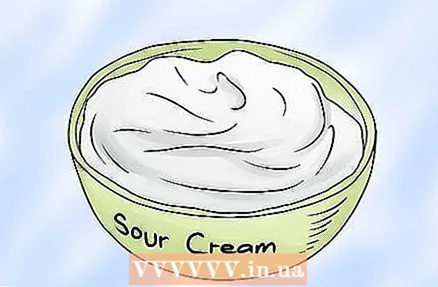 Use some sour cream. It may sound a bit strange or gross, but sour cream contains a number of nutrients that work really well against razor burn. Moreover, the cold cream feels wonderful on the irritated skin. Spread a dollop of sour cream on the shaved area and rinse it off after about ten minutes.
  Try an antibiotic ointment. Rub some antibiotic ointment onto the skin after shaving. This ensures that bacteria that try to settle in the pores (and cause the ugly shaving rash) are killed. Do this for several days in a row, or until the razor burn is reduced / removed.
 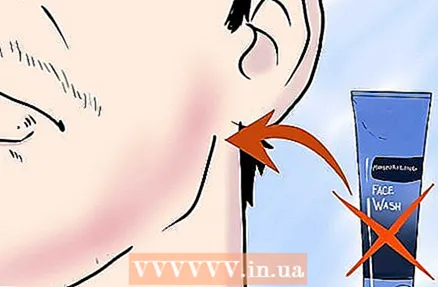 Watch out for allergens. Pay close attention to which components the products you use contain. Some ingredients may cause an allergic reaction, resulting in a rash. Otherwise, try shaving without shaving products for a few days, adding some products gradually. This way you quickly find out which product is the culprit.
Tips
- If you have sensitive skin, consider using a moisturizer. This ensures the correct lubrication, and also ensures that the skin is protected during shaving. This way you reduce the risk of skin irritation.
- If your face is very sensitive, apply an ointment / cream after shaving. This can soften the skin and reduce the risk of razor burn.
Warnings
- Don't share your razor.
- Do not use a bent or rusty blade.
- Be careful when handling razors. Do not test the sharpness of the blades with your fingers. If you do cut, change the wound well.


