Author:
Roger Morrison
Date Of Creation:
2 September 2021
Update Date:
1 July 2024
Content
Printing on a Mac is easy to learn. It is also important to know, because printing is a big part of our life. You can use it for work, for school, for business, and a lot more. Learn how to print on a Mac by going to Step 1 quickly.
To step
Method 1 of 2: Print via USB cable
 Install the printer software. An installation disc should be included with the printer. Depending on the manufacturer, it is also possible to download the necessary software online. Insert the disc into your computer, and follow the instructions to start the installation.
  Grab a suitable USB cable. This cable is included with most printers. You need the cable to connect the printer to your Mac.
  Connect your printer to your Mac. Plug the ends of the cables into the designated ports. The location of the USB port of your Mac depends on the model: with the laptops, the ports are on the side, with a desktop stop they are on the back. Make sure your printer is connected to the Mac and the printer is turned on.
  Navigate to the printer menu. Click the apple in the top left corner of your screen, click System Preferences, and choose "Printers and Scanners".
  Add the printer to your Mac. Click the + button, below the "Printers" window. A new window will unfold where you should be your printer. Select the printer, and choose "Add".
 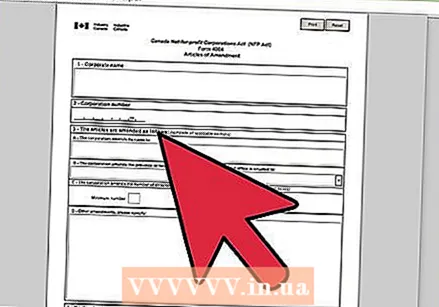 Open the document you want to print. Then click on "Archive" in the menu bar.
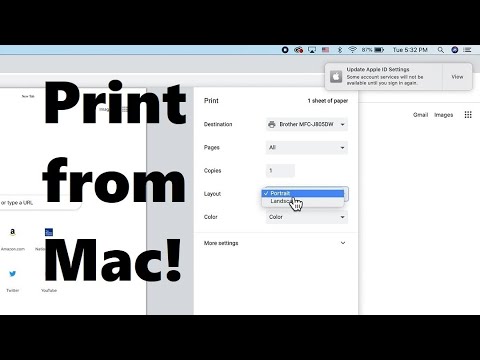
  Select "Print ..." at the bottom of the drop-down list. The print window will now appear.
  Choose a printer. Click on the first option you are in the print window. Select the printer you want to use. In most cases, the default printer is already selected. In this case, the printer you just added.
  Enter the number of copies you want. Enter the quantity next to "Quantity:"
  Select which pages you want to print. You can choose to:
 - Print "all" pages.
- Print "One" page from your document.
- Print a "Range". Enter the page numbers you want to print.
 Click the "Print" button to start printing.
- If you want, you can save the document as a PDF by clicking on "PDF", and then choosing "Save as PDF".
Method 2 of 2: Print via a wireless connection
 Connect your printer to your Mac via WiFi. Plug in the printer and turn on the printer. To be able to print via a wireless connection, your printer and your Mac must be connected to the same wireless network. Refer to the printer manual to learn how to connect the printer to a wireless network.
 - This will likely require you to reach the main printer screen and navigate to the wireless wizard. Make sure you have your network name and password ready.
 Update your OS X. Make sure the software on your Mac is up to date. To check that, click on the apple in the top left corner of your screen. Then click on "Software Update" or "App Store". The "App Store" will be opened. If you need to update your OS, that will come up.
  Add the printer to your computer. Navigate to System Preferences, then Printers & Scanners. Click the + button under the Printers window. Click on the printer you just added to the wireless network.
  Find the document you want to print. When you find it, double click on it to open it.
  Print the document. Click on Archive in the menu bar, and choose the print option. A list of options will appear. Make sure the correct printer is selected. Adjust the properties so that they meet your needs. Click Print.


