Author:
Roger Morrison
Date Of Creation:
21 September 2021
Update Date:
1 July 2024
Content
- To step
- Part 1 of 4: Preparing your workplace
- Part 2 of 4: Preparing the wood
- Part 3 of 4: Decide which techniques to use
- Part 4 of 4: Applying polyurethane lacquer
- Necessities
- Tips
Polyurethane lacquer is a protective lacquer that is applied to wood to protect it against wear and other damage. Whether you choose oil-based or water-based paints, you can choose from a variety of finishes, from high-gloss to matte. Application is quite easy: you sand the surface, apply a layer of polyurethane lacquer and repeat the process. Depending on the shape of the surface, you will have to decide whether to apply the lacquer to the wood with a brush or cloth.
To step
Part 1 of 4: Preparing your workplace
 Clean your workplace. Remove as much dirt and dust as possible from the area. Vacuum, mop and / or sweep all surfaces to clean. This way, fewer particles can stick to the wet layers of polyurethane lacquer.
 - If dust and other particles dry in the polyurethane lacquer, you will get an uneven surface.
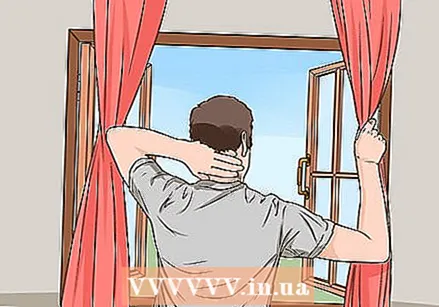 Ventilate the room. Open the windows together to create a flow of air so that the vapors from the polyurethane lacquer blow away while you work. Open a window and let a fan blow out. If possible, open a window on the other side of the room.
 - Never place a fan at your workplace, because then dust particles can be blown onto the wood while you are painting.
- Buy a breathing mask with a biological filter if it is not possible to properly ventilate the room and / or if you are sensitive to vapors.
 Prepare your work surface. If the wood to be treated can be moved, lay out protective material for the wood to lie on or stand on while you work. Use a tarpaulin, canvas, cardboard, or similar material. Whatever you use, make sure the material sticks out about three feet on all sides of the wood. Protect the surface under the wood to make clean up and cleaning a lot easier.
 - Also, make sure there are no objects nearby that shouldn't get dirty, in case you make a bigger mess than you actually want.
Part 2 of 4: Preparing the wood
 Remove the old paint. Remove all old layers of shellac, lacquer, wax, varnish and paint. Feel free to carry out the preparatory steps outside. Work in a place with better air circulation to make cleaning and tidying up a lot easier.
 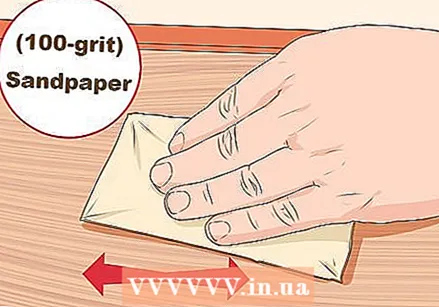 Sand the wood. Start with a 100 grit medium sandpaper if the wood is particularly rough to the touch. Then sand the wood again with fine sandpaper with grain size 150, and then again with very fine sandpaper with grain size 220. During the sanding sessions, look for scratches in the wood. If necessary, use very fine sandpaper to smooth out scratched areas.
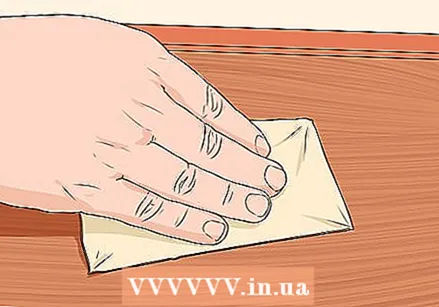
 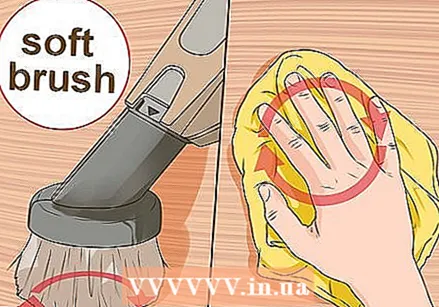 Clean up. Vacuum the wood and the area around it to remove all sanding dust. Use an attachment with a soft brush when vacuuming the wood to avoid scratching the surface. Then wet a lint-free cloth and wipe the wood with it to remove any dust particles you may have missed with the vacuum cleaner. Then wipe the wood again with a dry microfiber cloth.
 - If the polyurethane lacquer is oil-based, dampen your lint-free cloth with mineral spirits.
- In the case of water-based polyurethane lacquer, wet your cloth with water.
- Some people use tack rags to wipe the wood dry, but be aware that some tack rags contain chemicals that can reduce the adhesion of the polyurethane lacquer.
Part 3 of 4: Decide which techniques to use
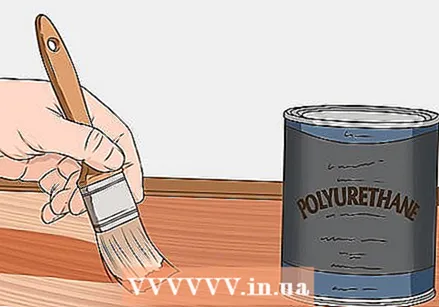 Smooth the lacquer with a brush on flat surfaces. Treat the largest areas with a brush. With a brush you apply thicker layers of lacquer, so you ultimately need to apply fewer layers of lacquer. Choose brushes with natural bristles if you're using oil-based polyurethane enamel, and synthetic-bristles if you're using water-based polyurethane enamel. Do the following when painting with a brush:
 - Stick the bristles of the brush two to three inches into the paint to apply paint to the brush.
- Spread the lacquer on the wood with long, even strokes and work with the grain of the wood.
- After each stroke, brush with the brush over all drops and outgrowths that need to be smoothed out.
- Make sure the strokes overlap each other half way to reduce the chance of skipping spots and making the paintwork uneven.
- After applying each coat, examine the wood to see if there are any drips and other areas that need to be touched up.
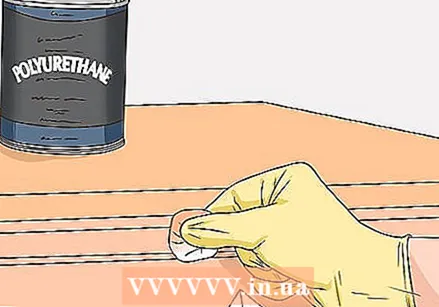 Wipe the paint on surfaces that are not flat. Wipe the paint on surfaces that are not perfectly flat to avoid drips, such as when using a brush. This technique will apply thinner layers of lacquer, so apply twice as many layers of lacquer as you would with a brush. Do the following when applying:
 - Fold a clean cloth into a square about the size of your palm to apply the layers of lacquer.
- Dip one edge in the polyurethane lacquer.
- Wipe the lacquer on the wood and work with the grain of the wood.
- Make sure that the strokes overlap each other to apply an even layer of lacquer.
 Spray the varnish in places where you have less access to it. Buy an aerosol can of polyurethane lacquer to treat areas that are difficult to reach with a brush or cloth. Be careful and always spray very briefly with the aerosol to prevent drips and run-outs, as you will also have difficulty reaching to remove them. Make sure to cover surrounding surfaces with protective material before applying the paint.
 - With a spray can you apply very thin layers of lacquer.
- Practice on scrap wood first to improve your technique.
Part 4 of 4: Applying polyurethane lacquer
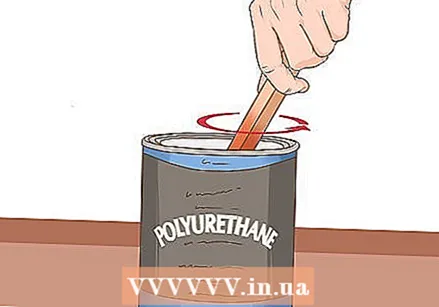 Stir the polyurethane lacquer. After opening the can, stir the lacquer with a stir stick to ensure a smooth mixture. The ingredients of the paint may have separated and settled to the bottom. Always stir instead of shaking. If you shake the can, bubbles can form in the paint and these can be applied to the wood intact, leaving an uneven finish.
 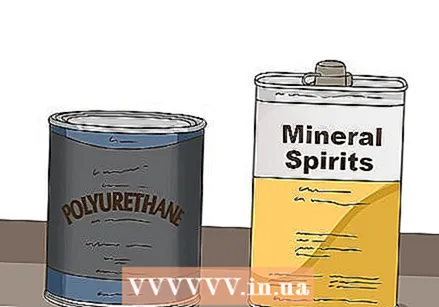 Apply thinned varnish to the wood. Use a clean mixing container to make a polyurethane lacquer and mineral spirits mixture. Mix two parts polyurethane lacquer with one part white spirit in the new container. Spread or sweep a single layer of this mixture onto the wood. Wait for the wood to dry before continuing.
 - Pure polyurethane lacquer dries in about 24 hours, but the drying time should be shorter if you dilute the lacquer with mineral spirits.
 Sand the wood again. From now on, always sand the wood before applying a new layer of lacquer. Remove all suckers, drips, bubbles and visible brush strokes. Use very fine 220 grit sandpaper to reduce the chance of scratching the surface. When you're done, vacuum and wipe the wood to remove any dust particles.
 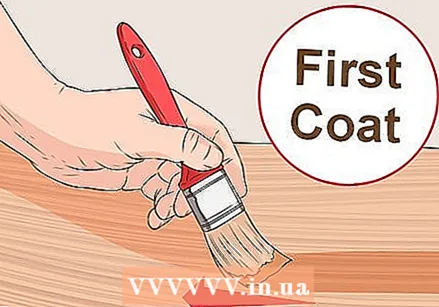 Apply the first coat of lacquer. After you have treated the wood with thinned lacquer, only apply pure polyurethane lacquer. However, always pour a small amount into a clean container instead of putting your brush or cloth in the can of lacquer. Make sure that the paint in the can is not spoiled by dust and other particles that have ended up on your brush or cloth.
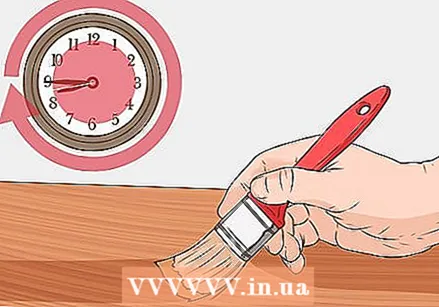
 - When you have applied the first layer, go again with your brush over the entire surface without applying new paint to your brush. Smooth out all drips and suckers.
- Then let the polyurethane lacquer air dry for 24 hours.
 Repeat the process. When the first layer of lacquer is dry, sand the wood again. Then apply a second coat of lacquer in the same way. Let the paint dry again for 24 hours. If you used a brush, two coats are sufficient. In places that you have treated with a cloth on aerosol, apply a total of four layers of lacquer.
Necessities
- Clean, ventilated workplace
- Protective material for your workplace (optional)
- Fans for ventilation
- Sandpaper (medium fine, fine and very fine)
- Vacuum cleaner with attachment with soft brush
- Lint-free cloths (for dusting)
- Turpentine
- Mixing bucket
- Polyurethane lacquer
- Stir stick
- Brushes and / or cloths (to apply the lacquer)
Tips
- The paint should look great when you're done, but you may need to brush the polyurethane paint regularly to keep it looking smooth and shiny.


