Author:
John Pratt
Date Of Creation:
18 April 2021
Update Date:
1 July 2024
![The Easiest Way to Age Brass at Home [Vinegar and Salt]](https://i.ytimg.com/vi/wp8CK9_PA1w/hqdefault.jpg)
Content
- To step
- Before you start: clean the brass
- Method 1 of 3: Ammonia
- Method 2 of 3: In the oven
- Method 3 of 3: Hard-boiled egg
- Necessities
- Ammonia
- In the oven
- Hard boiled egg
Patina is a natural deposit that forms on the surface of brass and other metals. By patinating brass objects you can give them an aged look that many people like. Over time, a patina layer will usually form naturally on the brass, but you can speed up this process by exposing the brass to some chemical processes.
To step
Before you start: clean the brass
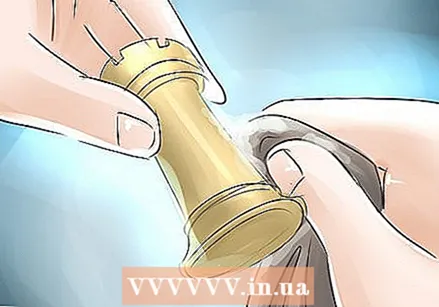 Clean all sides of the object. Use a mild liquid dish soap and warm water to scrub oil and dirt from the brass. Make sure to rinse all soap off the brass before proceeding.
 - Oil from your skin or other sources can form a film on the metal that prevents the chemicals that make up the patina from doing their job. If the object is not clean, the patination may be less successful.
 Apply baking soda. Sprinkle baking soda on the surface of the brass. Thoroughly scrub the baking soda-coated metal with a piece of steel wool with a coarseness of 0000.
 - Only scrub along with the grain of the brass. Never scrub against the grain, as this can cause unsightly scratches on the brass.
 Rinse off the baking soda. Run the brass under a running faucet to rinse off any baking soda residue.
 - Do not wipe the baking soda off the brass with your hands, as this will allow more oil to get on the surface of the metal. Now only use the power of the running water to clean the surface.
 Dry the brass well. Use clean paper towels to thoroughly dry the clean brass.
 - Again, avoid touching the clean metal with your hands.
Method 1 of 3: Ammonia
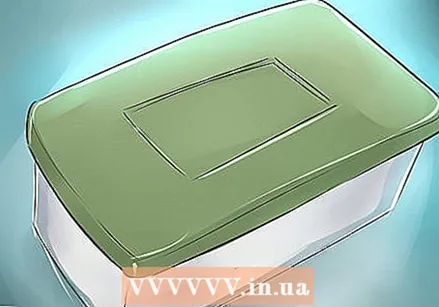
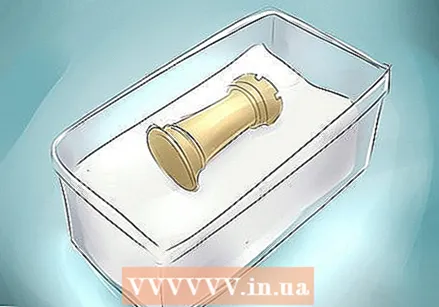 Line a deep plastic container with paper towels. Crumple a few clean paper towels and put them in a plastic container with a lid.
 - The tray should be deep enough for the paper towels to fit in with the brass object, plus another layer of paper towels that you will put in later.
- A clean container that once held sour cream, cottage cheese or other food is perfectly suitable. Make sure the container is clean and has a tight-fitting lid.
- Never use this container to store food afterwards.
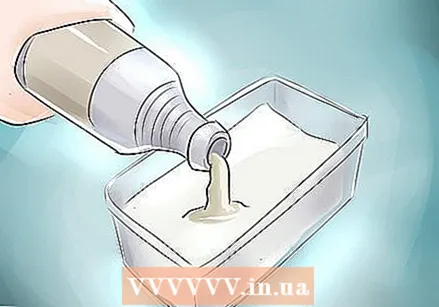 Soak the paper towels with ammonia. Pour ammonia over the paper towels in the container and use enough to soak them.
 - Ammonia is a dangerous chemical, so only do this in a well-ventilated area. Also, protect your eyes with safety goggles and your hands with plastic or rubber gloves.
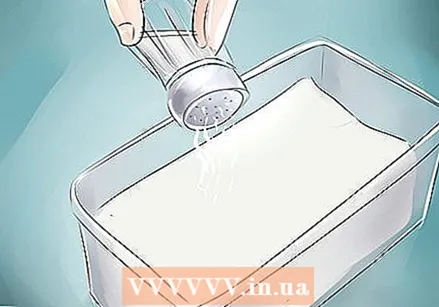 Sprinkle salt on top. Sprinkle a generous amount of table salt over the paper towels in the tray. Make sure the surface is evenly covered with it.
  Place the brass in the container. Place the brass object directly on top of the soaked and salt-covered paper towels. Press gently on the object so that the bottom and sides of the brass come into direct contact with the ammonia and salt.
  Cover the item with more ammonia-soaked paper towels. Crumple another clean paper towel and place it on top of the brass object. Pour ammonia onto the kitchen paper so that it is well soaked.
 - Use as many paper towels as needed to cover the entire outside of the item.
- Lift the paper towels as well and sprinkle a thin layer of salt on the brass. Then cover the object again with the ammonia-soaked paper towels.
 Put the lid on the container. Put the lid on tightly and set the container aside for a few hours to days.
 - Place the box in a safe place, away from children and pets.
- During the process you will have to look at the object from time to time until the brass has obtained the look you want. A gentle patina should develop within minutes, but you will have to wait a day or two to achieve a heavily altered or aged appearance.
- For best results, check the patina every 30 to 60 minutes.
- Note that the paper towels will also change color during the process.
 Finish the brass. When the brass has taken on the look you want, remove the item from the tray and set it aside on a clean paper towel to let it air dry. After it has dried, rinse the ammonia residue off the object with running water and let it air dry again.
 - If the patina layer is too dark or too thick, make it thinner and lighter by scrubbing the dark areas with 0000 coarseness steel wool.
- After a day or two, you can also finish the item with clear varnish or soft wax to protect the patina.
Method 2 of 3: In the oven
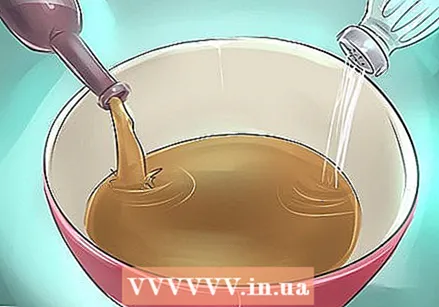 Make a vinegar and salt solution. Mix five parts dark vinegar with one part salt. Mix well to dissolve the salt.
 - Prepare enough of the solution to completely cover the brass object.
- Use a plastic or glass container. A metal container can react with the chemicals, disrupting the process.
- Dark vinegar refers to any vinegar with a dark color, such as black vinegar or balsamic vinegar.
 Soak the brass in the solution. Immerse the brass object in the salt and vinegar solution, making sure all sides are covered. Let the item soak for an hour or more.
 - If you put more than one object in the solution, make sure that during this part of the process the objects do not cover or touch each other.
 Meanwhile, preheat the oven. Preheat the oven to a temperature of 200 to 230 degrees Celsius.
 - The higher the temperature, the clearer and stronger the patina will become.
- If you want, you can prepare a metal baking tray by lining it with aluminum foil. You can omit the foil, but the baking sheet can discolour if you don't protect it.
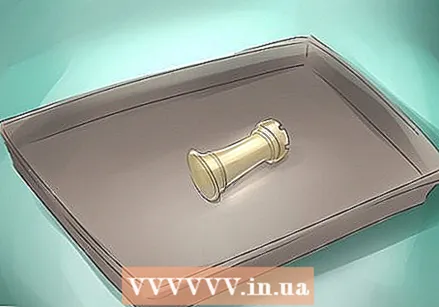 Fry the brass object. Remove the item from the vinegar solution and place it on the metal baking tray you just prepared. Bake for an hour or until you like the patina that forms.
 - Note that the final patina will look different from the resulting patina.
 Soak the item again in the solution and continue baking. Remove the brass from the furnace and immerse it completely in the solution for an additional five minutes. Then return the item to the oven and bake it for another half hour.
 - Use pliers to grip the brass as the metal will be very hot.
 Immerse the brass back into the solution. Remove the object from the oven with tongs and dip it again in the vinegar solution so that it covers all sides.
 - Submerging the brass once more creates a blue-green patina layer. However, if you don't want this color, skip this step and move on to the next step after removing the item from the oven.
 Dry and cool the brass. Place two or three sheets of wax paper on top of each other and then place the brass object on top. Leave the item aside until it is dry and cold to the touch.
 - This can take from a few hours to overnight.
 Finish the brass. A nice patina should have developed by now, so theoretically you can leave the brass as it is. If you wish, you can polish the object with a clean cloth to give it an even nicer look. You can also use steel wool with a coarseness of 0000 to lighten the patina.
 - Consider finishing the item with clear varnish or soft wax to protect the patina.
Method 3 of 3: Hard-boiled egg
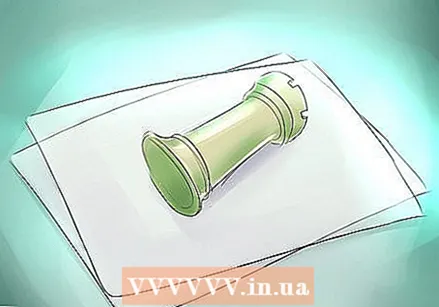
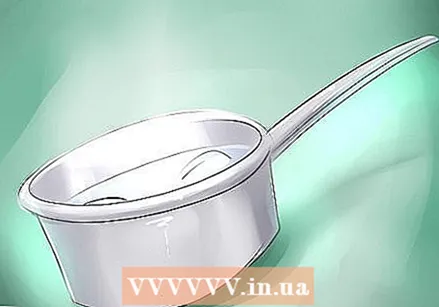 Prepare a hard-boiled egg. Place an egg in a small saucepan and cover it with an inch of cold water. Place the saucepan on the stove and bring the water to a boil. When the water boils, immediately turn off the gas and cover the saucepan. Let the egg boil in the warm water for another 12 to 15 minutes.
 - Consider adding a pinch of salt to the water before boiling to make it easier to remove the shell from the egg.
- Turn off the gas immediately after the water starts to boil.
- If you cook the egg this way, it will not overcook.
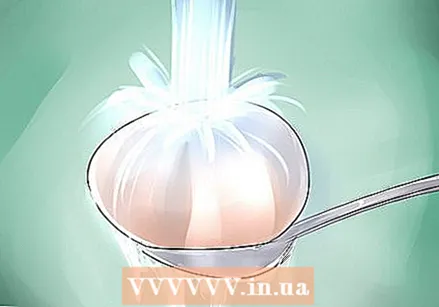 Stop the cooking process. Remove the egg from the hot water with a slotted spoon and rinse thoroughly under cold running water. Run the egg under cold water until it is cold enough to touch, but not ice cold.
 - Scaring the egg makes it easier to work with. This also makes it easier to remove the eggshell from the boiled egg whites. If you are using an egg for patination, it is best to keep it slightly warm. So make sure that the egg does not cool too much.
 Peel the shell from the egg. Roll the egg gently on a flat surface to crack the shell. Then peel away the rest of the shell with your fingers.
 - Try to keep as much of the egg as possible, but don't worry if you lose a few pieces of the egg white while peeling. The egg should still produce enough sulfur to patinate the brass.
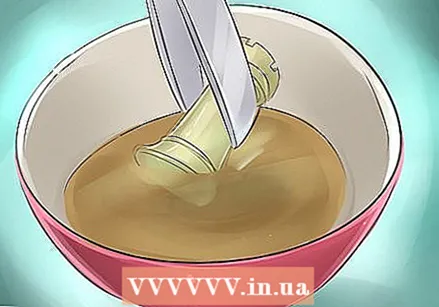
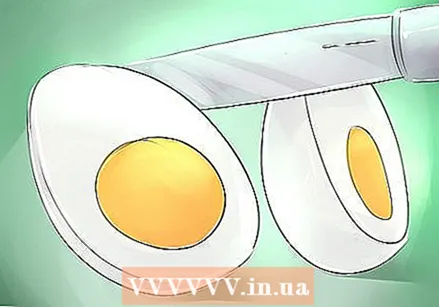 Cut the egg in half. Using a kitchen knife, cut the egg in half lengthwise. Remember to cut both the egg white and yolk in half.
 - Keep the yolk and egg white together and don't separate them.
- The yolk plays an important role in this process, so make sure to expose it at this step.
 Place the egg and brass in a plastic bag. Place both halves of the boiled egg in a resealable plastic bag, along with the brass object.
 - Only use a bag that you can seal airtight.
- The brass does not have to touch the egg.
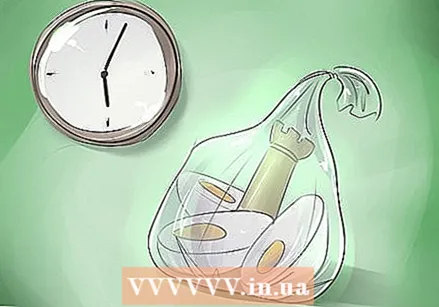 Set the bag aside. Leave the bag at room temperature for several hours. After several hours have passed, you should see a subtle patina forming on the brass.
 - The egg yolk gives off sulfur gas. This gas creates a patina layer on the brass.
- Keep the egg and the brass in the bag until you like the patina that has formed.
- Note that the bag can start to smell very strong during this process. You may want to put the bag aside in a garage or unused room during the process.
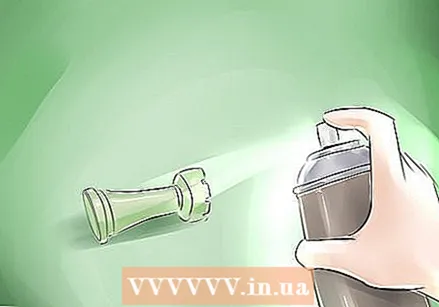 Finish the brass. Remove the brass from the bag and discard the egg. It is recommended to finish the brass object with clear varnish or soft wax to protect the patina layer.
Necessities
- Liquid dish soap
- Water
- Baking soda
- Steel wool with a coarseness of 0000
- Paper towels
Ammonia
- Plastic container with a lid
- Paper towels
- salt
- Gloves
- Safety glasses
- Steel wool with a coarseness of 0000
- Clear varnish or soft wax for the finish
In the oven
- Vinegar
- salt
- Small plastic or glass container
- Oven
- Metal baking tray
- Aluminum foil (optional)
- Tang
- Waxed paper
- Soft cloth
- Steel wool with a coarseness of 0000
- Clear lacquer or soft wax for the finish
Hard boiled egg
- An egg
- Small saucepan
- Skimmer
- Knife
- Resealable plastic bag
- Clear lacquer or soft wax for the finish


