Author:
Tamara Smith
Date Of Creation:
23 January 2021
Update Date:
1 July 2024
![The Easiest Way to Age Brass at Home [Vinegar and Salt]](https://i.ytimg.com/vi/wp8CK9_PA1w/hqdefault.jpg)
Content
- To step
- Method 1 of 4: Preparing the brass
- Method 2 of 4: Using salt water or vinegar
- Method 3 of 4: Using an aging agent
- Method 4 of 4: Using ammonia vapors
- Tips
- Warnings
- Necessities
- Preparing the brass
- Use salt water or vinegar
- Using an aging agent
- Using ammonia fumes
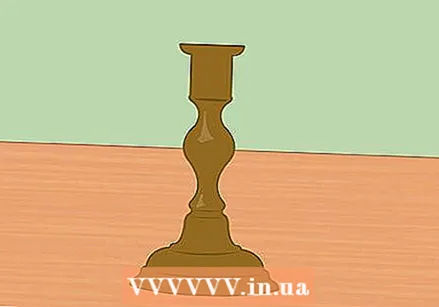
New brass has a shiny, golden color, but over time it darkens and takes on a green, brown, or reddish patina. If you like older brass to look better, there are several ways to speed up or imitate the aging process. Read on to find out how and how to prepare the brass ahead of time to make sure the aging process is working.
To step
Method 1 of 4: Preparing the brass
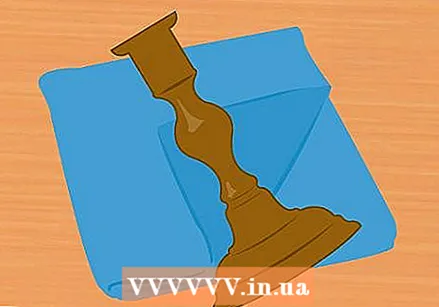
 Make sure the item is made of brass. Some other metals are very similar to brass, but will react differently to these aging methods. Incorrect handling can corrode the item, so take it to an antique store or an expert if you can't figure out for yourself whether it's brass or not.
 - Clean brass has a shiny, golden brown color. The most similar metals are copper, which is brown or pink and brown, and bronze, which has an even darker brown color.
- Brass is a bit magnetic, but only reacts clearly to a powerful magnet. If a small magnet sticks strongly to the surface of the object, then you probably have an object made of a different metal and then brass plated. This means that a thin layer of brass has been applied over the other metal.
 Find out what to do if your item is not made of brass. If your item is only brass-plated, try using a mild detergent such as vinegar or salt water. More aggressive agents can eat through the thin layer of brass. If you want to make a copper item look older, find instructions on how to do it. To give bronze an old look, buy an aging agent that is specially designed for bronze and follow the steps under the heading "Using an aging agent".
 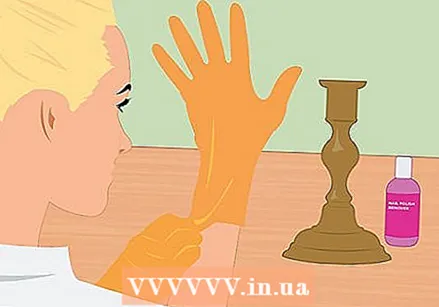 Remove the lacquer layer with nail polish remover if the brass has been lacquered. Lacquer is a transparent, hard, protective finish that prevents the brass from oxidizing. This is the aging process you are trying to accelerate or recreate. Apply the nail polish remover, also called acetone, to the object to remove the polish.
 - Wear rubber gloves and work in a ventilated area to avoid inhaling fumes.
- Soak small items in the acetone.
- Use a paintbrush to apply the chemical to large objects. Make sure to cover every corner of the object with acetone.
- Methanol, paint stripper or paint thinner will also remove the paint layer.
 Pour hot water over the item after treating it with nail polish remover. Wait a few minutes or until the lacquer layer starts to flake or dissolves into a liquid paste. Wash the item with hot water to remove the paint.
 - Check the item to make sure there are no paint residues. Modern brass objects are often protected with a solid layer of lacquer. You may have to make several attempts to completely remove this paint.
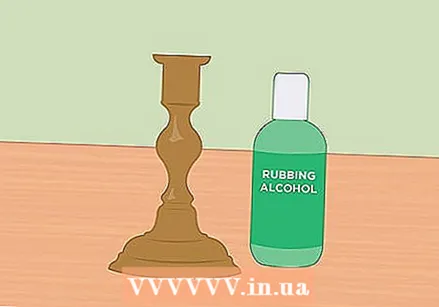 Clean the object with milder cleaning agents if it has a thin or no protective coating at all. If the item feels greasy or has a thin coat of polish, you can probably clean it with a cloth soaked in rubbing alcohol or a mixture of equal parts vinegar and water. If the brass has not been treated at all, a thorough washing with soap and water should be sufficient to prepare the item for the aging process.
 - Wear gloves even if you use skin-safe cleaning products. This is because oil from your hand can get onto the brass, so that the object does not have an even old appearance.
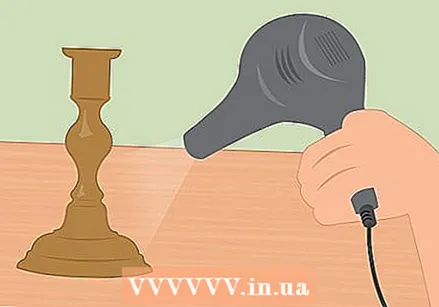 Dry the item completely before continuing. Do not start the aging process until the brass is completely dry. With a hair dryer, a propane burner, or an oven, you can make the item dry faster.
 - Be careful when heating a brass object that has recently removed the paintwork. If the object still contains paint residue, it may burn or vapors may be released. Dry the brass object in a well-ventilated area and make sure there are no easily flammable objects nearby.
- You can now use any of the methods described below. If you are not sure which method to use, read the first step of each method to find out its benefits.
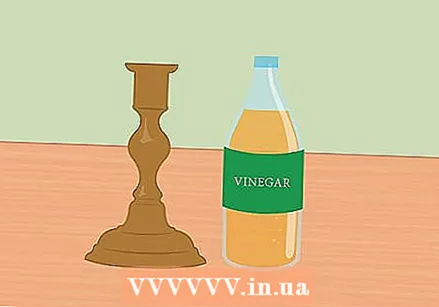
Method 2 of 4: Using salt water or vinegar
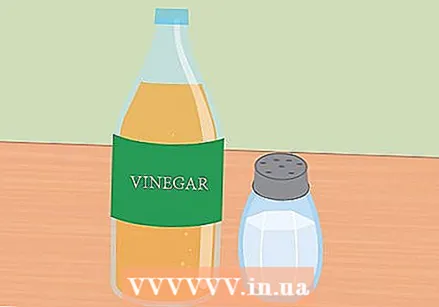 Use vinegar or salt water to safely and easily give your brass item an old look. You can use any kind of household vinegar or even table salt dissolved in water to make brass look older. It may take longer than with the other methods before you see the effect. If you use vinegar it will take several hours, and if you use salt water it will take several days. However, you don't have to use dangerous chemicals and you probably already have the necessary supplies in your kitchen cupboard.
 - Prepare the brass as described above. This way you can be sure that the aging process is working.
- Wear rubber gloves with all methods to avoid getting oil on the brass.
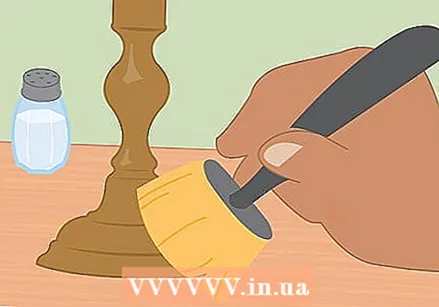 Treat the object with salt water to give the brass a slightly darker color. A mixture of equal parts table salt and water will cause the brass to oxidize. You simply accelerate the natural aging process that all brass undergoes. Apply it all over the surface with a small paintbrush and repeat the process daily until the brass has a look you like.
 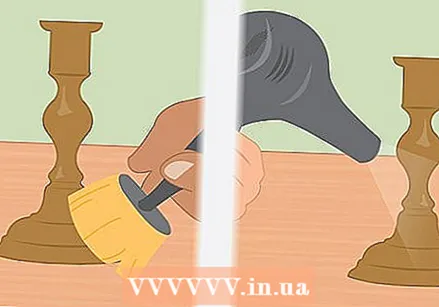 Cover the brass with a layer of vinegar to make it look even older. Apply the vinegar with a brush or simply dip the item in any type of vinegar. Let the item dry, then apply another coat of vinegar if you want to give it a darker color.
 - Mix a spoonful of table salt into the vinegar to give the brass a greener patina.
- If you heat the brass with a hair dryer or an oven set to a temperature of 230ºC, you will get a clearer result. You will then need oven gloves or thick garden gloves to be able to handle the object at this temperature.
 Treat the brass with vinegar fumes to give it a warm, brown look. You won't get the authentic look that you get with ammonia or an aging agent, but some people prefer the gingerbread-like look it gives it. In any case, it is safer and cheaper than those methods.
 - Pour some vinegar into a plastic bucket with an airtight lid.
- Place wooden blocks or other objects in the bucket so that you have a stable, flat, and dry surface above the vinegar layer.
- Place the brass on top of the objects.
- Put the lid on the bucket to seal in the vinegar fumes. Let the vinegar fumes act on the brass for several hours or overnight.
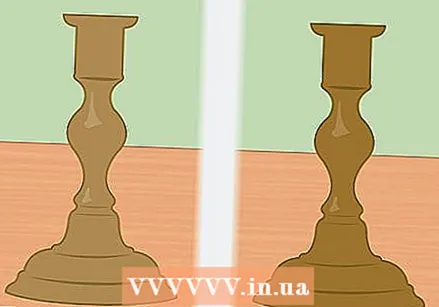
 No matter which method you used, clean the brass with warm water and dry it. You may have to treat the brass several times, but when the brass has acquired the look you want, clean it with warm water. Gently dry the item with a towel or a heat source.
 - When the brass is dry, you can keep the color by applying a coat of special brass or wax varnish.
Method 3 of 4: Using an aging agent
 Buy an aging agent to make the brass look old quickly. This method is the fastest of all, but you have to buy a special product for it. These products are available under the name "aging agent" or "patination agent". The appearance of the brass depends on the brand you choose. The process will be roughly the same for all products.
 - Always follow the instructions for the first method of this article before starting any of the aging methods.
- This is not a good method to use if you are unsure whether your item is solid brass. Otherwise, use salt water and vinegar.
 Use rubber gloves and safety goggles and provide good ventilation. Aging agents can contain a variety of chemicals, most of which can damage your skin and eyes or release toxic fumes. Protect yourself with some personal protective equipment and open the windows before you start.
 - Use particular care if the product contains any of the following hazardous chemicals: ammonia, acetic, nitric or sulfuric acid.
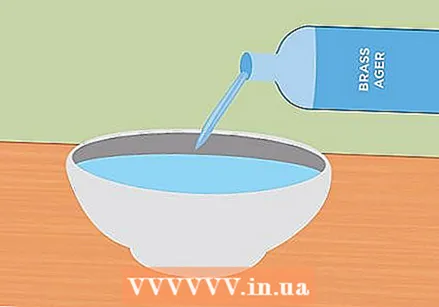 Dilute the aging agent according to the manufacturer's instructions. Read the packaging carefully. Some products may not need to be diluted, while other products should be diluted in a ratio of 10 parts water to 1 part aging agent. Use room temperature water and mix in a ceramic or plastic container large enough to immerse the entire brass object.
 - Do not use a container made of other materials. The acids in the solution can attack these materials.
- Do not overfill the container. Leave space to put the brass object inside without overflowing the tray.
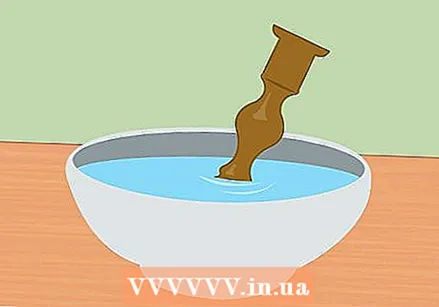 Put on gloves and move the brass object under the surface of the solution. Hold the object in the waist and move it back and forth to get rid of air bubbles. Make sure the product covers the entire object, but does not get to the edge of your gloves.
 - Air bubbles that remain on the brass cause shiny spots in the places where the brass has not come into contact with the agent and is therefore not outdated.
- While wearing gloves, turn the brass object over so that it works evenly on the entire surface of the object.
 Watch the color change and take the item out of the bin when it gets the color you want. It should take a few seconds to a few minutes for the color to start changing from pink to red to brown to black. Remove the item when it is the color you want.
 - If you plan on giving the item light spots (see below), make it slightly darker than your desired color.
- Don't be afraid to screw up the brass. If you took the item out too soon, simply put it back in the bin and move it through the solution. If you took it out too late, scrub it with a scouring pad or lightly treat with steel wool to get the color off so you can give it another try.
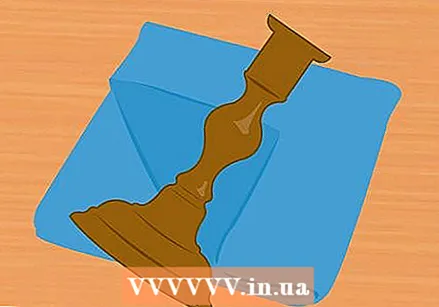
 Rinse the item to give it light spots (optional). Rinse the brass with hot water and remove the white powder with a sponge or scouring pad. You now get a shinier object with light accents, as opposed to the darker, even patina that the object had right after the treatment.
 - If you are trying to get a black or almost black patina, this will work better if you dip the object in two or three stages and rinse the object after each stage.
 Dry the object evenly. When you are satisfied with the color, dry the entire object immediately. Wet spots will dry darker than the rest of the surface.You can use a paper towel or cloth as the object may give off some color.
 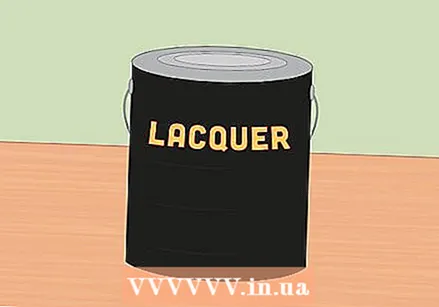 Treat the brass with lacquer or wax to maintain the current color (optional). If you apply a special brass lacquer or another finish, this will prevent the brass from looking even older. This is recommended if you use the brass item regularly or if you want to keep the current color.
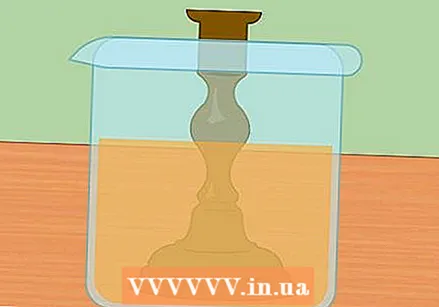
Method 4 of 4: Using ammonia vapors
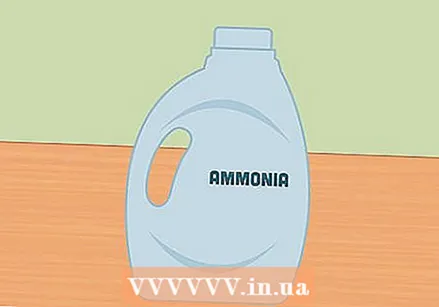 Apply ammonia regularly to give the brass the most natural old look. Ammonia is a caustic substance that should be handled with care, but it works better than any other method to give the brass a green-brown color just like naturally aged brass.
 - The ammonia will eventually evaporate from the surface of the brass, so you have to repeat this process every time the brass looks like it did before treatment. How long this takes depends on the precise properties of the object.
- This method will not work if you have not completed the steps in the first brass preparation method.
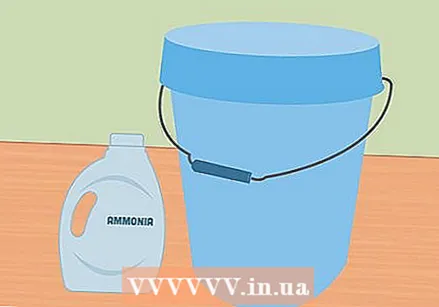 Buy ammonia and a sealable bucket from a hardware store. You need undiluted or clear ammonia, not the diluted household ammonia that you usually sell at the supermarket. A hardware store is also a good place to buy a plastic bucket with an airtight seal lid.
 - For very small brass items, use a glass bottle with an airtight cap instead of a bucket. Tie a string to it and hang it in the bottle in a small amount of ammonia. Thread the cap on tightly to hold the rope in place and trap the ammonia fumes.
 Wear rubber gloves and safety goggles and work only in a place with good ventilation. Ammonia fumes are poisonous and should not be inhaled. If possible, work outdoors or in a well-ventilated area.
  Place a wooden block in the bottom of the bucket. Create a stable, flat "shelf" that is large enough for the item to lie on. If you have a large object, use pieces of plywood and stack them on multiple pieces of wood to make it stable.
 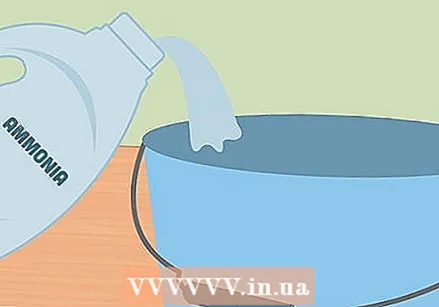 Pour ammonia into the bucket. The ammonia should not exceed the top surface of the wood. You don't need a lot of ammonia, but using more will speed up the process.
  Place the brass objects on the wooden board. Make sure they are stable and cannot fall into the ammonia in any way. If it does, put on gloves and take them off. Wash the items with warm water and dry them before returning them to the wood in the bucket.
 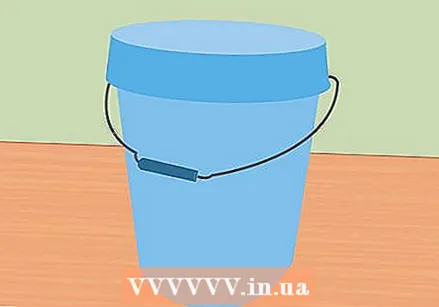 Put the lid on and check the brass from time to time. Depending on the temperature, humidity, strength of the ammonia and the precise properties of the brass, the aging process can take several hours. Check items every hour to see progress. Be careful not to inhale the fumes that escape from the bucket.
 - Open the lid slightly to take a quick look. Then put it back on firmly so that most of the ammonia fumes remain in the bucket.
 Let the brass dry in a ventilated area. When the brass has acquired the desired color, let it dry naturally in a ventilated room. Treat the surface with wax if you want to make it look like the brass has been polished.
 - Ammonia only works temporarily to give the brass an older look. It is therefore better not to finish the brass with lacquer, because you will eventually have to remove this lacquer layer to treat the brass again with ammonia.
- You can use the same ammonia bath to treat other brass items, but not indefinitely. The ammonia will eventually weaken until it stops working at all. You will then have to put new ammonia in the bucket.
Tips
- Whichever method you used, you can wash or apply brass lacquer to the surface after the item is dry so that it does not age further.
- If you have the right lab supplies and experience working with chemicals, you can make your own aging agent. Test the new remedy on a small corner before applying it all over the object. This list has been compiled on the basis of various sources.
- Another way to use ammonia is to put the brass item in a garbage bag with an ammonia soaked cloth inside. Seal the garbage bag tightly. This is easier, but is not recommended as it just creates a slight patina. When the weather is hot and humid, this can cause an uneven finish.
- Another method is to simply place or use your brass item as intended and let nature take its course. You will not get a blue patina as quickly as if you use an aging method, but the effect is the same. The brass will age on its own over time. Brass used outdoors will have a patina coating and decorative brass will first have a bronze color and then a nice matte black color if you allow this.
- A faster technique is to use water to speed up the process. Place the brass object in a container and pour in as much water as you think is necessary. Let the water evaporate gradually. It may not work the first time, so you may need to repeat the process. It is also much safer and easier to pre-clean the brass by electroplating it, whichever method you choose to use. If you want to keep the brass from looking too old, you can apply a clear coat of any material by spraying, painting, or pasting.
Warnings
- Do not use bleach or sodium hypochlorite products to give brass an aged look. It is more dangerous and more difficult to control than the methods described here.
- If you are unsure whether an item is made of brass or not, take it to an antique store or other expert to have it determined. Objects covered with a thin layer of bronze, copper or brass can be damaged by using an aging method.
- If a magnet sticks to your "brass" object, it is most likely a brass-plated object. The object is then made of a different metal and is finished with a thin layer of brass. You can still give this an older look, but you need to be careful when scrubbing and use small amounts of chemicals during the aging process. If you treat the object too roughly, the thin layer of brass can be eaten away, exposing the metal underneath.
Necessities
Preparing the brass
- Brass object
- Rubber gloves
- Acetone, paint thinner or paint stripper (if the object is painted)
- Vinegar, rubbing alcohol, or soap and water (if item is not painted)
- Heat source (so that the object dries faster)
- Small magnet (if you are not sure if it is brass)
Use salt water or vinegar
- Rubber gloves
- Table salt or vinegar (doesn't matter which kind)
- Water
- Small paintbrush
- Plastic bucket with an airtight lid (optional)
Using an aging agent
- Aging agent or patination agent
- Water
- Ceramic or plastic container
- Safety glasses
- Rubber gloves
- Well-ventilated area
- Scouring pad or a plastic scouring pad
- Towel
Using ammonia fumes
- Plastic bucket with an airtight lid
- Well-ventilated area
- Ammonia
- Rubber gloves
- Safety glasses


