
Content
- To step
- Method 1 of 4: Repairing cracks with a repair kit
- Method 2 of 4: Using a piece of leather
- Method 3 of 4: Finish with liquid leather
- Method 4 of 4: Prevent further damage
- Necessities
- Repairing cracks with a repair kit
- Using a piece of leather
- Finish with liquid leather
- Prevent further damage
If there is a rip, hole or crack in your leather car seat, you may be wondering if you need new upholstery. Fortunately, you can just repair small damaged spots yourself. Repair cracks with a repair kit, use a piece of leather to close a hole, or treat the chair with liquid leather to hide cracks. Remember, large rips and cracks are best repaired by someone experienced in car upholstery repair.
To step
Method 1 of 4: Repairing cracks with a repair kit
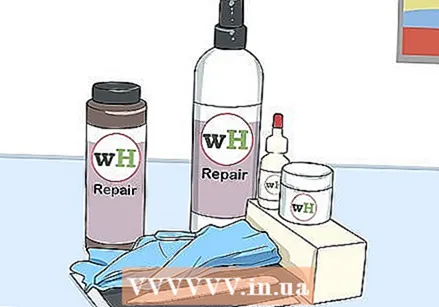 Choose a repair kit with dye in the same color as the leather. Your best bet is to buy a repair kit made by your car manufacturer. Otherwise, compare different sets to your car seat cover to find the color that best matches the cover.
 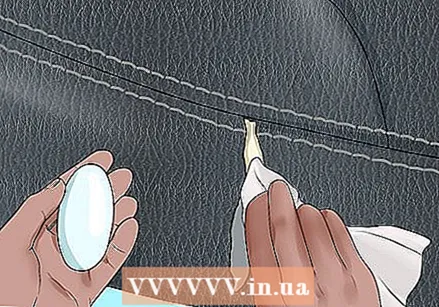 Clean the seat. Use a mild soap and a damp cloth to clean the leather. Remove crumbs, dust and dirt by gently scrubbing the seat. Let the leather dry completely before starting the next step.
  Trim any jagged edges around the tear. If the edges of the tear curl outward or have threads hanging from them, cut them with scissors.
  Stick a piece of canvas under the tear. Insert a piece of canvas cloth into the hole and then slide it under the tear. Apply a small amount of glue from the kit to the edges of the tear so that they stick to the piece of cloth. Let the glue dry completely.
 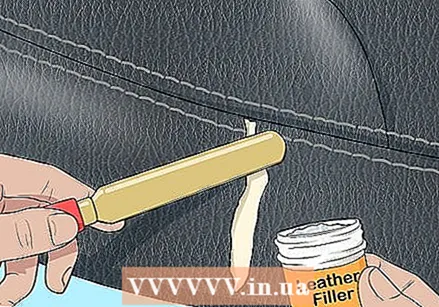 Apply several coats of filler. Spread leather filler with a palette knife on the piece of canvas between the edges of the tear. Always let the layers dry before applying a new layer. Apply new coats of filler until it slightly overlaps with the leather of the chair.
 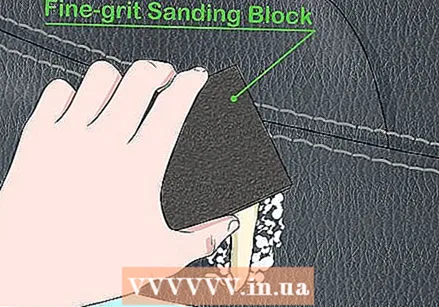 Sand the filler. When the filler is completely dry, sand the top layer with a piece of fine sandpaper. Stop when the filler is at the same level as the rest of the leather.
 - Do your best not to sand too much of the leather around the crack. With a sanding block you have more control over which spots you sand than with a piece of sandpaper.
 Wipe the chair with a damp cloth. Remove all sanding dust and dirt from sanding with a slightly damp, clean cloth. Let the chair dry before continuing.
  Apply the dye to the filler. Rub the dye with a clean cloth where you applied filler. Apply multiple coats as needed and let each coat dry completely. Continue to coat until the spot is the same color as the rest of the leather.
 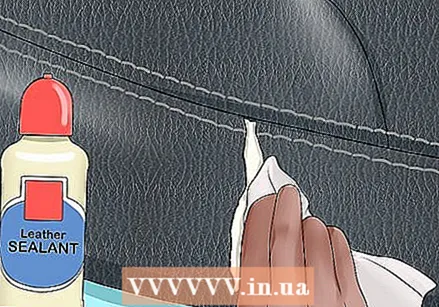 Cover the area with leather lacquer. Apply the leather lacquer to the repaired area with a clean cloth. In this way, the dye will not come off. Let the paint dry completely before sitting on the chair.
Method 2 of 4: Using a piece of leather
 Choose a piece of leather to match the chair. The leather you choose to repair the chair with should match the chair exactly if possible. For example, you can use an extra piece of leather that you got with the car, or a piece of the upholstery on the underside of the seat near the chassis.
 - Otherwise, opt for another piece of leather with a similar texture and paint it to match the upholstery.
 Cut the patch to fit the damaged area. The patch should be slightly larger than the hole or tear so that you can stick it to the undamaged leather around the hole or tear. Cut the patch out with sharp scissors so that you get neat edges.
  Tuck wax paper behind the hole or crack. To prevent the foam in the chair from hardening by the glue, tuck a piece of wax paper that is larger than the piece of leather behind the hole or crack. Slide one side in and then push the other side through the hole so that the wax paper is behind the leather.
  Stick the piece of leather with leather glue. Apply leather glue to the edges of the patch. Gently push the patch onto the hole or tear, making sure that the patch completely covers the hole or tear and adheres to the undamaged leather.
  Let the glue dry completely. Read the directions on the adhesive packaging to find out how long it will take for the adhesive to set. Do not sit on the chair or place objects on it until the glue dries.
Method 3 of 4: Finish with liquid leather
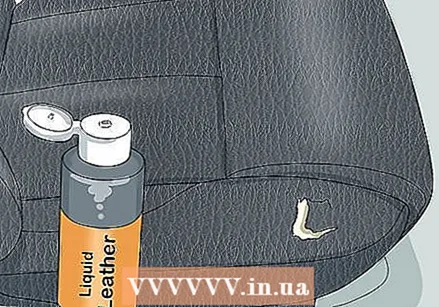 Make sure that the liquid leather matches the leather of the chair perfectly. You can send a small piece of leather (additional leather can be found under the seat) to the liquid leather distributor to find the exact color. Otherwise, provide the color code or color name to the distributor to get the correct color. Liquid leather is a combination of filler and glue. You can buy it online, as well as at many fabric and auto parts stores.
 - Test the product in an inconspicuous area before applying it to the rest of the chair. If necessary, adjust the color with the toner that came with it or swap it for another color that better matches the chair.
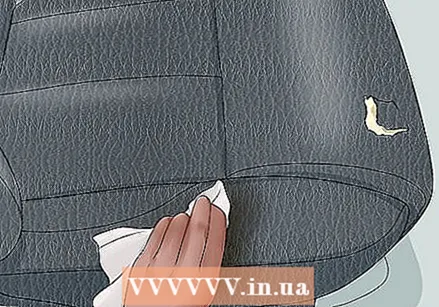 Clean the leather car seats. Wipe away all dust and crumbs, then put a little leather cleaner on a soft cloth or rag. Scrub the seats with the cloth to remove dirt and dust. Then apply a mild solvent such as 50% strength isopropyl alcohol to a clean cloth and wipe the seats to remove residue. Let the seats dry completely before proceeding.
  Apply diluted liquid leather to worn areas with a sponge. Dilute the liquid leather 30% with water before rubbing it into cracks and folds. Wipe the seats with a damp cloth so that the agent is removed from the undamaged leather and remains in the cracks. Let the liquid leather dry and if necessary apply a second coat to brighten the color and fill in the cracks.
 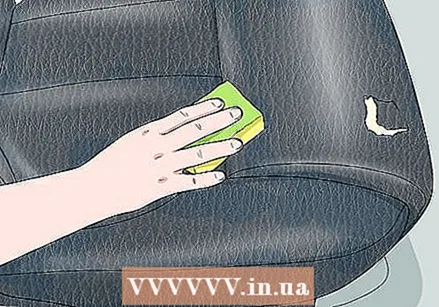 Apply undiluted liquid leather to the entire surface of the seats. When the worn areas have dried, apply an even layer of liquid leather over the entire surface of the seats. In this way, the chairs will have the same color everywhere and repaired areas will be less noticeable.
  Treat the leather with a care product when it is dry. When the liquid leather has completely dried, treat it with a maintenance product to prevent new cracks. Use a leather care product and apply it to the entire surface of the seats with a soft cloth. Allow it to dry completely before sitting back on the chairs.
Method 4 of 4: Prevent further damage
 Use a sunscreen. Direct sunlight is the reason leather car seats fade and crack. Place a folding sunshade behind your windshield to protect the leather from strong light and heat. Whenever your car is exposed to the sun for a long time, put a sunshade behind you forward. For example, do this when you park your car in the parking lot of your work and it is in the sun.
 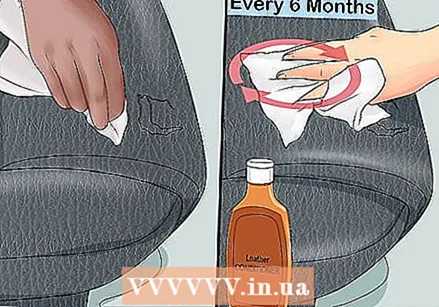 Treat the leather regularly with a maintenance product. Dehydrated leather tears and cracks more easily. Clean the leather car seats about every six months and then apply a leather care product. Rub the product into the entire surface of the seats with a soft cloth, making circular movements. EXPERT TIP
  Do not allow the leather seats to come into contact with sharp objects. Keys, tools, pocket knives and other sharp objects can make holes and tears in your leather car seats. Make sure to remove any sharp objects from your pockets before getting into the car. Put sharp objects in the trunk or place them on the floor. You can also cover the chairs with a thick blanket first.
Necessities
Repairing cracks with a repair kit
- Repair kit for leather car seats
- Scissors
- Clean cloths
- Mild soap
- Water
- Fine-grain sanding block
- Leather lacquer
Using a piece of leather
- Patch of leather
- Scissors
- Waxed paper
- Leather glue
Finish with liquid leather
- Leather cleaner
- Sponge or cloth
- Isopropyl alcohol with a strength of 50%
- Liquid leather
Prevent further damage
- Sunshade
- Care product for leather
- Clean cloth


