Author:
Tamara Smith
Date Of Creation:
21 January 2021
Update Date:
2 July 2024

Content
- To step
- Part 1 of 3: Prepare the surface
- Part 2 of 3: Applying the paint
- Part 3 of 3: Finishing the job
- Tips
- Warnings
- Necessities
Painting glass fiber reinforced plastic is difficult because the surface is smooth. However, by taking the right preparatory steps, you can get a smooth, professional-looking finish. The trick is to take your time and work slowly, especially in between coats of primer, paint and varnish. The exact paint you use depends on the object you are painting and what you are using the object for, whether it is a boat, a bathtub, a chair or a door.
To step
Part 1 of 3: Prepare the surface
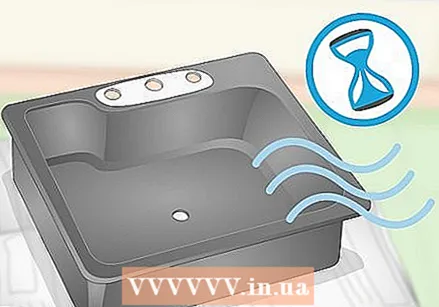
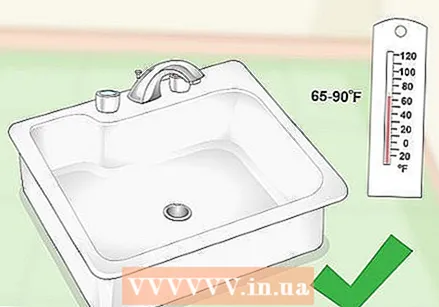 Make sure it is neither too cold nor too humid. If it is too cold or too damp, the paint will not dry and cure properly. This can cause the surface to become tacky. The humidity is ideally 60% or less. The temperature must be between 18 and 32 ° C.
 - Check the local weather report to find out what the humidity is. If it is too humid, it is best to do the job on a different day when it is less humid.
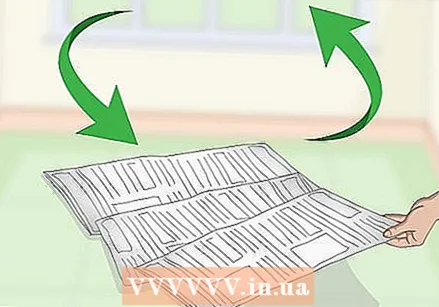 Find a well-ventilated area to work in and cover your work area with newspaper. If you want to paint a larger object that won't fit on a table, cover the floor with a tarpaulin or a cheap plastic tablecloth and place the object on top.
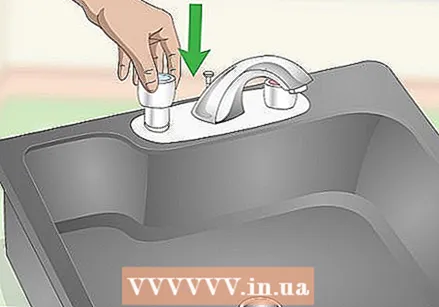
 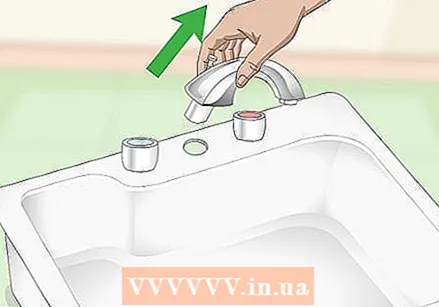 Remove all iron parts. This is an especially good idea if you are painting a boat, sink, or door. Put all loose parts in a box so you don't lose anything. It's an even better idea to put small screws in a plastic bag in the box.
 - Do not tape the iron parts. This way you don't get a nice finish and the paint can crack or flake.
- If the item has a caulk edge, remove it. When the paint is dry, apply a new sealant edge.
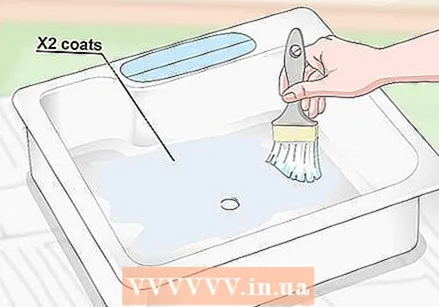
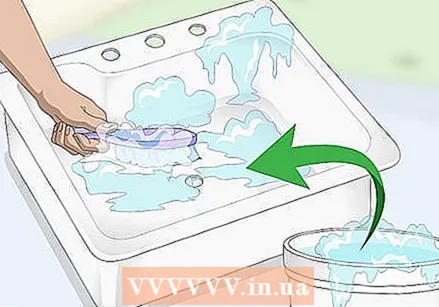 Clean the object with soap and water. If the item is small enough to fit in a sink, take it inside and wash it with soap and water. Rinse it off and let it air dry completely.
 - If it is a larger item, clean it in a bathtub. If the item is particularly large, such as a bathtub or a boat, clean it outside with soapy water and rinse with clean water.
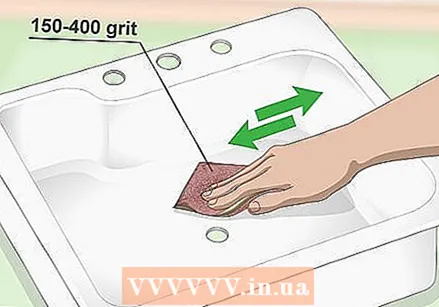 Sand off the gloss with 150-400 grit sandpaper. Paint will not adhere to glossy surfaces, so you will need to sand off all the gloss to help the paint adhere. Sand the surface with a 150 grit sandpaper until it is no longer glossy, then use 400 grit sandpaper. The surface should be smooth to the touch and dull.
 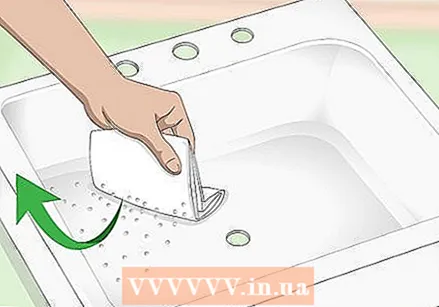 Wipe off the sanding dust with a tack cloth. A tack cloth is an adhesive piece of fabric with which you can remove dust very easily. You can buy tack rags at most hardware stores and larger craft stores. If you can't find a tack cloth, you can also use a microfiber cloth.
 - Remove stubborn sanding dust with a cloth dipped in turpentine.
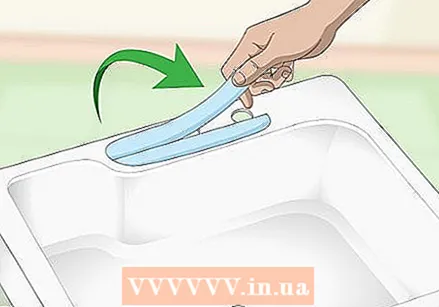 Cover all parts that do not need to be painted with masking tape. You can paint the entire fiberglass-reinforced plastic object or just parts of it (for example, stripes, zigzags, geometric shapes, etc.) Sand off pieces of masking tape and use it to cover the areas you don't want to paint.
 - Run your fingernail over the edges of the masking tape so you know it is snug. If there are gaps, the paint can get underneath and you will get blurry, irregular lines.
Part 2 of 3: Applying the paint
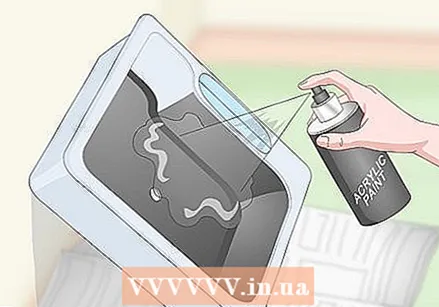
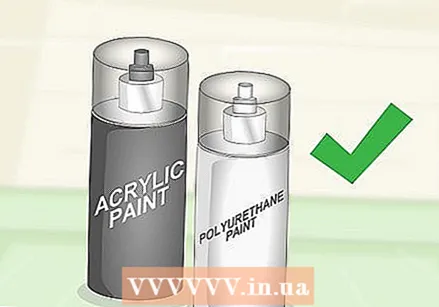 Buy the right kind of paint for the surface. For a decorative object or a door you can use simple spray paint or acrylic paint. Objects and surfaces that are frequently used, such as boats, bathtubs and sinks, are better painted with polyurethane paint or epoxy paint.
 - Polyurethane paint is ready to use. Epoxy paint must be mixed with a hardener, just like epoxy resin. Hardener is usually sold together with epoxy paint.
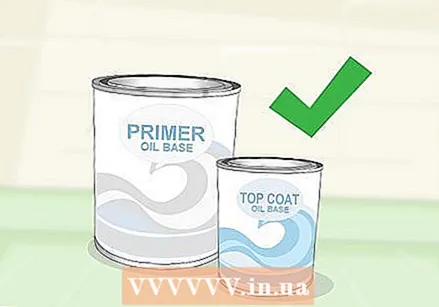 Buy the correct primer and lacquer, if necessary. You don't need a primer for most polyurethane and epoxy paints, but most spray and acrylic paints do. If you are using paint that requires primer, buy the correct primer and varnish (i.e., spray primer, and oil-based primer and oil-based varnish if you are using oil paint).
 - Read the paint packaging to find out if you need primer and varnish.
- Set the paint aside for later use.
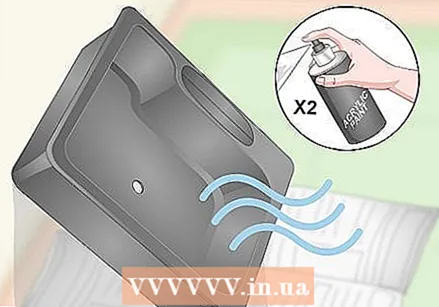
 Cover the surface with one or two coats of primer. If you are using a non-aerosol primer, simply apply the paint with a foam roller or paintbrush. If you are using aerosol primer, apply a thin, even coat. Make sure the primer is touch dry before applying a second coat.
 - If the primer does not come out cleanly from the aerosol, apply the paint using short sprays instead of using long, smooth, back and forth strokes.
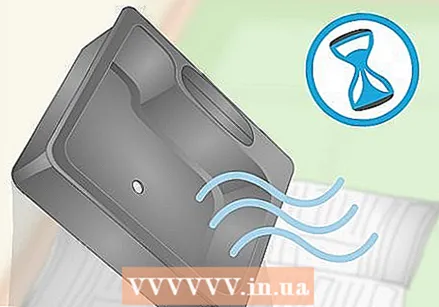
 Let the primer dry and cure. How long this takes depends on the primer you used. Some primers dry within hours, while others take a lot longer. Just because the primer is dry to the touch does not mean that it is cured and recoatable. Make sure to read the directions on the packaging.
 - If you apply the paint before the primer has cured, the surface can eventually become tacky.
 Apply the first coat of paint. If you are using epoxy paint, you must first mix the epoxy and the hardener. With other types of paint you do not need to make preparations like this. Apply the paint systematically, working from right to left (or left to right on your left-handed) or top to bottom. Specific instructions can be found below:
 - Paint that you apply with a brush: pour the paint into a paint container and apply with a foam roller. Finish the layer with a fine paintbrush.
- Spray paint: apply the paint by spraying briefly instead of making long, back and forth movements.
- How you use both components when using epoxy paint varies by brand. In most cases, you'll be using equal amounts, but check the packaging to make sure.
 Let the paint dry and then apply a second coat if needed. How long it takes for the paint to dry depends on the type of paint you are using. Spray paint and acrylic paint dry the fastest, while polyurethane paint and epoxy paint have the longest drying time. At the most types of epoxy paint and polyurethane paint you do not have to apply a second coat, but with spray paint and acrylic paint you often have to.
 - Apply the paint in the same way as before.
 Let the paint dry completely. Just because the paint feels dry doesn't mean you can use it again. Read the paint packaging. Most paints are touch-dry within an hour, but it can take several hours or even a few days for the paint to cure and be ready for use again.
Part 3 of 3: Finishing the job
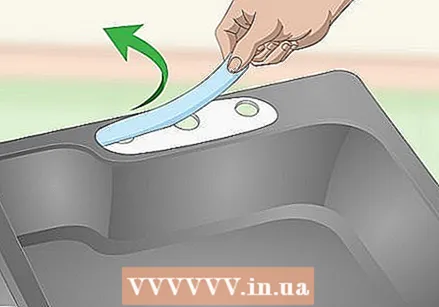 Remove the masking tape you applied earlier. You must remove the masking tape before applying the paint, otherwise you run the risk of the masking tape getting stuck under the paint. Gently peel the masking tape off the surface. If the paint is peeling a little, fill in those spots with leftover paint and a paintbrush.
 - If you applied spray paint and the paint is peeling, spray some paint into a paint tray and apply the paint into the tray with a small paintbrush.
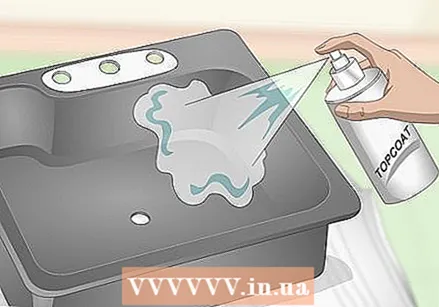 Apply paint as needed or desired. You can apply the lacquer in the same way as you applied the primer and paint: with a brush or an aerosol. Make sure to use paint that matches the type of paint you applied to the object. For example, you cannot apply oil-based lacquer to water-based paint. Also check which type of lacquer you want to use: glossy or matte lacquer.
 - Paint is not always necessary. Polyurethane paint and epoxy paint are durable and also act as a lacquer. You do have to apply lacquer on spray paint and acrylic paint.
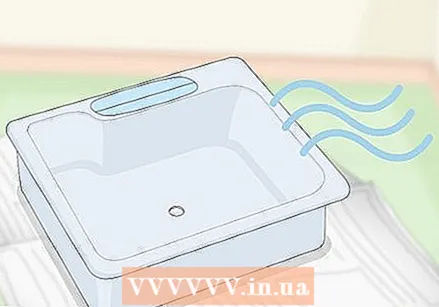
 Wait for the paint to dry and harden before using the item. One of the reasons that paints and varnishes become tacky is because they have not been able to cure completely. Leave the object alone for a few days, or however long it takes for the paint to fully cure.
 - Read the packaging of the paint to find out exactly how long you need to let the paint cure. This can be from a few hours to several days.
 Replace the iron parts, if necessary. Do this only when the paint is dry and cured. Doing this too quickly can damage the painted surface. If you previously removed a sealant edge, you can now apply a new sealant edge.
Tips
- Clean your brushes when you switch between primer, paint and varnish, or get a new brush every time.
- How you clean the brushes depends on the type of primer, paint and varnish. For some types you need a special solvent.
- Always read the instructions on the packaging of the primer, paint and varnish, as they differ per brand and type.
- Clean the painted object with mild soap and a soft brush or mop. Paint may scratch if you use an abrasive or aggressive agent.
- Most supplies for this job can be purchased at the hardware store and online. Boat supplies businesses may also sell suitable paint.
Warnings
- With some products it is recommended to wear a breathing mask during use. If recommended, do it.
Necessities
- Newsprint or tarpaulin
- Sandpaper with grit size 150-400
- Tack cloth
- Masking tape
- Primer
- Paint (spray paint, acrylic paint, polyurethane paint or epoxy paint)
- Paint brushes and foam rollers (not necessary if using spray paint)
- Paint (if needed)


