Author:
Roger Morrison
Date Of Creation:
1 September 2021
Update Date:
1 July 2024

Content
- To step
- Method 1 of 3: Making the body
- Method 2 of 3: Make the head
- Method 3 of 3: Finishing the scarecrow
- Tips
- Warnings
- Necessities
In the past you often saw scarecrows in fields in the countryside, but now they are mainly used for Halloween or as an autumn decoration. With some old clothes and some straw you can easily make your own scarecrow. Place the scarecrow in your yard or at your front door when you're done. Whether you use the scarecrow to scare away birds or simply as a decoration, it is sure to turn heads.
To step
Method 1 of 3: Making the body
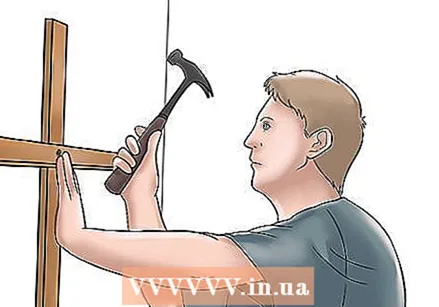 Make the frame. Start by attaching a five foot stick close to the end of a two to eight foot long stick, shovel handle, or bollard. Make sure the shorter stick extends out equally on both sides. This way you will make the scarecrow's shoulders. Secure the shorter stick with a screw and screwdriver, some string or hot glue.
  Put on the shirt. Dress the scarecrow in an old checked shirt and use the horizontal stick as arms. Close the buttons and tie the shirt at the wrists and at the bottom with string or wire.
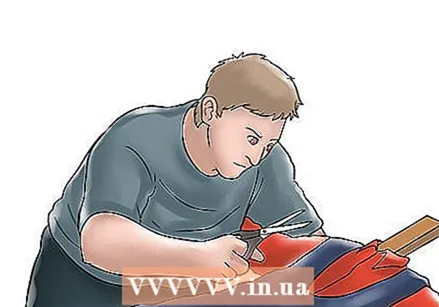
  Stuff the shirt. Stuff the shirt properly to fill up your scarecrow. Straw, hay, leaves, grass, wood chips and rags are all suitable as filling material.
 - Don't use newspaper to stuff your scarecrow, because when it rains, the paper can become drenched and shapeless.
- If you want, use some extra stuffing to give your scarecrow a big belly.
 Put on the overalls. Make a hole in the crotch of the overalls to put the vertical stick through. Put on the scarecrow overalls and put the shoulder straps over the shoulders. Tie the legs together with string or wire and fill them with the same filling material as you used for the shirt.
 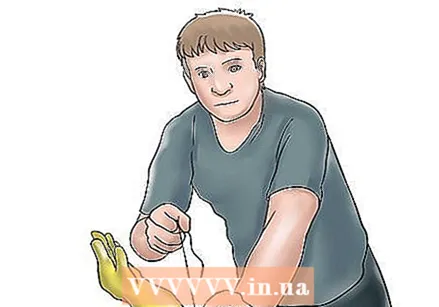 Make the hands. Old-fashioned scarecrows had straw from the sleeves of the shirt, but to make your scarecrow look more like a human, you can use old work or gardening gloves. Put enough filler material into the gloves to keep them in shape. Tuck the ends of the shirt sleeves into the gloves and tie everything with string or wire.
 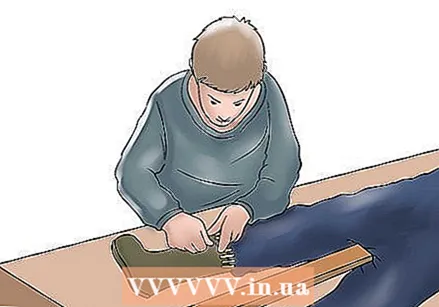 Make the feet. Tuck the ends of the trouser legs into the top of a pair of old work boots or other shoes. Sew the trouser legs to the shoes or use hot glue.
 - You can also use double-sided tape as a carpet tape to secure the boots or shoes.
- Whatever method you choose, make sure to fasten the shoes properly. Your scarecrow will lose its feet otherwise.
Method 2 of 3: Make the head
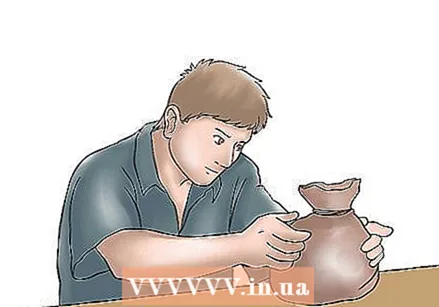 Use a burlap sack. A burlap sack is used to protect trees or to transport potatoes and coffee beans and is perfect for making your scarecrow's head. To make a head out of a burlap sack do the following:
 - Fill a plastic grocery bag with other plastic bags until you have a head big enough.
- Place the bag in the center of a piece of burlap sack and cut around it in a large circle. There is no need to measure the fabric or cut out a perfect circle.
- Wrap the burlap bag around the plastic bag, put it on top of the vertical stick (the scarecrow's neck) and tie the head tightly with twine or wire.
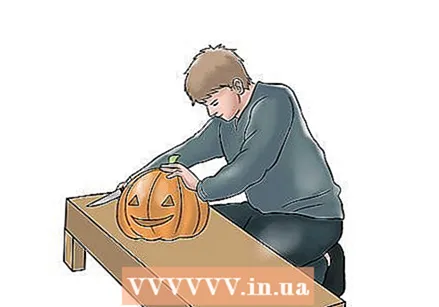 Use a pumpkin. For Halloween, you can make a head for your scarecrow from a hollowed-out pumpkin. First choose a nice round pumpkin. Cut a large round hole at the top of the pumpkin around the stem and scoop out the pulp. Then cut eyes, a nose and a mouth out of the side of the pumpkin with a sharp knife. Stick the bottom of the pumpkin onto the scarecrow's neck and secure everything with glue or tape if necessary.
 - Do not put a candle in the pumpkin as you normally do on Halloween. The other materials of which the scarecrow is made are combustible.
- You can also use other vegetables such as a gourd, turnip, or fodder beet to make a head.
- Know that pumpkins and other vegetables will eventually rot. So think about making the head of something else if you want it to last longer.
 Use a pillowcase. You can also make a pillowcase head. This is something you probably have at home. To make a pillowcase head do the following:
 - Half fill the pillowcase with straw or the filling material of your choice.
- Close the pillowcase with safety pins so that the filling material does not fall out, but do not completely seal the bottom.
- Put the head on the vertical stick (the scarecrow's neck).
- Push until the end of the stick is at the top of the pillowcase and protrudes through the straw.
- Attach the pillowcase to the stick with string or wire. Cut away the excess material and remove the safety pins from the pillowcase.
 Use other items from your house. You can use a variety of materials to make your scarecrow's head. If you don't want to spend a lot of money making a scarecrow, just use stuff you already have around the house. Here are some ideas:
 - Tights. Choose skin-colored tights. Cut the top part of one of the legs, tie it in a knot and fill the tights with filling material. Taper the tights to make a "neck" and tie the other (bottom) part onto the vertical stick.
- Bucket. Stick an earth-filled bucket on the stick with the opening facing up to make an unusual but functional head.
- Jerrycan. A one-liter jerry can containing milk is also very suitable for making a head. The smooth surface is very easy to draw a face, and the jerry can is also water resistant. You may have one or two at home. Stick the canister on the stick and secure it with glue or tape if necessary.
Method 3 of 3: Finishing the scarecrow
 Give your scarecrow a face. You can use a lot of different materials to make your scarecrow's face. Decide whether you want to make him laugh or look angry and threatening. Here are some ideas:
 - Draw the eyes, nose and mouth with a black felt-tip pen.
- Cut triangles from pieces of colored felt to make eyes and a nose. You can sew them on the head or stick them on with hot glue.
- Use buttons of different sizes and colors for the eyes, nose and mouth. You can sew them on the head or stick them on with hot glue.
- Use pieces of black plastic or pipe cleaners to make eyebrows. Slant them down to make an angry scarecrow.
 Give your scarecrow her. Glue some straw to your scarecrow's head to give it hair. Don't worry if it doesn't look neat, because a scarecrow is supposed to look scary after all. You can also glue an old wig or mop to his head.
 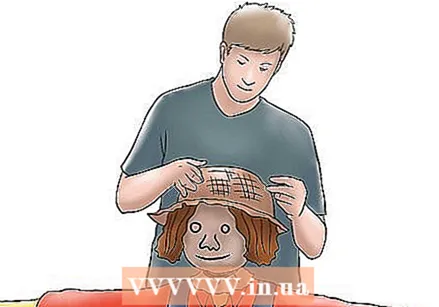 Use accessories. You can give your scarecrow a certain character by using accessories. Its main accessory, however, is a straw hat. Use an old hat you have lying around and attach it to his head with hot glue. Here are some other accessory ideas:
 - Tie a red bandanna or handkerchief around his neck, or have a brightly colored handkerchief sticking out of his pocket.
- Brighten up his hat with some brightly colored plastic flowers.
- Put an old pipe in his mouth.
- Tie a reflective or shiny ribbon around your scarecrow to suggest movement and allow the light to reflect.
 Ready.
Tips
- You can use hot glue, safety pins, or needle and thread to attach all the parts of your scarecrow together. Just make sure that everything is connected well enough to stay upright.
- Give the scarecrow a face that suits its purpose: scary, funny or something else.
- To give the scarecrow a scary face, sew or draw a jagged line to make a smiling mouth.
- Don't try to make your scarecrow look as real as possible. A scarecrow is not supposed to look real.
- If you don't have old clothes in the house, check out a thrift store.
- You can also use old plastic bags to fill the scarecrow. Plastic bags are light and resistant to weather influences.
- Use the lightest possible filling material you can find as you will have to move the scarecrow when it is ready. A scarecrow is traditionally filled with hay or straw, although it is not as easy to get it as it once was. You could try it at a pet store.
Warnings
- A scarecrow is flammable, so don't use candles or lanterns near your scarecrow.
- Small children can be spooked by a scarecrow.
Necessities
- Stick or garden pole from 2 to 2.5 meters long
- Stick of 1.5 meters long for the shoulders
- Screws
- Burlap sack
- Hot glue
- Needle and thread
- Old clothes and accessories: overalls, checked shirt, straw hat, gloves, etc.
- Straw, newspaper, plastic bags or other filling material
- Drill, screwdriver, scissors, pliers and hammer


