Author:
Roger Morrison
Date Of Creation:
23 September 2021
Update Date:
1 July 2024
Content
- To step
- Method 1 of 3: Adding a check mark by inserting it
- Method 2 of 3: The solution with a font
- Method 3 of 3: Using a Macintosh shortcut
- Tips
From time to time it is necessary to insert a special character in your document. Unfortunately, some symbols require very elaborate codes. Fortunately, inserting a check mark is not very difficult. We'll show you how!
To step
Method 1 of 3: Adding a check mark by inserting it
 Open a Word document. The document may already be open; if so, go to the next step.
 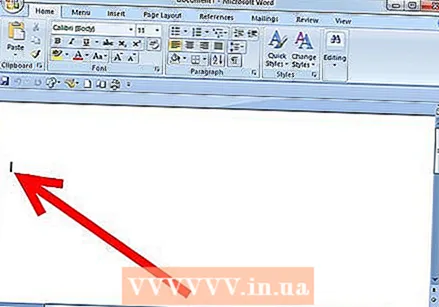 Place the cursor. Click where you want the check mark to be, and make sure the cursor blinks in the correct spot for the check mark.
 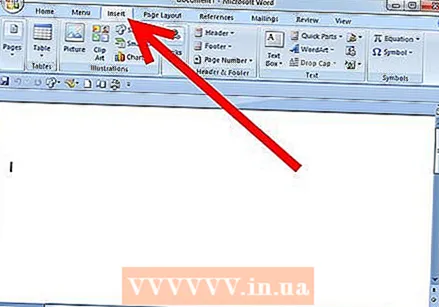 In the main menu, click the Insert tab.
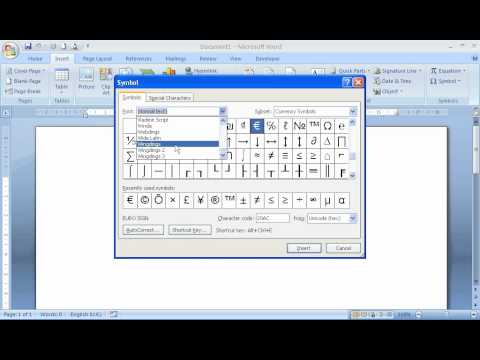
- Click Symbol.
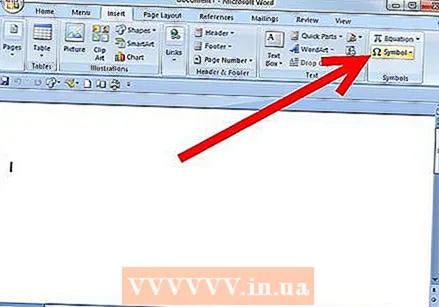
- A window will open with a list of different symbols.

- Click Symbol.
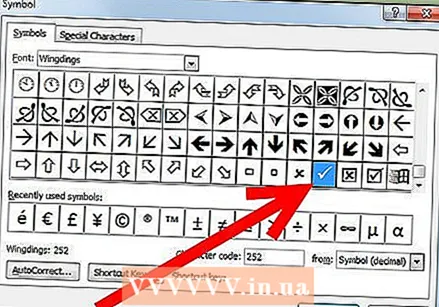 Select the check mark. You can find these in the second bottom row or via Special characters> Wingdings and then the bottom row. Click Insert as many times as needed, then click Close.
 - Note for Macintosh users: From the Viewer menu, select Character Viewer.
- Select Wingdings, then look for the check mark (bottom row). Double click on the check mark, and it will be inserted into your document at the cursor location.
 Now you have a check!
Method 2 of 3: The solution with a font
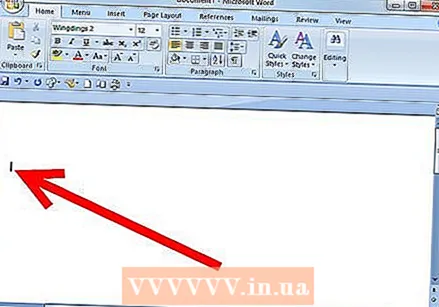
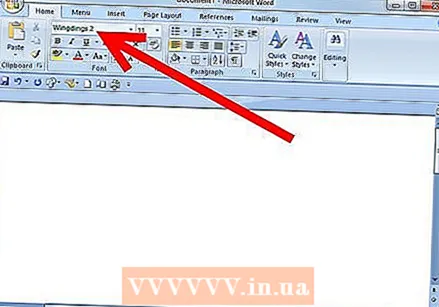 Select the Wingdings font 2. It has a wide variety of commonly used symbols, bullets, arrows and much more.
 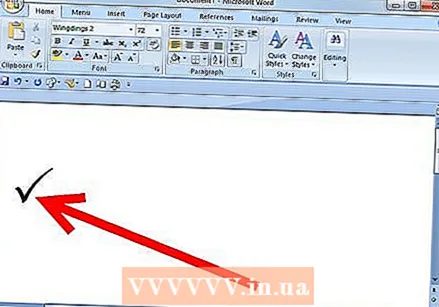 Press⇧ Shift+P.. Now you have a variant of the check mark.
 - Note for Macintosh users: This method also works on the Mac.
Method 3 of 3: Using a Macintosh shortcut
 Click where you want the tick to appear.
 Press ⌥ Option+V..
Tips
- If you need several checkmarks, you can click several times on insert, and then position the checkmarks in the right place by cutting and pasting.


