Author:
Morris Wright
Date Of Creation:
24 April 2021
Update Date:
1 July 2024

Content
- Ingredients
- To step
- Part 1 of 3: Making whipped cream icing
- Part 2 of 3: Frosting the cake
- Part 3 of 3: Adding other decorations
- Tips
- Warnings
- Necessities
Although whipped cream is often used on ice cream and flan, whipped cream can also be used as a glaze for cakes. If you plan on decorating a cake with icing, it is important to stabilize the icing so that the icing will hold its shape. Making your icing with the right ratio of whipped cream and gelatin will give you a light, airy icing that is perfect for cake decorating. The following recipes make approx. 500 ml icing cream, ideal for covering a 23 cm round cake. If you are going to be working with a much larger, multi-layer cake, consider increasing the quantities proportionately to ensure you have enough frosting.
Ingredients
- 250 ml of whipped cream
- 1 tbsp (15 ml) icing sugar
- 1 tsp (5 ml) vanilla
- ½ tsp (2.5 ml) powdered gelatin
To step
Part 1 of 3: Making whipped cream icing
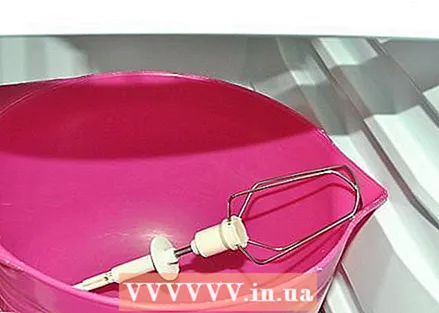 Cool your utensils for 10-15 minutes. Before you start making the icing, place a large, metal bowl and the metal whisks of an electric mixer in the freezer to cool. Your icing will form and stay in shape much better when your utensils are chilled.
 - If you don't have a metal bowl, you can also use plastic. It's best to use metal, though, as metal helps insulate the cold whipped cream, which gives a more stable glaze.
- Make sure the bowl is big enough for 500 ml of icing without overflowing.
 Double the recipe if you are making a double layer cake. The following recipe makes about 500 ml of whipped cream icing, which is usually enough for icing a single-layer cake. If you're making a double layer cake and plan to use icing icing between layers as well, double the recipe to make sure you have enough frosting.
 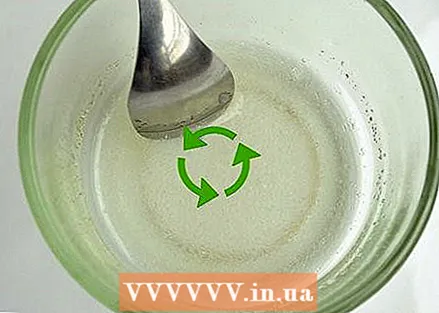 Dissolve the gelatin in water at room temperature. While your utensils are cooling, mix ½ tsp (2.5 ml) powdered gelatin with 1 tbsp (15 ml) water in a small bowl. Stir the mixture with a spoon until the gelatin is dissolved, then set it aside.
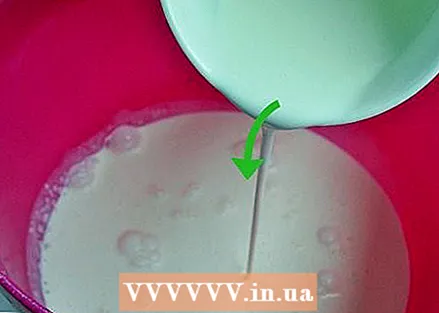
 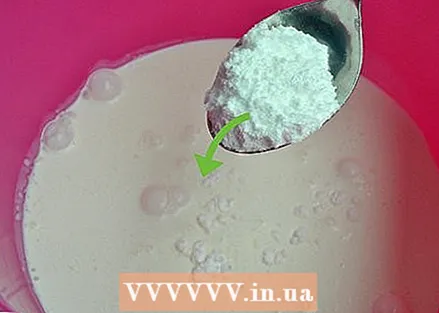 Place the remaining ingredients in the chilled metal bowl. Remove your metal bowl and whisks from the freezer and mix 250ml of whipped cream, 1 tbsp (15ml) icing sugar and 1 tbsp (15ml) vanilla. Do not add the dissolved gelatin at this point.
 - Leave the whipped cream in the fridge until just before you start mixing.
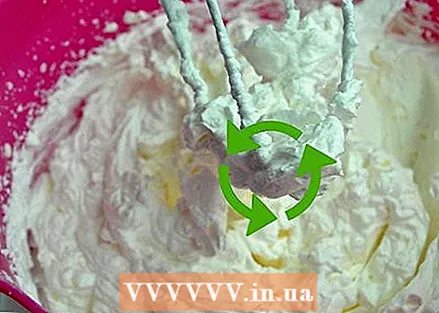 Mix the ingredients on medium speed. Use your electric mixer to mix the cream, sugar, and vanilla on medium speed for three minutes, or until the mixture starts to thicken. A thickened product appears to have more volume than the original ingredients due to the air that you whisk into it.
 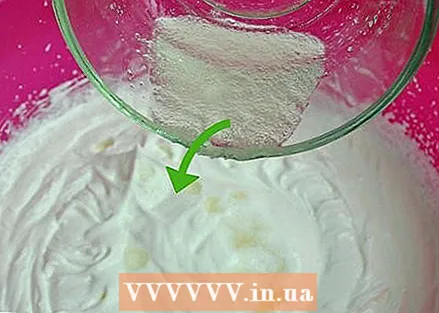 Add the gelatin and then blend for another three to five minutes. Once the mixture starts to thicken, add the dissolved gelatin and continue mixing on medium speed. The gelatin acts as a stabilizing agent for the icing icing. When you add it, the mixture will thicken further and keep its shape.
 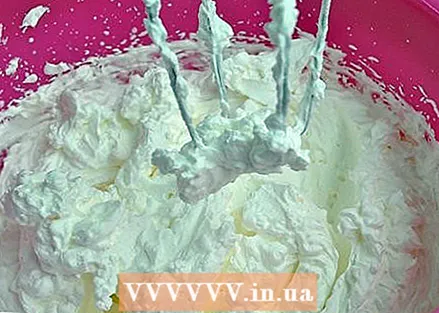 Stop mixing if stiff peaks form in the icing. When three to five minutes have passed, stop to check for peaks in your mixture. Lift your whisks out of the bowl and see what happens to the cream. If the whipped cream stands upright where you removed the whisks, your icing is ready. When the peaks are still a little soft, mix another one to two minutes before checking again.
 - Avoid over-mixing the ingredients as this can cause them to separate and skip.
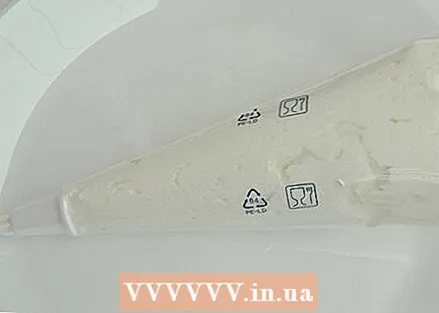 Spoon ⅓ of the cream into a frosting bag and set aside (if desired). Reserve ⅓ of the mixture to decorate your cake with spray designs. Once you've filled the pastry bag, put it in the fridge to chill while you glaze the cake.
 - If you don't plan on decorating the cake with spray designs, you can skip this step.
Part 2 of 3: Frosting the cake
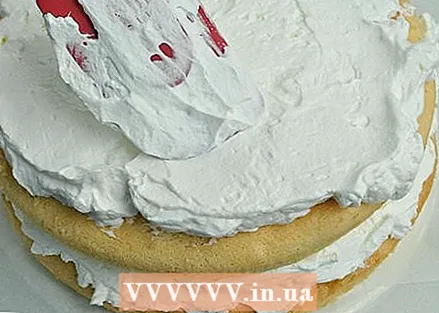 Move the icing from the bowl to the top of the cake. Use a rubber spatula to scrape all the icing out of the bowl and get it on top of your cake. At this point you should have a large heap of creamy topping in the center of the cake.
 - Make sure your cake is completely cool before you start icing.
- If you're icing a double layer cake, put half of your frosting on the bottom layer. Use a rubber spatula to spread the icing evenly over the surface. Place the second layer on top of the icing and then put the rest of the icing on top of the cake.
 Spread the heap of frosting evenly over the surface of the cake. Move the spatula in small circles to spread the cream over the surface of the cake and spread the icing to the edges. The purpose of this step is to cover the entire surface of the cake with a uniform layer of frosting while pushing excess frosting to the edges of the cake.
 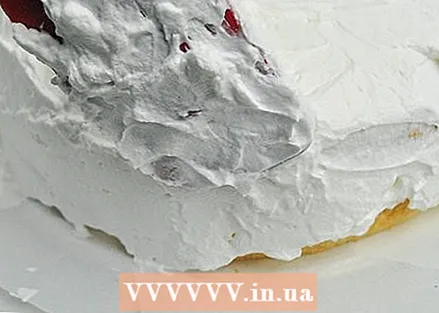 Spread the rest of the frosting around the edges of the cake. Move the spatula toward yourself at an angle to spread the rest of the icing down from the edges of the cake. Make short movements to spread the cream evenly around the cake. Keep spreading the frosting around the cake until the entire cake is covered with frosting.
Part 3 of 3: Adding other decorations
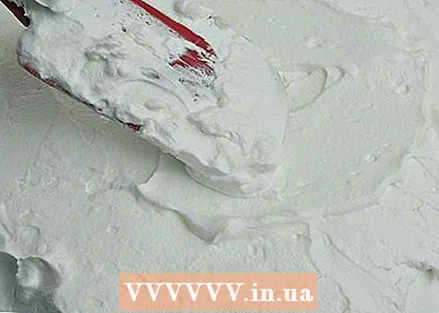
 Create a rustic look by creating waves in the glaze. If you're not adding spray-on decorations but want to add some flair, use the spatula to create waves in the icing. Move the spatula with a twist to cover the cake in small waves and create a rustic look.
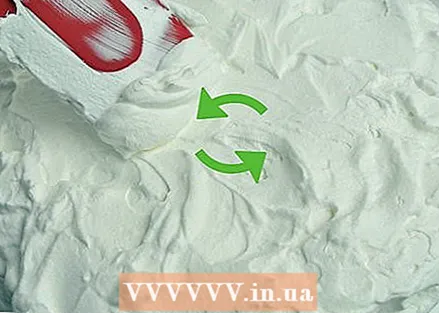
  Use a scraper to level the cake before adding spray decorations. For a tight, uniform layer of frosting that is perfect for another layer of spray-painted decorations, run a scraper over the cake first. Start by pulling the scraper in a circle around the cake, then pull it over the top as well. Pull the scraper towards you and remove any excess icing that collects zig on the blade.
 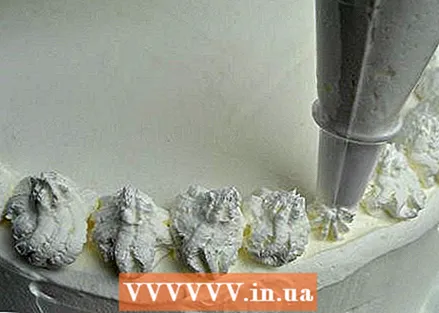 Add spray decorations to your cake. Once you have an even layer of frosting on your cake, take the pastry bag out of the fridge and add some sprayed decorations. Pipe around the edge of the cake to create a border and pipe flowers or pretty tufts in the center.
 - Practice a few designs on parchment paper first before spraying the icing on the cake.
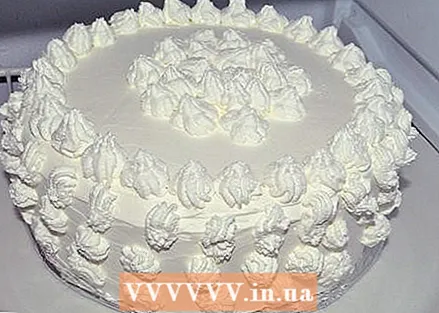 Place the decorated cake in the refrigerator. Let the cake sit in the fridge for at least 30 minutes to stiffen before serving so that the decorations hold their shape. The icing will keep its shape for two to three days if left in the refrigerator. It will keep its shape for several hours at room temperature.
 - Leaving icing icing in room temperature for more than three to four hours can destabilize it. It will lose its fluffy icing shape and may melt off your cake.
Tips
- Add 2-4 tbsp (30-60 ml) more icing sugar to your mixture if you want a sweeter icing.
- If you or anyone else who will be eating the pie is a vegetarian / vegan, use agar. That is a vegetable replacement for gelatin.
Warnings
- Do not over-mix the icing or the mixture may separate in the bowl and you can no longer use it.
Necessities
- Large metal bowl
- Electric hand mixer
- Rubber and / or metal spatula
- Scraper
- Pastry bag


