Author:
Roger Morrison
Date Of Creation:
21 September 2021
Update Date:
1 July 2024
Content
- To step
- Method 1 of 3: Use ScreenRecorder
- Method 2 of 3: Using a different program
- Method 3 of 3: Share your video
Taking a picture of your screen can be incredibly useful, whether you're getting tech support or just want to show something cool to your friends. There are several programs available for Windows 7 to do this with, with different functions. Follow this guide to quickly start taking a picture of your screen.
To step
Method 1 of 3: Use ScreenRecorder
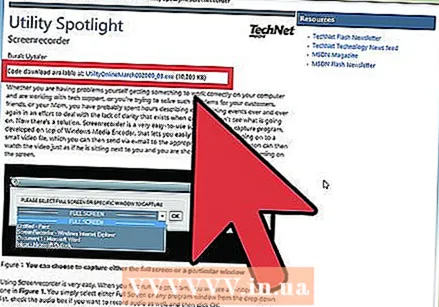 Download the ScreenRecorder tool from Microsoft. This program is available free of charge from the TechNet magazine website. Once you are on the Utility Spotlight page, click on the link after the text Code download available at: and download the file.
 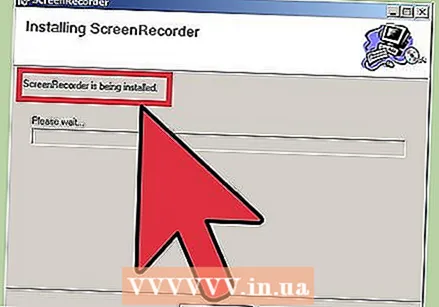 Install ScreenRecorder. Double-click "UtilityOnlineMarch092009_03.exe" to extract the installation files. You will be asked where you want to place the file. Choose a place where you can easily reach. You can delete these files after installation.
 - Go to the directory where you extracted the files. Here you will find two folders: 32-bit and 64-bit. Open the file corresponding to your operating system.
- Start the ScreenRecorder program. You will see a message that you need to install Windows Media Encoder 9. Follow the prompts to install this program.
- Run the ScreenRecorder program again. This time, the installation starts immediately. Follow the prompts to install ScreenRecorder in the default location.
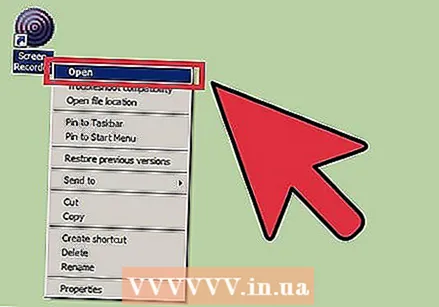 Open ScreenRecorder. After installation, a shortcut to ScreenRecorder will appear on your desktop. Double-click to start the program. The ScreenRecorder control window appears along with a screen where you can find a number of tips.
 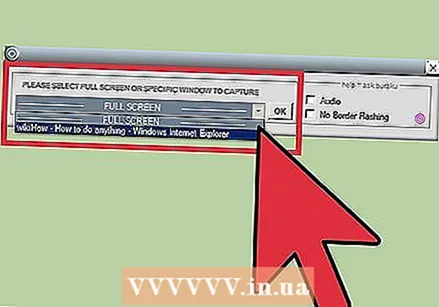 Select which part of the screen you want to capture. In the dropdown menu you can choose FULL SCREEN, or you can choose a specific window that you want to include. All active windows can be found in the dropdown menu.
 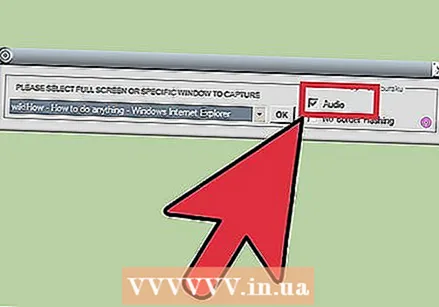 Choose whether you also want to add audio. If you have a microphone plugged in, you can check the Audio box that you also want sound to be recorded along with the video. With this you can tell what you are doing during the recording.
 - ScreenRecorder uses the Windows default settings for the audio input. That means that if you want to adjust the sound, you can do this with the Volume button in the System Tray.
 Decide if you want the edge of your window to light up. This is a tool to be able to see which window you are recording. The illuminated border is not reflected in the image, but is simply a tool to help you keep your attention.
 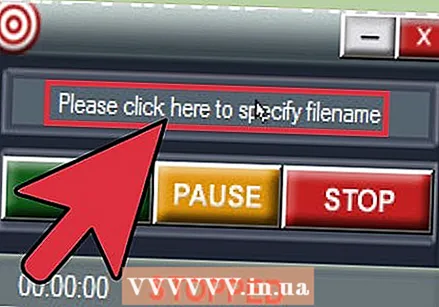 Specify the file location. Once your recorder is configured, click OK to open the recording tool. Before you start recording you must indicate where you want to save the video and you can give it a name. Click the button at the top of the tool to do this.
 - ScreenRecorder files are in the .WMV format. Keep in mind that the final recording will be of a low quality.
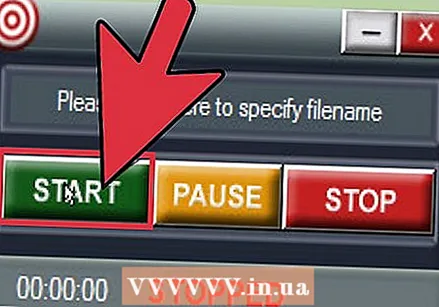 Start recording. You can click the green Start button to start recording, the yellow button to pause, and the red button to stop and save, as previously indicated.
Method 2 of 3: Using a different program
 Decide which program to use. There are a variety of free solutions available that allow you to take a picture of your screen. Many also offer additional options, such as emphasizing the cursor or adding effects to your video. Some popular programs are:
 - Camtasia Studio - Commercial software specializing in professional video editing and recording.
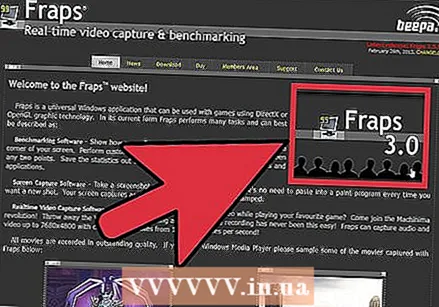
- Fraps - Commercial software with a free trial version specifically for recording video game material.
 Install and run the program. The default settings are fine for most users. None of the above programs will attempt to install adware during the installation process.
 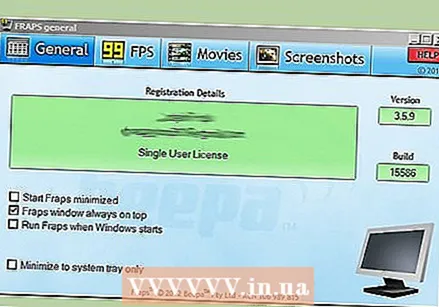 Prepare the recording. Although the interface of each program is different, there are several similarities in terms of options. You will be able to determine which part of the screen you want to record, which effects you want to use and the preferences for the sound recording.
 - Fraps has a different effect because it is designed for 3D games. You can find more information about using this program on wikiHow.
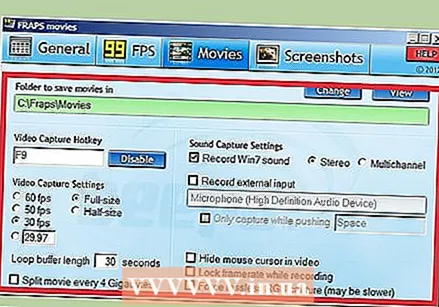 Set the program as desired. In the Video Options menu, select the compressor you want to use; note that this will change the video. Some sizes are more common than others. Then adjust the final quality of your video with the Quality slider.
 - The Xvid MP4 codec is the most common format.
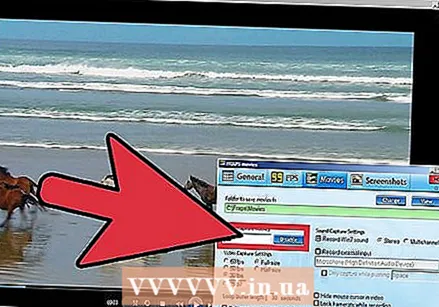 Record your video. When your settings are ready, click the record button to start recording your screen. After you have finished recording your actions on the PC, click the Stop button. After that, you will be asked to name your video and save the file.
Method 3 of 3: Share your video
 Edit your video. Once you have finished recording your video, you can share it directly with others, or you can edit the recording with your favorite video editing program. With this you can cut the video, add music or add other video clips.
 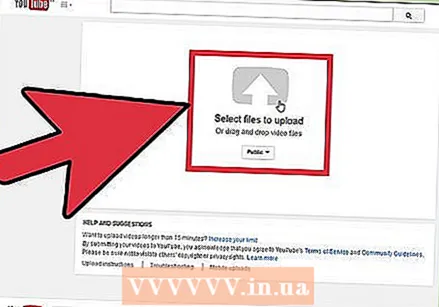 Upload your video to YouTube. Screenshots are a great tutorial tool and a popular way to learn about computer programs on YouTube. Upload the video and YouTube will do the conversion for you.
 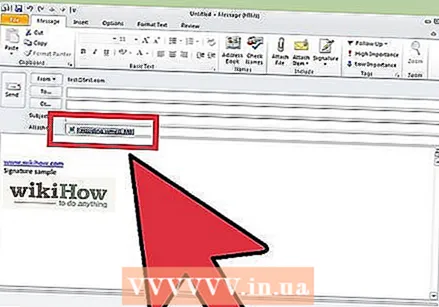 Send the video as an email attachment. If you provide technical support to someone, you can email the video to that person as an attachment. This only works well with short videos due to the file size limit of the email traffic, but it is a very useful way to show someone what the problem you encountered is or how to fix it.


