Author:
Tamara Smith
Date Of Creation:
27 January 2021
Update Date:
1 July 2024
Content
- To step
- Method 1 of 5: Windows 7 and 8
- Method 2 of 5: Windows Vista
- Method 3 of 5: Windows XP
- Method 4 of 5: Mac OS X
- Method 5 of 5: Connecting a shared printer
- Tips
Sharing printers within a network has always been a nightmare in the past, especially when the computers all ran on a different operating system. However, technology has evolved, and sharing a printer is now easier than ever. This is especially true for Windows 7, 8 or Mac OS X.
To step
Method 1 of 5: Windows 7 and 8
 Install the drivers for the printer. In order to share a printer, its driver will need to be installed on the computer to which it will be connected. Most modern printers connect via USB and will install automatically when you connect them.
 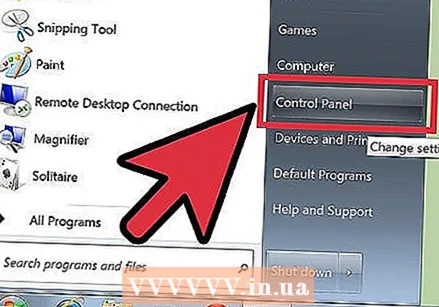 Open the Control Panel. You can access the Control Panel in Windows 7 by clicking the Start menu and selecting Control Panel. In Windows 8, press ⊞ Win+X and select Control Panel from the menu.
 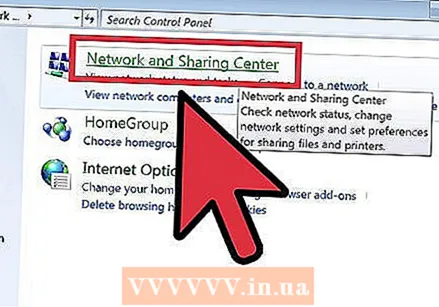 Open the Network and Sharing Center. If your Control Panel is in Category View, click on "Network and Internet", and select "Network and Sharing Center". Click on "Network and Internet". If your Control Panel is in Icon View, click on the "Network and Sharing Center" icon.
 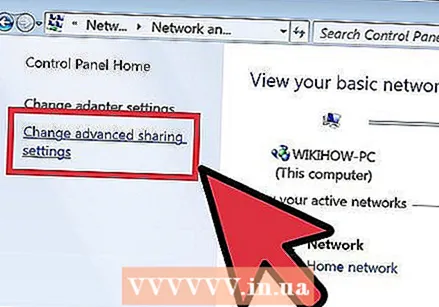 Click on the link "Change advanced sharing settings". This can be found in the left navigation frame of the Network and Sharing Center.
 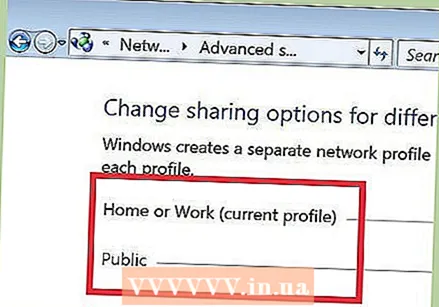 Expand the profile you want to change. You will be presented with three different options when you open "Advanced Sharing Settings": Private, Guest or Public, and All Networks. If you are using a Home network, open the Private section.
 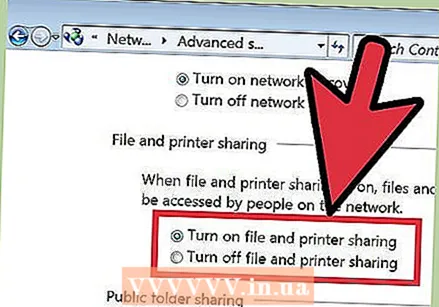 Enable "File and Printer Sharing". Set this to on so that other devices can connect to the printer. This way you can also share files and folders with other computers on the network.
 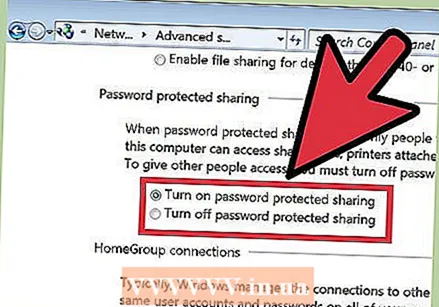 Turn on password protection. You can indicate whether or not you want to protect a printer with a password. When enabled, only users with an account on your computer can access the printer.
 - You can turn on password protection in the "All networks" section.
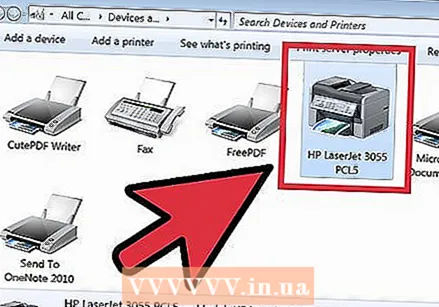
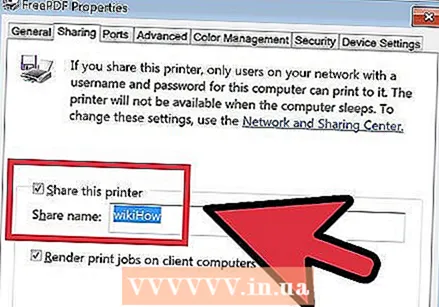 Share the printer. Now that File and Printer Sharing is turned on, you will have to share the printer yourself. You do this by going back to the Control Panel and opening the Devices and Printers option. Right-click on the printer you want to share and click "Printer properties". Click the Sharing tab and check the "Share this printer" box.
Method 2 of 5: Windows Vista
 Install the printer drivers. To share a printer, it must be installed on the computer it is connected to. Most modern printers connect via USB and install automatically when connected.
 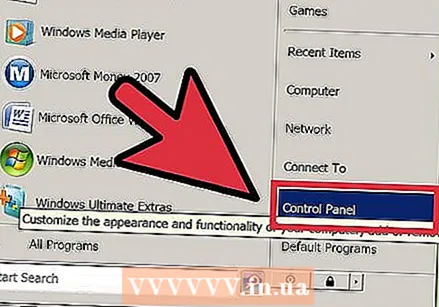 Open the Control Panel. You can access the Control Panel in Windows Vista by clicking the Start menu and selecting Control Panel.
 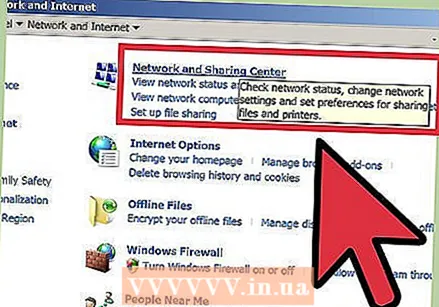 Open the Network and Sharing Center. If your Control Panel is in Category View, click on "Network and Internet", and select "Network and Sharing Center". Click on "Network and Internet". If your Control Panel is in Icon View, click on the "Network and Sharing Center" icon.
 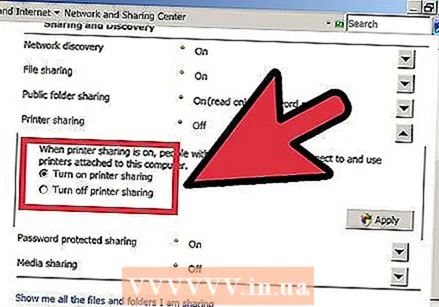 Activate printer sharing. Expand the "Printer sharing" field and enable Printer sharing. You can decide whether or not to password protect the printer. When enabled, only users with an account on your computer can access the printer.
 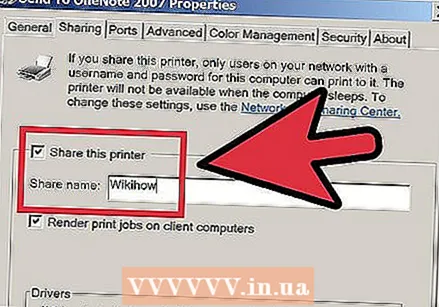 Share the printer. Now that File and Printer Sharing is turned on, you will have to share the printer yourself. To do this, return to the Control Panel and open the Devices and Printers option. Right-click on the printer you want to share and then click "Printer properties". Click the Sharing tab and check the "Share this printer" box.
Method 3 of 5: Windows XP
 Install the printer drivers. To share a printer, it must be installed on the computer it is connected to. Not all printers will be installed automatically on XP, and you may have to manually install the software supplied with the printer.
 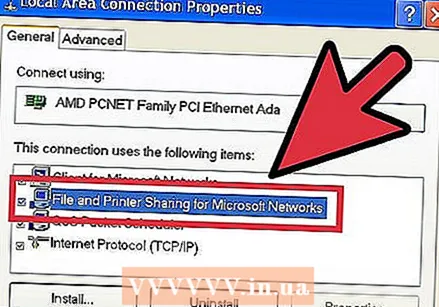 Turn on Printer Sharing. Before you can share the printer, you will have to make sure that Printer sharing is activated. To do this, click on the Start menu and select "My Network Places". Right-click on your active network connection and select Properties. Click the General tab and check "File and printer sharing for Microsoft Networks".
 - You may be asked to restart the computer when you are done.
 Share your printer. Open the Control Panel from the Start menu and select "Printers and Faxes". Right-click on the printer you want to share and click "Share". Click the option "Share this printer" and give the printer a name so that you can recognize it on the network.
Method 4 of 5: Mac OS X
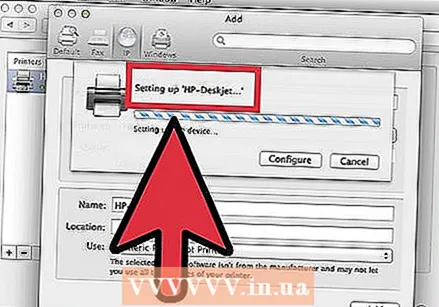 Install the printer drivers. To share a printer, it must be installed on the computer it is connected to. Most printers will install automatically when connected to a Mac computer, but you will have to install the software on older printers manually.
 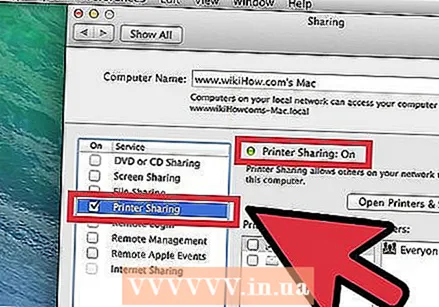 Turn on Printer Sharing. Open "System Preferences". You can find it by clicking on the Apple menu in the top left corner of the menu bar. Look for the "Internet & Network" or "Internet & Wireless" section and click the Share option. Check "Share Printer" in the left pane of the Share window.
 - If your printer also has a scanner, check the "Share scanner" box.
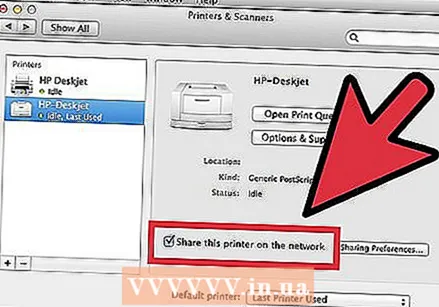 Share the printer. Once Sharing is on, you can enable printer sharing by opening "Print & Scan" from the System Preferences menu. Select the printer you want to share from the list on the left. If the printer you want to share is not listed, it may be that it is not installed properly. Select the printer and click the "Share this printer on the network" option.
 - If it is a combination of a printer and a scanner, then also click on the option "Share this scanner on the network".
Method 5 of 5: Connecting a shared printer
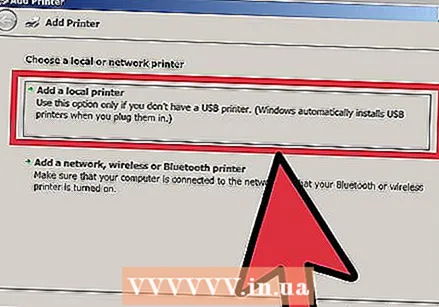
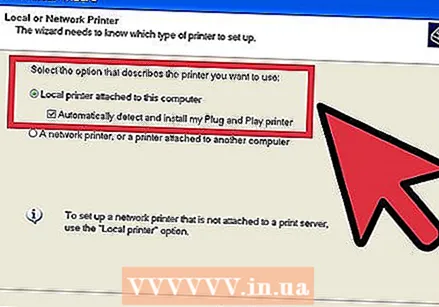
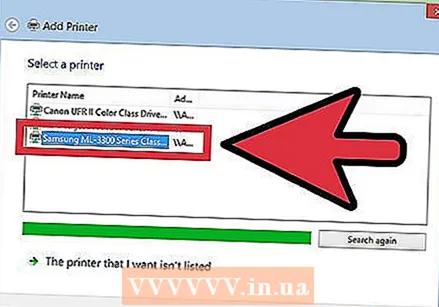 Add a network printer in Windows Vista, 7 and 8. Open the Control Panel and select "Devices and Printers". Click the "Add a printer" button at the top of the window. Wait for the scan to complete and the printer should appear in the list of available printers. Select it and click Next to add it to your computer.
 - If the printer you are looking for cannot be found, click on "The printer I want is not in the list". You can then manually connect to the printer by entering the network name of the printer.
 Add a network printer in Windows XP. Open the Control Panel and select Printers and Faxes. Go to the "Printer Tasks" section and click on the "Add a printer" option. Here "Add Printer Wizard" opens. Select "Network printer or a printer connected to another computer".
 - The fastest way to connect to a network printer is to enter its network address. This means that you know the name of the computer and the printer. Enter the address according to the following syntax: \computernameprintername.
- You can also browse for available printers, although that method is not as reliable as simply entering the printer's name.
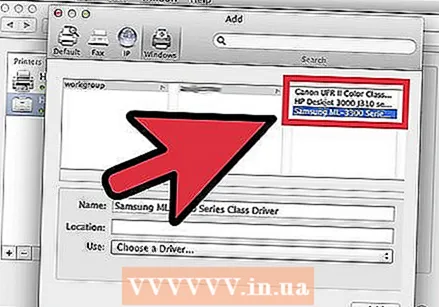 Insert a network printer in Mac OS X. Open "System Preferences" by clicking and selecting the Apple menu. Click the "Print & Scan" icon, and click the "+" button at the bottom of the list of installed printers. The window that appears will automatically detect shared printers on the network. Select the printer you want to add to the list of printers.
Tips
- It's a good idea to make sure your network (when you set it up on your computer) is set to "Private." This setting offers more freedom in terms of sharing, as almost all operating systems offer more extensive sharing options on a private network, compared to a public network.
- Password-protected sharing provides an extra layer of protection. When connecting to a shared printer that is password protected, you will need to enter the username and password of the host computer.
- Some printers come with an installed wireless card. It is also possible to connect a printer directly to a wireless router (if the router has a USB port) to share the printer that way. If your printer is connected to a network without the intervention of a computer, then it is easy to share such a printer. In principle, shared wireless printers should be available to all computers on the network.


