Author:
Morris Wright
Date Of Creation:
26 April 2021
Update Date:
24 June 2024

Content
- To step
- Part 1 of 3: Preparing the milking station
- Part 2 of 3: Preparing the goat
- Part 3 of 3: Milking the goat
- Tips
- Warnings
- Necessities
Have you ever wanted to milk a goat? Goat's milk is a popular alternative to cow's milk because it is easier to digest. Because it contains slightly more fat, goat's milk is becoming increasingly popular for making cheese. But milking a goat isn't as easy as it seems, and it's not the same as milking a cow.
To step
Part 1 of 3: Preparing the milking station
 Sanitize everything you will be using. All tools and aids should be thoroughly washed in water between 38 and 50 degrees Celsius, using an alkaline-based cleaner or chlorine bleach. This is to prevent the growth and spread of bacteria. It is best not to sanitize the equipment more than 30 minutes before use.
 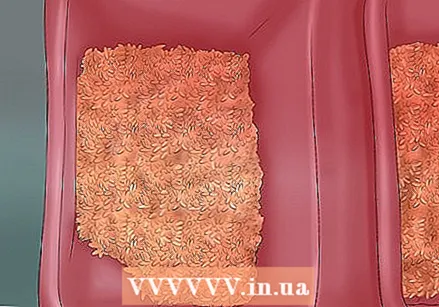 Have a bucket of grain ready. Use 450 grams or less of grain in the feed bucket, as more grain can cause bloating.
  Lead your goat to the milking stand. Put a little food on the spot and she will stick her head through the neck strap. Once she does, close it.
 - The neckband should be comfortably loose, but not so loose that she can pull her head back through it once it is closed. If you get your goat used to this routine, she will easily come and jump to the neck brace.
Part 2 of 3: Preparing the goat
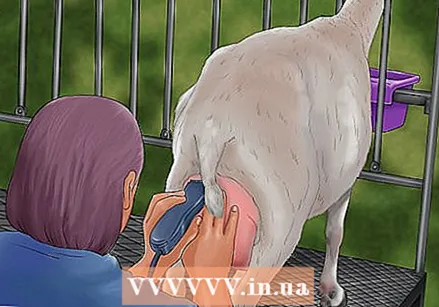 Shave the udder. This will prevent dirt and gravel from falling into the milk, which is crucial for keeping the milk clean and safe.
 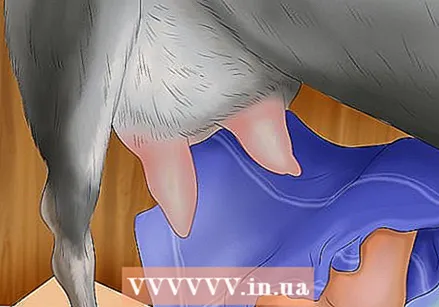 Wash under the udder and teats. Using a sterilized cloth and warm water, wring the cloth out so that it is not soaking wet and wipe the teats thoroughly.
 - Using warm water is important as it calms the goat and aids in the release of the milk.
- You should also gently massage the teats and udder while wiping them clean. Massaging the udder increases the release of oxytocin, which causes the release of milk when milking farm animals.
 Use a pre-dip on the teats. Pre-dip products kill bacteria without drying out the teats and should be left in place for at least 30 seconds.
 - Some farmers prefer pre-dip rather than washing, as the pre-dip does not create a warm, moist environment the way washing does, which contributes to bacteria growth.
 Use single use paper towels to wash / dry the teats. And make sure to wash your hands thoroughly before milking each goat. This step is important to minimize the risk of spreading inflammatory bacteria from infected goats to healthy goats. It may be helpful to wear disposable gloves when milking each goat to further reduce the risk of infection.
  Inspect the teats for udder infection. Look for redness, swelling, heat and signs of pain, as well as abnormal milk secretion during milking.
  Start milking within 60-120 seconds of preparing the teats. This is to take advantage of your goat's optimal milk delivery time.
Part 3 of 3: Milking the goat
 Place the bucket on the stand. Position the milk bucket so that it is centered in line with the direction of the jet from the goat's teats.
 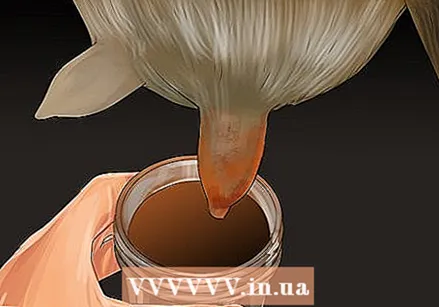 Dip, strip and wipe. Dip the teat in an iodine solution if you haven't used a pre-dip yet. Then squeeze out the first milk stream, which is most likely the one with the most bacteria. Afterwards, wipe it with a clean disposable cloth and start milking as usual.
 - Use a stripping glass to collect the first flow of milk. Your strip glass should have a black screen over the top to catch any irregular flakes or lumps so you can spot these irregularities quickly.
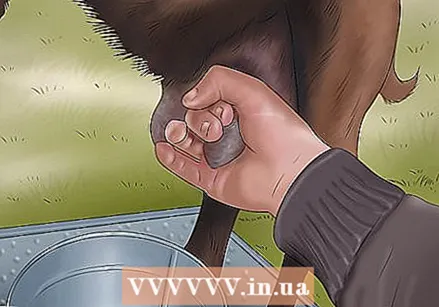
 Wrap your thumb and index finger around the base of the teat. Keep your grip firm but not too tight. Apply just enough pressure to trap the milk in the teat.
 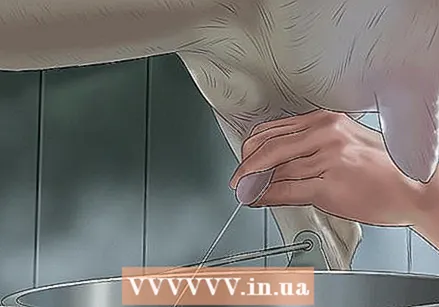 Squeeze your middle finger, then your ring finger, then your little finger, in one smooth, successive motion, top to bottom, from udder to teat. Remember to keep a firm grip on the base of the teat or else the milk will slip back into the udder instead of in the bucket, causing infection.
 - Do not pull on the teat! This will hurt the goat and can damage the teat.
 Understand what works best for your goat. Every goat is different. Different goats will have different sizes and shapes of teats, so if your hands are larger than the teats, you may need to learn to use fewer fingers.
 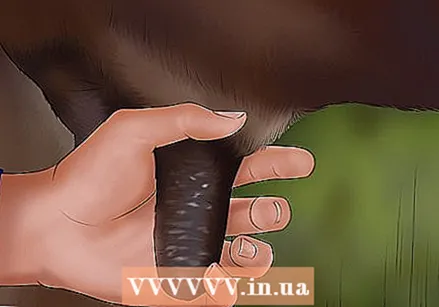 Relax your grip on the base of the teat so that the teat is filled with milk again.
 Repeat steps 6-8 with one hand on each teat. Alternate squeezing one teat while the other refills. With practice you will find an efficient rhythm.
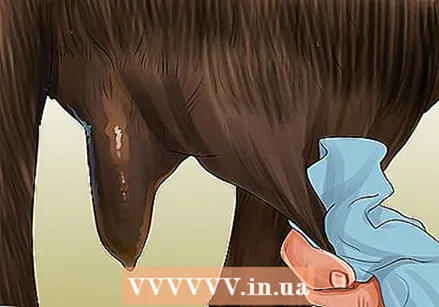
  Stop when you see that there is not much milk left. The teats will be limp, with a "deflated" appearance. Massage the udder to release the remaining milk. You should get another 100 to 200 ml of milk, but try not to squeeze every last drop out.
 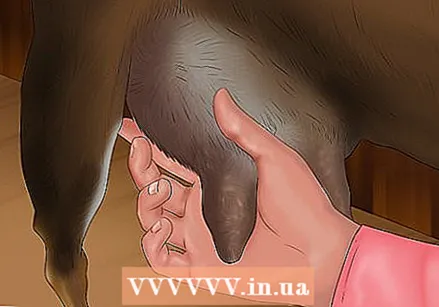 Massage the teats after milking. This can help prevent bacteria growth after the process is complete.
  Remove the bucket and place it where it cannot be knocked over by a curious or mischievous goat. Milk must be cooled to 4.4 degrees Celsius or cooler within two hours of milking.
 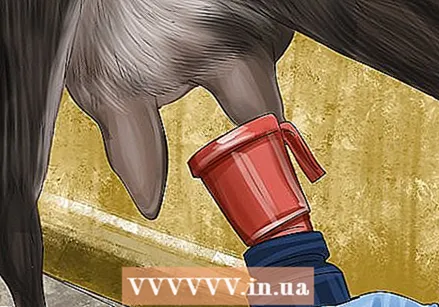 Use a teat dip (iodine solution) when you are done milking. This will keep the bacteria from infecting the teats after milking.
 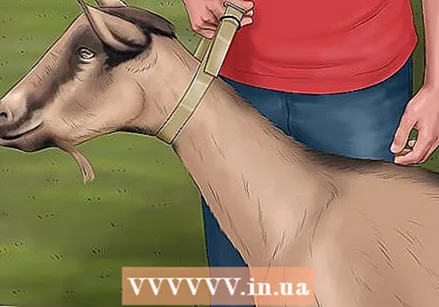 Grab the goat's collar (or fasten a leash) and loosen the neck strap.
 Lead your goat back to her run.
- Make sure your goat has enough water, as goats can become dehydrated during milking.
- Make sure your goat is getting enough nutrients. Remember, a high-producing goat will need plenty of hay throughout the day and about 450 grams of grains for every 1300 grams of milk she produces. Making sure your goats have enough food and water is always important, but it is especially crucial during milking. Meeting these needs will keep your goats happy and healthy.
Tips
- It is important to wash the udder before milking. This will remove dirt and loose skin flakes from the udder so they don't fall into the bucket of milk. The warm water also relaxes the udder and releases the milk.
- A goat has an udder and two teats. The teats are what you squeeze to get the milk out. Many people mistakenly mention weaning udders. An animal with more than one udder is truly a special animal.
- When the milk decreases, try massaging the udder for thirty seconds. You will get quite a bit more milk out of it.
- Commercial teat sprays, dips, and balms are also available to help prevent udder infections. Many sprays are preferable to dips to avoid cross-contamination between goats.
- Make sure the goat has enough grain to keep her busy while you are milking her. When it is finished, only goats with the calmest character will wait patiently for you to finish. But don't give excessive amounts of grain to a goat. She will then get goat diarrhea. And you don't want that. It is very helpful to put a few large stones in the grain bucket so that the goat has to do its best to get to the last few grains of grain.
- Don't rely on the strength of your hand alone. A half turn at the top of the teat at the udder will help seal the top. Do not pull or twist the teat. This causes pain to the goat and problems for you.
Warnings
- Most, but not all, kick goats and can kick very hard. Don't bring your face too close to the bucket or you could risk serious injury or even death.
- As with all animals, you should never yell, hit, or otherwise mistreat a goat, especially while it is being milked. The key is to make milking a positive experience, one that it will welcome, not hate. A nervous goat is a force to be reckoned with.
- If the milk has lumps, blood, or a "stringy" appearance, your goat could have udder inflammation, a bacterial infection in the udder. This can be confirmed by using a California Mastitis Test (CMT), which are available from various suppliers. A vet can recommend treatment based on what's causing the infection.
Necessities
- One or more female goats
- Milk standard
- Feeder
- Grain
- Metal bucket
- Collar / leash
- Washing water in which the washcloths have been boiled. Dilute with equal parts cold water before use. You can also use one of the various brands of hygienic wipes.
- Post-milking dip, balm or spray to prevent infection.


