Author:
Tamara Smith
Date Of Creation:
24 January 2021
Update Date:
1 July 2024
Content
Photoshop is famous (or infamous?) For its ability to make photos look better than they actually do. No wonder - with this collection of tools, you can do everything from a little retouching to completely changing an image. In this article you will see a number of useful techniques with which you can take digital snapshots or scans to a higher level.
To step
Method 1 of 2: Crop and Retouch
 Open a photo. When you've opened a photo in Photoshop, it will appear as a layer called background. The first thing to do before proceeding with finishing is to crop the photo and delete anything that doesn't belong on the image. For this tutorial we will start with the following image:
 - You can download the full size version here.
 Select the Crop tool (C). In most cases we take pictures without thinking long about the composition. Either we just want to capture a moment, or we take a lot of photos hoping to find the "perfect" photo. Cropping can help focus an image more on the subject and can make an image much stronger.
  This image has been cropped using the rule of thirds. The general idea is that a photo is divided into three, horizontally and vertically. Major elements of the image must be on or near the lines.
 - You can see that the tops of the mountains are roughly aligned with the vertical lines, while the sky and the trees are defined by the horizontal lines. It is generally believed that this gives a more interesting view than centering.
- Press Enter to crop the image.
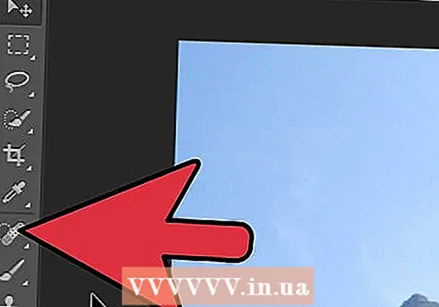 Select the Quick Healing Brush Tool (J). Use this to clean the pieces of the image that are not cropped, but are distracting. For our test photo, we will trim the trees in the lower left corner, lower right corner and upper right corner.
  Your image is now prepared for the next step: make it something exceptional!
Method 2 of 2: Clean and adjust
 Copy the background layer. Either by right clicking on the background layer and Duplicate layer from the menu, or by dragging the background layer to the New Layer icon, and Photoshop will automatically copy the layer.
  Set the Blending Mode to dim light. This can make the image too dark, but it is only an intermediate step. Once the Blending Mode is set, select Control-I (Command-I) to invert the image or Modifications to choose from it Image menu, then Invert to select.
  Use the High Pass filter. Go to it Filtersmenu, select Other ... > High Pass ... Make sure the Preview check box is selected, then adjust the Radius to taste. You can see that the image changes, with a nice, soft effect. The radius mainly depends on the resolution of your image. If the image has a very high resolution, you will use a larger Radius than with a low resolution. Let your taste guide you.
 - Although we use it here with a landscape, this effect is also very nice for portraits.
 Create a Levels adjustment layer. With the Background copy layer selected, click the Levels icon in the Adjustments window.
 - By clicking on the button Car will automatically balance the levels between the brightest part of the picture and the darkest. You can use the sliders to fine-tune your image, or use one of the custom presets at the top of the Properties window.
 Create a Curves adjustment layer. Clck back to the Adjustments tab, then click the Curves icon (on the right, next to the Levels symbol). This allows you to control the contrast of the images in great detail.
 - Click up about 1/4 along the line and pull it down a bit. Click again about 3/4 up the line and pull it up slightly. This will form a sort of "S" shape, and your image should look a lot more dramatic.
 Change the Blending mode of the Curves adjustment layer to Brightness. This will prevent the contrast from affecting the color information of the image.
 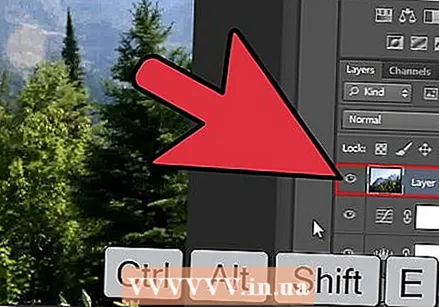 Merge the layers. Select Merge Visible from the layers menu, or press Control-Alt-Shift-E (Shift-Option-Command-E on the Mac) to create a new layer that merges all the information into one layer.
  Select the Dodge tool (O). The Dodge and Burn tools are ideal for adding highlights and shadows to an image. At the top of the Photoshop window, set them as follows: for the Dodge tool, set Exposure to 5%, and the Range to Highlights.
 - Set the brush to a fairly small size (depending on the resolution of your image), and use the Dodge tool to turn on the highlights. It's great for bringing out the details of an image without overdoing it.
- The Burn tool darkens parts of the image, and works well on shadows to add depth to images.
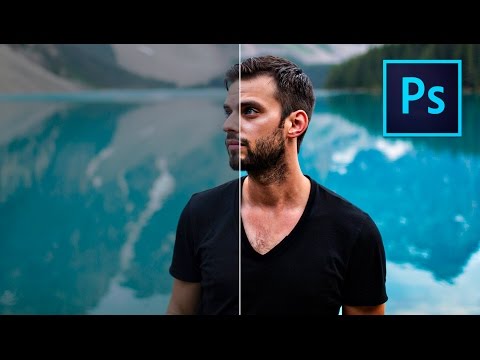
 Compare the images. At the top you see the image in front, followed by the edited version.


