Author:
Roger Morrison
Date Of Creation:
3 September 2021
Update Date:
21 June 2024
Content
- To step
- Method 1 of 4: Using an online program
- Method 2 of 4: Using Notepad for Windows
- Method 3 of 4: Change file extensions in Windows
- Method 4 of 4: Change file extensions on a Mac
- Warnings
This wikiHow teaches you how to pretend a Microsoft Word document is damaged so that it cannot be opened.
To step
Method 1 of 4: Using an online program
 Go to https://corrupt-a-file.net in a web browser. Corrupt-a-File is a free tool that will damage any document you upload.
  click on From your computer. It's under "Select the file to corrupt". Your computer's explorer window opens.
  Select the Word document and click Open. The name of the file appears below the text "Select the file to corrupt".
  click on Corrupt file. This will upload the file and damage it.
  click on Download your corrupted file. You will see this option once the file is ready.
  Name the file and click Save. This will download the damaged file to your computer.
  Try to open the file in Word. If you have Word on your computer, double-click it to open it. You will then receive an error message about a problem with the content. click on Okay to continue, after which Word will attempt (unsuccessfully) to restore or retrieve the content.
Method 2 of 4: Using Notepad for Windows
 Open Notepad for Windows. You can find it in the Start menu in a menu called Windows accessories.
  Click on the menu File and select To open. The file explorer opens.
  Select All files from the drop-down menu. This is located at the bottom right of the file explorer and is set to Text documents ( *. Txt).
  Select the document and click To open. A load of nonsense characters appears on the Notepad screen.
 - You can use any Word document you want - the content doesn't matter, because no one will be able to open the file.
 Delete several lines of text. Seven or eight lines should be enough.
  Click on the menu File and select Save as. The "Save As" window appears.
  Select All files from the "Save As" menu. You can find this at the bottom of the window.
  Name the file and click Save. This version of the file is now corrupted.
  Try to open the corrupt file in Word. If you have Word on your computer, you should try to open the file in that program by double-clicking it. You should see an error saying there is a problem with the content. click on Okay to continue, and then Word will try (and fail) to repair or restore the content.
Method 3 of 4: Change file extensions in Windows
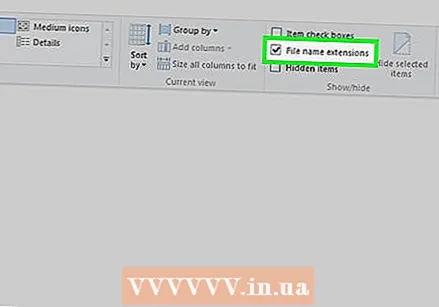 Make sure the file extensions are visible. File extensions are not shown by default. You can enable this in the following way:
 - Open the search bar in Windows and type file options.
- click on Explorer options in the list of results.
- Click on the tab Display at the top of the window.
- Uncheck "Hide extensions for known file types" under "Advanced settings".
- click on OK.
 Find a file that is not a Word or text document. You must start with a file that cannot be opened in Word, such as an image file (e.g. .jpeg, .gif, .png) or a sound clip (e.g. .wav, .mp3, .ogg). You use this file to create a damaged Word document.
 - Since you are going to damage the file, you have to choose those that you would otherwise throw away. You can also make a copy of the file before changing its extension if you want to keep it.
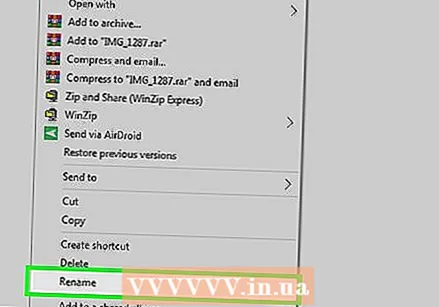 Right click on the file and choose Renaming. This will select the file name, which means it is now editable.
  Replace the current extension with .docx. For example, if you are working with a file called file.webp, replace ".webp" with .docx.
  Press ↵ Enter. You will see a popup asking if you are sure you want to rename the file.
  click on Yes. The file is now saved as a .docx file. If you try to open the file in Word, you will see an error saying it is corrupt.
 - If you want to hide the file extensions again, go back to the tab Display in Explorer options and check the box "Hide extensions for known file types".
Method 4 of 4: Change file extensions on a Mac
 Make sure the file extensions are visible. File extensions are not shown by default. Here's how to enable them:
 - Open Finder
 Find a file that is not a Word or text document. Start with a file that cannot be opened in Word, such as an image file (e.g. .jpeg, .gif, .png) or a sound clip (e.g. .wav, .mp3, .ogg). You use this file to create a damaged Word document.
 - Since you are damaging the file, choose one that you would otherwise get rid of anyway. You can also make a copy of the file before changing its extension if you want to keep the original.
 Click once on the file to select it and press ⏎ Return. The file name should now be selected in blue, meaning it is editable.
 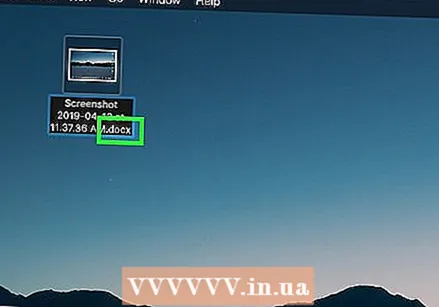 Replace the current extension with .docx. For example, if you are working with a file called file.webp, replace your ".webp" with .docx.
  Press ⏎ Return. You will see a message asking if you are sure you want to change the file extension.
  click on Use .docx. The file is now saved as a .docx file. If you try to open the file in Word, you will see an error saying it is corrupt.
 - If you want to hide the file extensions in Finder, go back to Finder> Preferences> Advanced and uncheck "Show all file extensions".
- Open Finder
Warnings
- Do not use files that you might need later, as damaged files are quite difficult to recover. Always create a dummy file or use a copy of a real document.
- If you want to damage a file so that you don't have to submit anything for an assignment from your school or higher education, ask yourself again what you are doing. Schools are becoming increasingly aware of this trick and some teachers will immediately give you a zero for submitting a damaged document. In case of force majeure, it is better to inform the teacher, and do not let it depend on the policy of your school whether or not you take such risks.


