Author:
Roger Morrison
Date Of Creation:
3 September 2021
Update Date:
1 July 2024

Content
- To step
- Method 1 of 2: Replace the blade of a safety razor
- Method 2 of 2: Remove the blade from a disposable razor
- Warnings
It is not difficult to safely remove the blade from a safety razor or disposable razor. If you are using a safety razor, you will need to change the blades often to ensure a close shave. The blades of a disposable razor must be removed before recycling, and can be useful for arts or crafts that require many fine and delicate details. However, if you have thoughts of harming yourself, talk to someone you trust or call the Suicide Prevention Helpline 113 (Netherlands) or 1813 (Belgium).
To step
Method 1 of 2: Replace the blade of a safety razor
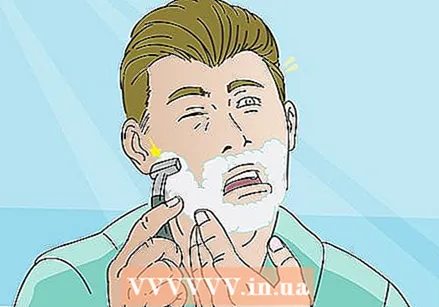 Replace the blade if you feel a tug or pull while shaving. Sometimes it is difficult to tell when to replace the blade in a safety razor. Pay attention to the first few strokes of your shave. If it feels like the blade is pulling on your hair, it's time to change the blade!
 - If you notice that your face feels irritated or that there are razor bumps and marks after shaving, this is a sign that you should replace the blades before shaving again.
- Never try the blade on your hand, you could cut yourself or damage the razor if it is not already dull.
 Turn the razor handle counterclockwise to expose the blade. Hold the handle in your dominant hand and use the other hand to hold the head of the razor. Then turn the handle to the left until the head begins to separate from the handle or until the top of the head opens to reveal the blade, depending on the razor.
 - There are a few different types of safety razors, and some have different blades. Watch the head of the razor as you turn the handle.
- Be careful not to tip the razor on its side or hold it upside down. The razor can easily fall out in those positions.
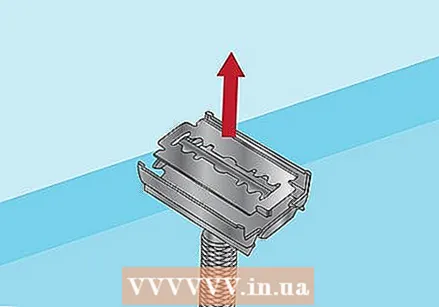 Remove the current blade from the razor head. Gently lift the side of the blade with your fingers or a butter knife to remove it from the head. When removing the blade, try not to touch its sharp edges.
 - When you remove the blade, you can recycle it to reduce waste!
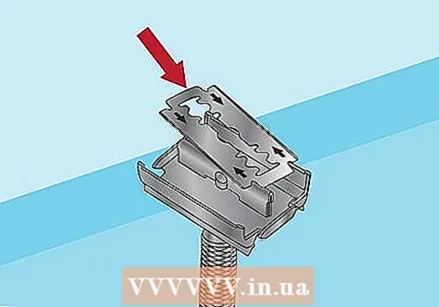 Insert a new blade into the open slot in the head. Choose a new blade to replace the old one and gently slide it into the slot in the head. Usually words or arrows are printed on the blade to make sure it is in the correct direction.
 - If you don't have a holder or sleeve for the extra blade, be very careful when handling it.
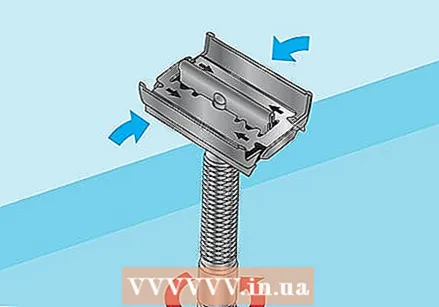 Turn the handle clockwise to close the head and secure the blade. Once the blade is in the razor, replace all parts covering the blade and turn the handle the other way to reattach the head. Gently tilt the razor on its side to make sure the blade is secure and cannot fall out.
 - Some handles snap when the head is fully engaged, but most don't.
Method 2 of 2: Remove the blade from a disposable razor
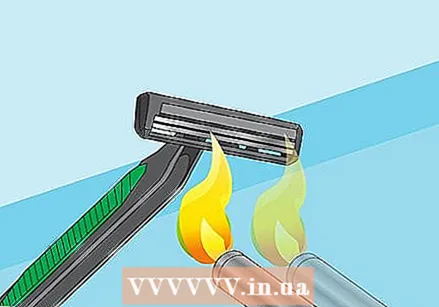 Use the flame from a lighter to soften the plastic around the blades. Hold the sides of the razor over a flame for 15 to 20 seconds on each side to melt the plastic slightly. Be careful not to let the plastic melt completely as it could drip down the blades and cover them with plastic.
 - Since most disposable razors are made of cheap plastic, a single flame will heat the plastic enough to remove the blade.
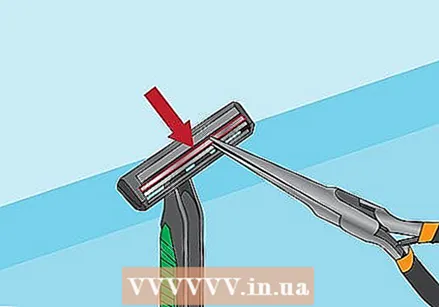 Grab one of the blades with needle nose pliers. Hold the pliers in your dominant hand and the razor handle in your other hand, place the pliers with one point above the blade and the other point under the blade. If the razor has more than two blades, make sure to remove the blade at the top first as it is the easiest to grip.
 - If there is only one blade, try squeezing one portion of the pliers under the blade and resting the other tip on the top of the blade.
- Hold the blade firmly, but do not press too hard. The blades are often brittle and can sometimes easily break in half.
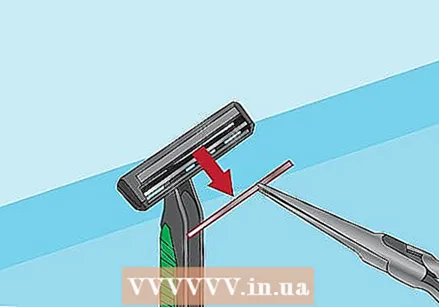 Pull the blade with the pliers until it comes out of the plastic. Since the plastic is softer, pulling on the pliers should loosen the blade. If the blade does not move or the plastic bends but the blade does not come off, heat the plastic for an additional 10 seconds.
 - Be careful not to pull too hard with the pliers.If the blade comes off quickly, you can drop it or damage it.
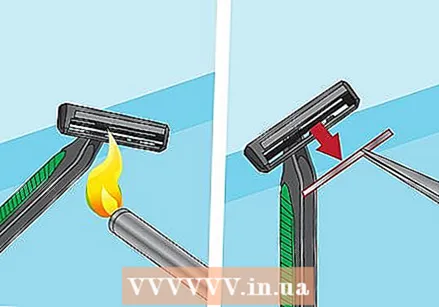 Heat and remove the rest of the blades using the same method. If you need to remove more blades, work from the top of the razor to the bottom. While you're at it, heat the sides of the razor for an additional ten seconds if they get hard.
 - If you plan to recycle the plastic from the razor, make sure to remove all blades. Sometimes the blade at the bottom can be difficult to remove. Be patient and keep heating the plastic until the blade comes off.
Warnings
- If you have thoughts of harming yourself, talk to someone you trust or call the Suicide Prevention Helpline 113 (Netherlands) or 1813 (Belgium).
- Keep razors and knives out of the reach of small children and pets.


