Author:
Tamara Smith
Date Of Creation:
26 January 2021
Update Date:
29 June 2024
Content
- To step
- Part 1 of 5: Connecting the lamp and bridge
- Part 2 of 5: Install the Philips Hue app
- Part 3 of 5: Connecting the lights
- Part 4 of 5: Setting up your home
- Part 5 of 5: Setting up your rooms
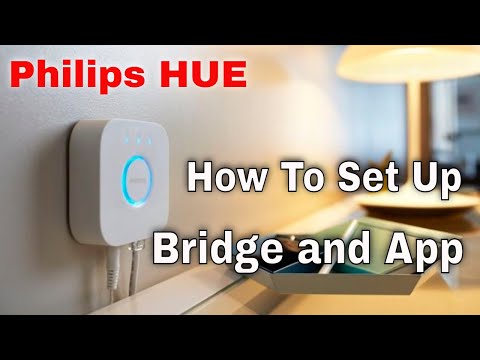
This wikiHow teaches you how to set up your Philips Hue Bridge, the device that powers your smart home lighting. Philips has a range of smart light bulbs that can be mounted on any of your existing standard bulb socket. After connecting the Hue Bridge directly to your internet router with an Ethernet cable, you can wirelessly connect to the Hue smart lights in your home with the Philips Hue app on your mobile phone or computer.
To step
Part 1 of 5: Connecting the lamp and bridge
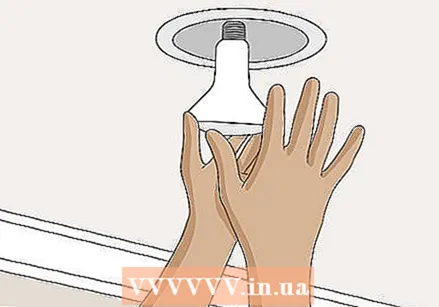 Install all Philips Hue bulbs in available bulb fittings. If you want to connect Philips Hue lights to the Bridge, you can connect them most easily when you set up the Hue Bridge. Hue's smart bulbs are designed for any standard A19 and E12 lamp base.
  Make sure the light switches for the Hue bulbs are turned on. The Hue smart bulbs turn on automatically when properly connected, powered and ready to pair.
  Connect the power cord for the bridge. Use the power adapter to connect the Hue Bridge to a power outlet near your wireless router.
  Connect the bridge to your wireless router. The Hue Bridge connects to any available Ethernet port on your wireless router using an Ethernet cable. Plug the included Ethernet cable into the Bridge and the other end into an open Ethernet slot on your router. Once the four lights on the bridge light up, it's ready to set up.
 - The Hue bridge does not have built-in WiFi.
Part 2 of 5: Install the Philips Hue app
 Open the app store on your mobile device. Open the app store on your mobile device to find and download the Philips Hue app.
 - Open the Google Play Store
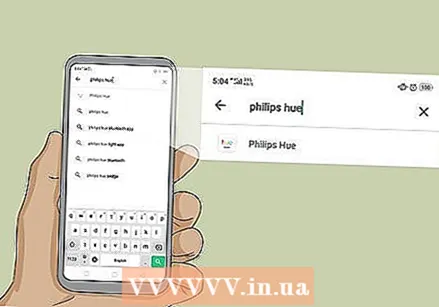 Tap the search bar and type philips hue. The search bar is at the top of the screen. As you type, suggested apps appear below the search bar. Tap the Philips Hue app when you see it.
 - On the iPhone, tap the "Search" tab first, then tap the search bar at the top.
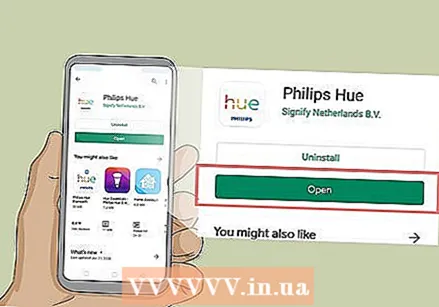
 Tap on TO DOWNLOAD or to install next to the Philips Hue app. It's the app with "Hue" in colorful letters above the Philips logo. There are a number of Philips Hue apps from Philips, so make sure to download the official Philips Hue app. Please wait to install the app.
- Open the Google Play Store
Part 3 of 5: Connecting the lights
 Open the Philips Hue app. You can tap "Open" in the app store when you're done installing or tap the app's icon on your home screen. It's the app with "Hue" in colorful letters above the Philips logo.
  Tap on Set up. It's the orange button that appears once the app finds the Hue Bridge on the wireless network.
  Press the Push link. It's the button in the center of the app that looks like the Bridge device.
  Tap on Accept. It's the yellow button at the bottom of the screen. This indicates that you agree to the Terms and Conditions. Tap the underlined text with the terms and conditions to read them.
  Tap on Connecting Bidge. It's the yellow button at the bottom of the screen. You will now start setting up your house.
Part 4 of 5: Setting up your home
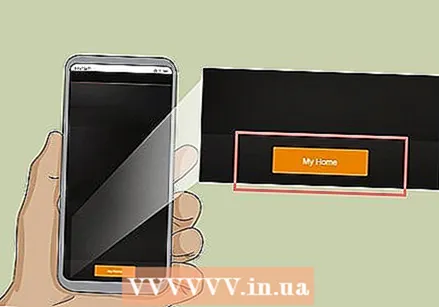 Tap on My house. It's the yellow button at the bottom of the screen.
 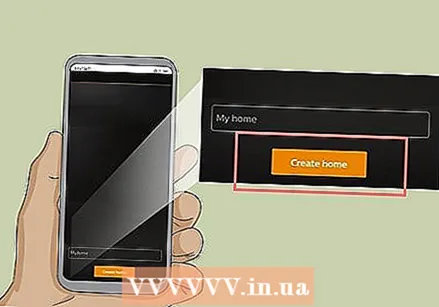 Enter a name for your home page and tap Create house. Use the bar at the bottom of the screen to name your smart home system. You can come up with something general, such as "Home". When you have finished naming your home, tap the yellow button that says "Make Home".
  Scan the Hue Bridge accessory code. The accessory code is located on the bottom of the Hue bridge. Use the camera on your Android phone to scan the accessory code.
 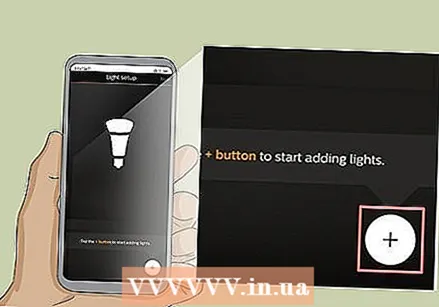 Tap on
 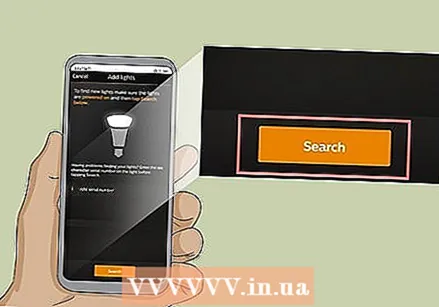 Tap on Search. It's the yellow button at the bottom of the screen. This will look for your lamps. This will take a few minutes. When it's done, it will tell you at the top of the screen how many bulbs it found.
 - If it doesn't find all of your bulbs, tap the "+" icon again, then tap "+ Add Serial Number" and enter the serial number of the bulbs to add them manually.
 Tap on Next one. Once all of your lights have been added, tap "Next" in the top right corner.
Part 5 of 5: Setting up your rooms
 Tap on
 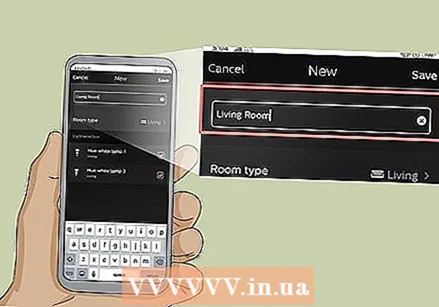 Type the name of the room. Use the text box at the top of the screen to name the room. It could be something generic such as "Living Room" or "Bedroom".
  Tap on Room type. It's just below the text box with the name of the room.
 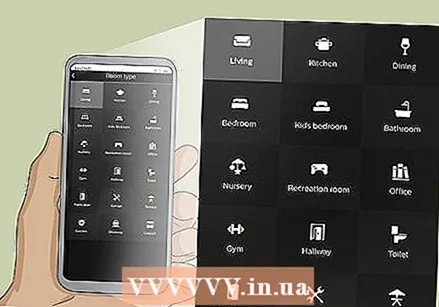 Select a room type. There are a number of room types to choose from, such as the living room, kitchen, dining room, bedroom, etc.
  Check the lights in the room. Tap the check box next to all lights that are part of this room. Turn off any lights you don't want to associate with the space you are creating.
 - Unfortunately, new lamps are given generic names, making it difficult to know which lamps are in which room. If you select the wrong bulbs, you can change them later by going to the Settings menu.
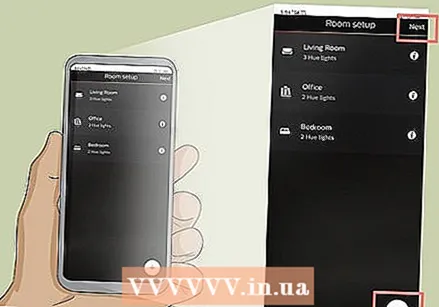 Tap on + or Next one. If you want to set up more rooms, tap the "+" icon in the lower right corner and repeat the steps above to set up additional rooms. Otherwise, tap "Next" in the top right corner to finish setting up your Hue system.


