Author:
Eugene Taylor
Date Of Creation:
10 August 2021
Update Date:
1 July 2024

Content
- To step
- Method 1 of 4: Protect the blistering area
- Method 2 of 4: Using natural remedies
- Method 3 of 4: Deflate a blister
- Method 4 of 4: Prevent blisters
- Warnings
Blisters can develop from repetitive activity or friction, such as running with shoes that don't fit properly. You can also get a blister from sunburn or some other type of burn. To heal a blister, you can protect the blistering area and try some natural remedies. You may need to deflate the blister if it is very large or painful. With careful first aid, you can successfully heal most blisters.
To step
Method 1 of 4: Protect the blistering area
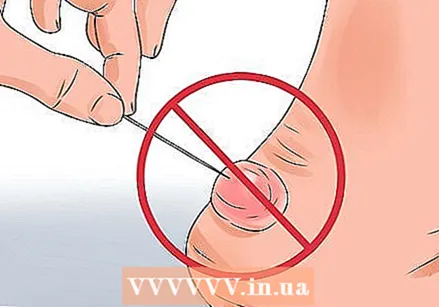 Leave the blister alone. If your blister hasn't burst, try to keep it whole. It is better to avoid exposure to bacteria by letting the blister heal naturally without trying to pop it open.
 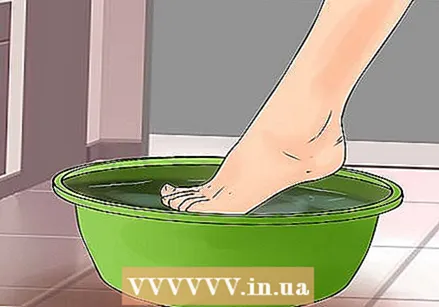 Soak the affected area in warm water. One method is to simply soak the affected area. Use a clean bowl or sink and fill it with enough warm water to submerge the area (your foot or hand, for example). Let it soak for 15 minutes. The warm water will soften the skin on the blister, which can help the blister to self-deflate.
 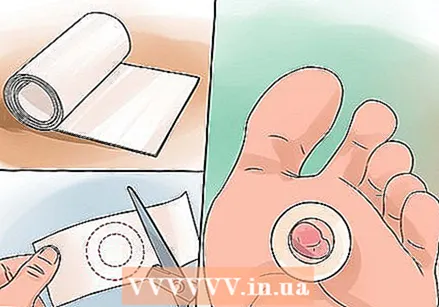 Protect the affected area with felt rings. If your blister is in a place that is subject to a lot of pressure, such as the bottom of the foot, you can protect the area with a felt ring. A felt ring is made of soft cotton, usually with a self-adhesive backing. This will ease some discomfort. It can also help protect the blister.
 - Cut a piece of felt slightly larger than your blister. Cut out the center piece to fit around the blister like a donut. Stick this on the blister.
- You can also use other adhesives such as Blist-O-Ban and Elastikon.
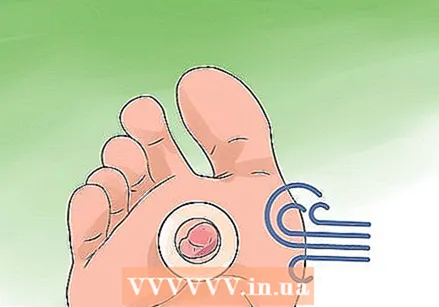 Let your blister breathe. For most blisters, especially the smaller ones, exposure to the air aids in the healing process. Give your blister some air. If the blister is on your foot, be careful not to let dirt get on the blister.
 - You may have to wait until bedtime before leaving your blister uncovered. Air the affected area at night while you sleep.
Method 2 of 4: Using natural remedies
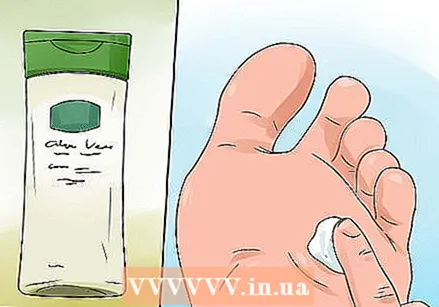 Apply aloe vera gel. Aloe vera has many healing properties to help reduce pain and inflammation. Use aloe vera gel on your blister to make it heal even faster. Apply it to your blister and cover it with a bandage.
 - You can use the gel directly from the plant itself or you can buy aloe gel from an organic store.
 Soak the blister in apple cider vinegar. Apple cider vinegar has antibacterial properties and can help a blister heal faster. Make a paste of apple cider vinegar and castor oil by mixing 125 ml of vinegar with three teaspoons of castor oil. Apply this mixture to your blister a few times a day. Cover your blister with a bandage.
 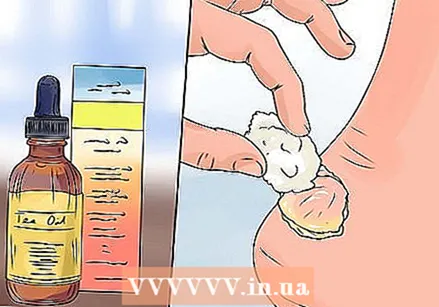 Try tea tree oil. Tea tree oil has antibacterial properties and also acts as an astringent. Soak a cotton ball or piece of gauze in tea tree oil. Apply this gently on your blister. Cover the blister with gauze and tape.
  Use a tea bag with green tea on the blister. Green tea has antibacterial properties and contains tannic acid that helps harden the skin. When you harden the skin on a blister that is starting to heal, calluses can form and your skin will no longer be sensitive to blisters in that area.
 - Soak a bag of green tea in water for a few minutes. Squeeze it gently to get excess water out. Place the tea bag on the affected area for a few minutes.
Method 3 of 4: Deflate a blister
 Determine if you should deflate the blister. If your blister is large, painful or irritated, you may decide to let the liquid drain out. It is always better to leave the blister alone, but you will find that taking the pressure off the blister will reduce the pain and irritation.
 - Do not drain the blister if you have diabetes, HIV, cancer, or other conditions that make you susceptible to infection.
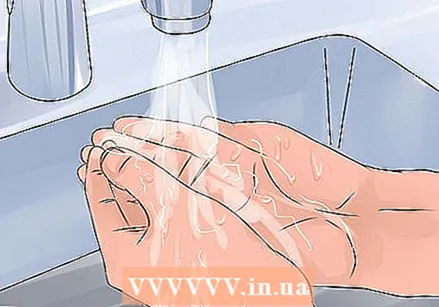 Wash your hands. Use plenty of soap and warm water to wash your hands. You don't want to add extra bacteria or dirt to your blister while you're emptying it.
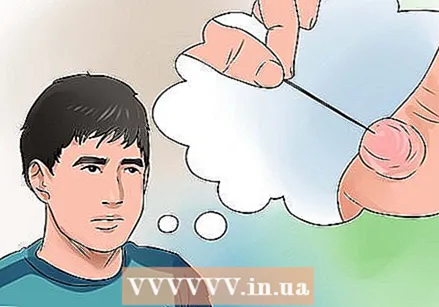
 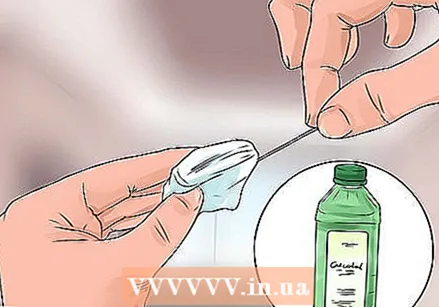 Clean a needle or pin with rubbing alcohol. You will need a sharp object to pierce the blister. Make sure it is clean by wiping the needle or pin with a piece of gauze soaked in rubbing alcohol.
 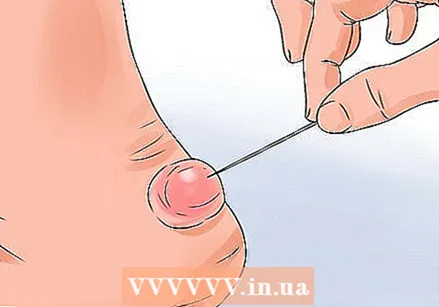 Pierce the blister at the edge. Choose a spot on the blister that is close to the edge. Gently push the needle or pin into the blister. When you see that fluid is starting to come out of the blister, you can remove the needle.
 - You could puncture the blister in more than one place, especially if it is a large blister. This can help relieve the pressure that builds up in the blister.
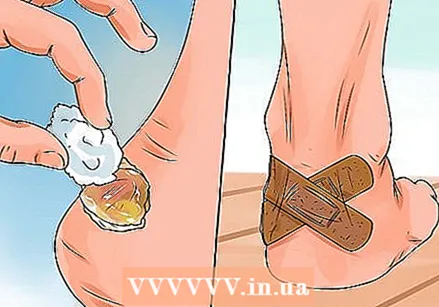 Clean the area and connect it. Wipe off the excess moisture with a clean piece of gauze. When moisture is no longer draining from the blister, gently clean the blister with soap and water. Cover the blister with gauze and tape.
 - You can also use antibiotic cream on the blister for the first two days. If your blister starts to itch or get a rash, stop using the cream.
- If there is a patch of skin on the blister, do not cut it. Leave it alone and lay it flat over the blister.
- Clean and reconnect the area every day. If the area gets wet, replace the gauze.
- Let the area breathe overnight by removing the bandage. Reapply the bandage in the morning if the blister still needs to heal. This will help protect it from dirt.
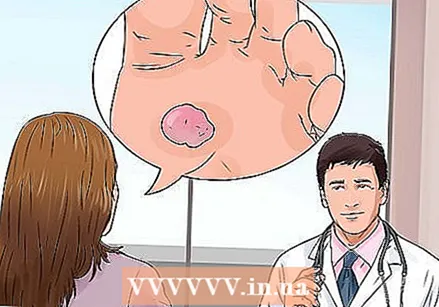 Do not puncture a blister if you have a serious health problem. People with certain conditions, such as diabetes, may be at higher risk for infections from blisters. If you have diabetes, HIV, cancer, or heart disease, don't pop your blister. Instead, see a doctor for treatment.
 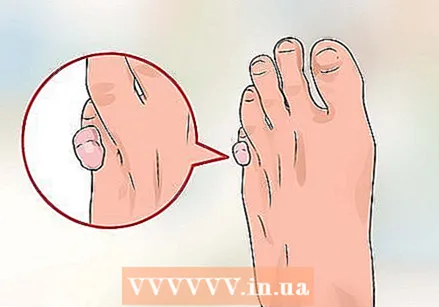 Watch for signs of infection. It is possible for your blister to become infected. If you see signs of infection, make an appointment with your doctor immediately. Some of the signs of infection are:
 - Increased swelling or pain at the site of the blister.
- Increased redness on the blister.
- Skin is warm on and around the blister.
- Red streaks that extend from the blister outward.
- Yellowish or greenish pus coming from the blister.
- Fever
Method 4 of 4: Prevent blisters
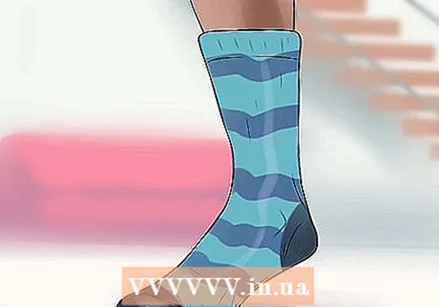 Choose your socks carefully. Many people get blisters from their socks rubbing their feet. Runners are especially prone to this problem. Avoid cotton socks, which absorb moisture and increase the risk of blisters. Instead, choose nylon or moisture-wicking fabrics that don't absorb moisture. These are more breathable and will help protect your feet.
 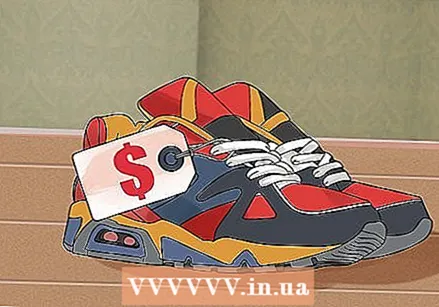 Buy shoes that fit well. Many blisters are caused by shoes that do not fit properly, especially shoes that are too small. It may be that your shoe size can vary half a size within a day. Try on shoes when your feet are most swollen during the day to make sure the shoes will be large enough to fit your feet comfortably.
 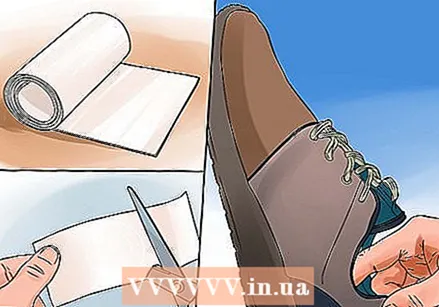 Use felt rings as a preventative measure. Felt rings can be used to protect a blister and you can also use them to prevent blisters if you are prone to them. Cut a small piece of felt and stick it in your shoe or on your foot where you think a blister is starting to form.
 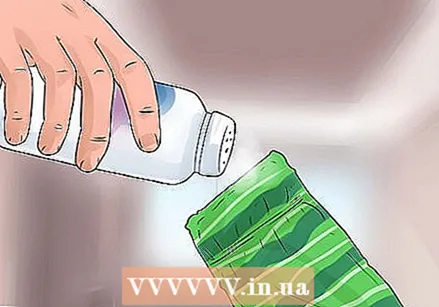 Use talcum powder in your socks. Reduce friction on your feet by using talcum powder. This will help soak up moisture that would otherwise cause blisters.
 - Drizzle a little talcum powder into your socks before putting them on.
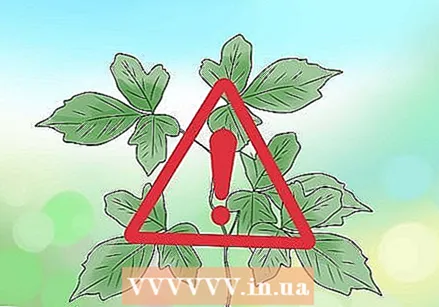 Avoid contact with plants that cause blisters. Certain plants, such as bear claw and poison ivy, can give you blisters. If you have to handle these types of plants, take precautions by wearing gloves, long pants, a long-sleeved shirt, and shoes.
Warnings
- Watch for signs of infection. If you notice the blister becoming more painful or swollen, or if you have a fever, vomiting, or diarrhea, see your doctor right away.
- If you have recurring blisters, you should be screened for diabetic bullae and / or genetic conditions leading to blistering.


