Author:
Joan Hall
Date Of Creation:
5 July 2021
Update Date:
1 July 2024
Content
- Steps
- Method 1 of 3: Burning an Audio Disc
- Method 2 of 3: Writing Data
- Method 3 of 3: Burn a disc image
- Tips
- Warnings
On Mac OS X, you can burn a CD without installing any special software. You can burn data to a disc to store a large amount of information, burn music to a disc to play it on a player, or burn images of other discs to a CD. Read on to burn your disc quickly and correctly.
Steps
Method 1 of 3: Burning an Audio Disc
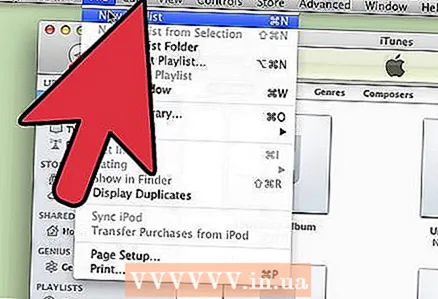 1 Open iTunes. Create a new playlist by clicking File and then choosing New. Select "Playlist" from the menu that appears.
 - You can rename a playlist by clicking after creation on its name in the frame on the right. The playlist name will also be the name of the disc, it will be displayed when you insert the disc into the drive.
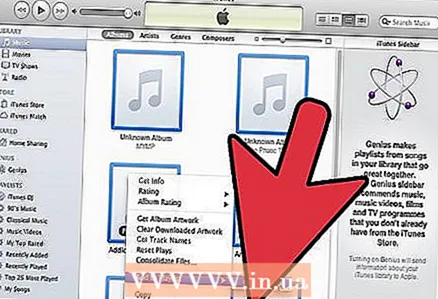 2 Add songs to your playlist. Select and drag the songs you want to the playlist. You can also add an entire album at once by clicking and dragging its cover image.
 - A standard audio disc can hold a maximum of 80 minutes of recording time, which means your playlist shouldn't be longer than 1.3 hours. (You can find out about this at the bottom of the window). Since this is not an accurate calculation, some 1.3 hour playlists will be shorter than 80 minutes and some will be longer (you will know for sure when you try to burn a disc).
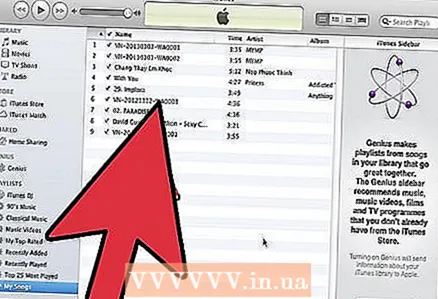 3 Optionally, you can change the order of the songs in the playlist. There is a drop-down menu above your playlist entries (under its name). Choose how you want to organize your playlist. To put the songs in the order you want, click Manual Order, and then click and drag the songs to the desired positions within the playlist.
 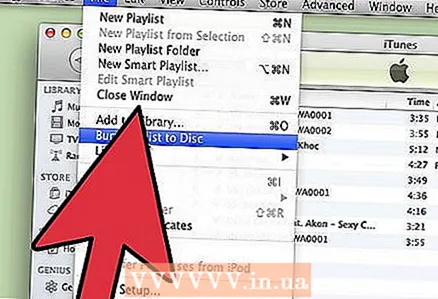 4 Insert a blank disc. Click File, then choose Burn Playlist to Disc. If the playlist is too long, you will be given the option to transfer it across multiple discs. If you wish, you can agree or cancel the recording and change the playlist.
 - If you don't know how to open the drive, go to "Manage" in the iTunes toolbar and click "Eject Disc". This will open it even if it is empty.
- Usually, regular CDs are used for audio discs. Of course, there are DVD players, but they are quite rare.
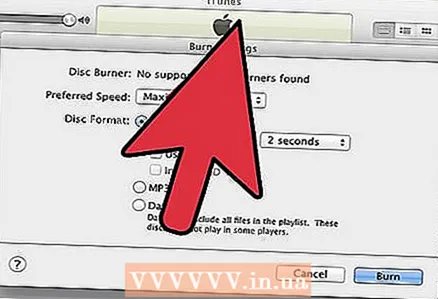 5 Set recording parameters. In iTunes 10 and earlier, recording will start automatically. In the 11th version, before recording, you will be given the choice of setting its parameters.
 - You can change the recording speed. The higher the number, the faster the write speed, but errors can occur at high speed if you write to a cheap disc.
- You can choose whether to insert spacing between songs.
- You can choose your format. The most common is Audio CD and will work in almost all CD players. A suitable player is required to play an MP3 disc. Use this format only if you are absolutely sure that you have a suitable player for it, and all songs in the playlist are in MP3 format (and not, for example, in AAC format).
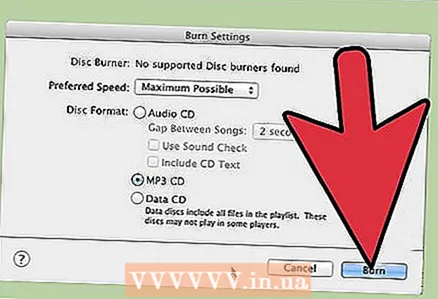 6 When you're ready, click "Burn." The iTunes screen will display the process of burning the disc. iTunes will beep when recording is complete.
Method 2 of 3: Writing Data
 1 Insert a blank CD-R or CD-RW disc into the drive. You can burn a CD-R disc only once, then it will become readable only. You can write and delete data on CD-RW.
 - These steps are also suitable for burning a DVD, as long as your computer is capable of DVD burning.
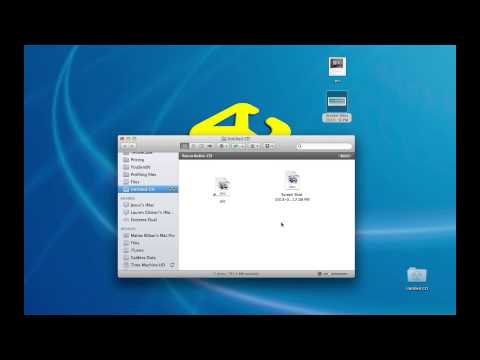
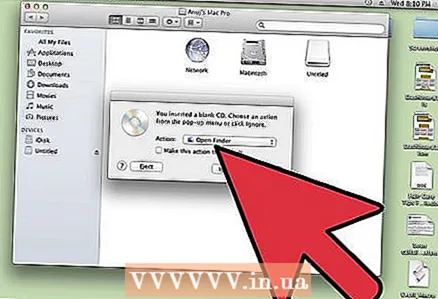
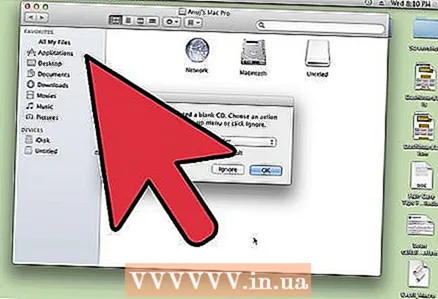 2 Launch the Finder option. When you insert a blank disc, you will be asked what you want to do with it on your computer. This option will open Finder so you can easily drag and drop files when you select CD.
 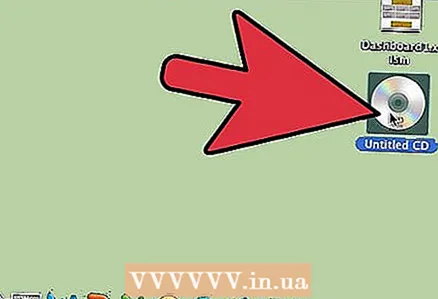 3 Find the icon of the blank disk that appears on the desktop. It will be called Untitled Disc. Double click on it to open the CD window in Finder.
 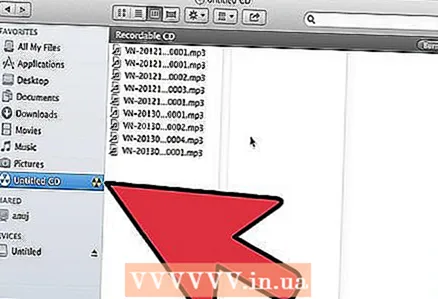 4 Drag the folders and files you want to disk. Before starting recording, you can rename any files and folders. You cannot change their names after they have been burned to disc.
 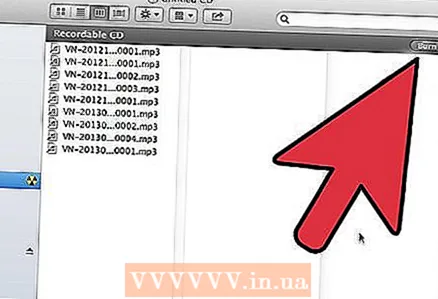 5 Start recording. Click "File" and select "Burn Untitled Disc". You will be given the option to name the disc. This name will be displayed every time you insert the disc into your computer.
  6 Once the disc is named, click Burn. The files will be saved to disk. Depending on the size of the files being recorded, the recording can take from a minute to several hours.
 - To reuse a CD-RW disc, erase all files from it and repeat the burning process.
Method 3 of 3: Burn a disc image
 1 Run the Disk Utility. It is located in applications, in the Utilities folder. A disc image is a direct copy of a CD or DVD disc burned onto a blank CD or DVD. The burned disc will work the same as the original.
 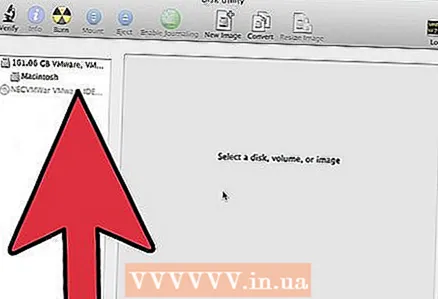 2 Insert a blank disc. Depending on the size of the image, insert either a CD or DVD. A CD image is usually 700MB, while a DVD can be up to 4.7GB.
  3 Add the disk image. Find the image on your computer. The file must be in ISO format. Drag the ISO file to the sidebar of the Disk Utility window.
 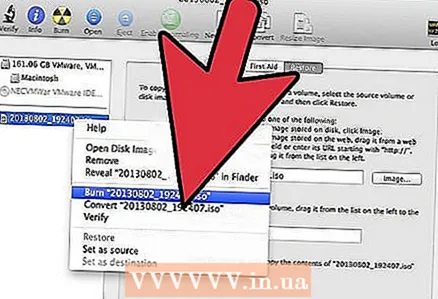 4 Burn the disc. Drag and drop the file, then click on the image in the sidebar and then on the "Burn" button at the top of the window.
 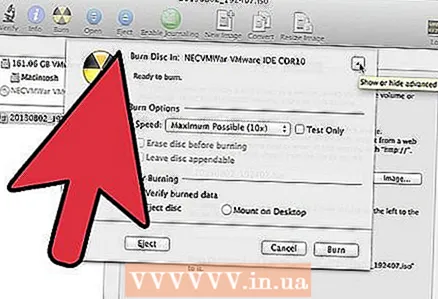 5 Set the recording parameter. Click Burn, then click the arrow in the corner of the recording window to open its settings. Check if the checkbox next to "Check data after writing" is checked. Click "Burn" to start the burning process.
Tips
- The steps in the Write Data section are also suitable for writing information to DVD-R, DVD + R, DVD-RW, DVD + RW, or DVD-RAM. DVD format contains more space than CD.
- If you are burning an audio disc from songs that are in different formats, save time by checking the box next to the “Audio CD” option when choosing your recording options. It can take quite a long time to convert all songs to MP3 format, which is the only one possible for burning an MP3 disc.
- You can write data to a CD-R more than once, but each writing process is irreversible and you cannot delete that data. On the other hand, writing and erasing data on a CD-RW can be performed many times.
Warnings
- While choosing an “Audio CD” format should, in theory, make all of your songs playable on any CD player, keep in mind that not all disc formats can be played on any CD player (for example, some will not play CD-RW discs).
- A badly scratched CD may not be readable on your computer. Make sure the disc is intact before inserting it into the drive.
- Depending on the disc and files, using the above steps may not result in a product that can be used on a computer.


