Content
- Steps
- Part 1 of 7: Removing furniture nails and other fasteners
- Part 2 of 7: Removing the staples
- Part 3 of 7: Removing the Cloth
- Part 4 of 7: Retaining the Padding
- Part 5 of 7: Fixing the frame
- Part 6 of 7: Applying the new upholstery fabric
- Part 7 of 7: Putting upholstery blanks on furniture
- Hints
- A warning
- What do you need
You can breathe new life into your favorite chairs by removing the worn upholstery and replacing it with a new one. And the upholstery banner is a great way to fit your favorite furniture into the color scheme of the updated interior of the room. The way you tie it will depend a little on the type of chairs. Here are some common methods.
Steps
Part 1 of 7: Removing furniture nails and other fasteners
This section is about how to remove furniture nails and other pointed fasteners. If staples were used for fastening, skip to another section.
 1 Bring the chisel to the edge of the nail head or other fastener.
 2 Tap the tip of the chisel with a wooden mallet.
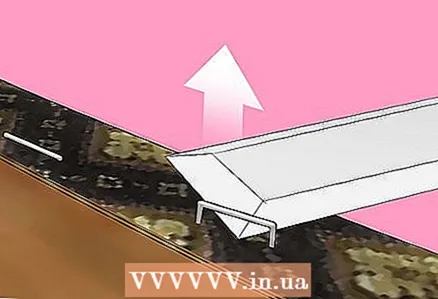 3 Using the lever, gently lift the nail (or other fastener) up. Repeat the procedure carefully until the nail comes loose from the wood.
 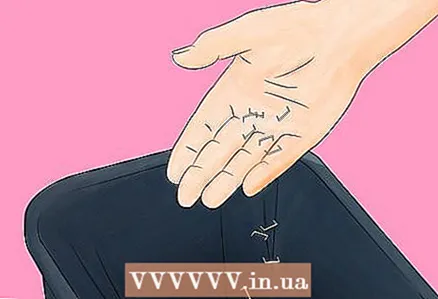 4 Place the removed nails in a bag or throw them in the trash can immediately. This is to ensure that you do not accidentally step on sharp objects.
Part 2 of 7: Removing the staples
This section deals with large, reinforced type staples that hold the upholstery fabric.
 1 Use the adjuster to remove the staples. It is a specialized tool used in the upholstery craft to remove staples from furniture. It can be bought online from specialized stores.
 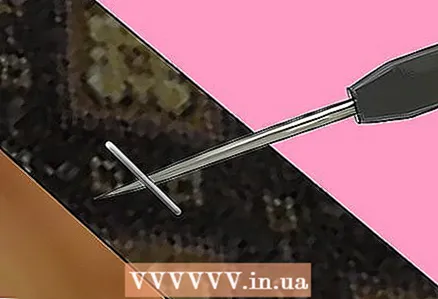 2 Slide the end of the adjuster under the center of the bracket. Use the lever to lift the regulator up, pushing down on the edge of the tree.
 - If the wood is polished or that part of the chair is visible, place a metal plate or cloth under the adjuster so that the lever touches it and not the wood. So there will be no marks due to pressure from the regulator.
 3 Wait until one end of the staple appears. The second usually stays inside.
 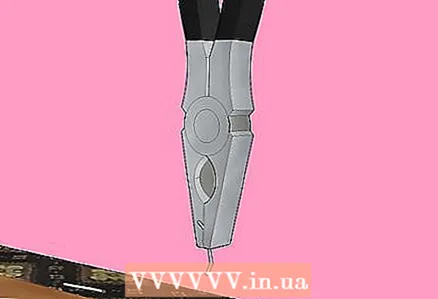 4 Take pliers or side cutters and grab the bracket. Pull up and twist slightly to pull the bracket completely out of the wood.
 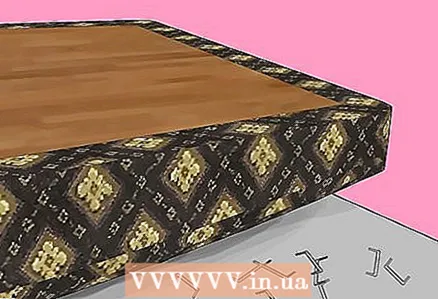 5 Repeat the procedure until all staples are removed. Some people prefer the conveyor method: first, they lift all the brackets with the regulator, and then pull them out with pliers, so as not to constantly switch from the regulator to the pliers on each bracket.
Part 3 of 7: Removing the Cloth
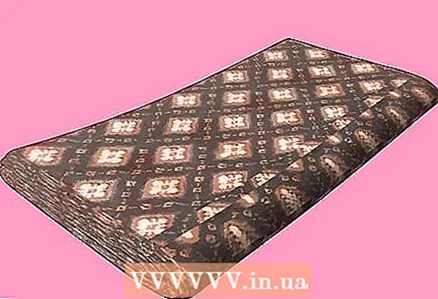
 1 Remove the trim from the seat, backrest and armrests. Once you have removed the fasteners, you can remove the old fabric and use these trim blanks to make new ones.
  2 Mark the removed blanks with arrows, letters or something else, so that it is convenient for you to draw the same on new fabric. Do not be lazy: the efforts made will pay off later when you need to be accurate.
 - It will be easier if you draw a chair diagram for each of the trim pieces removed and write the corresponding letter or number on each piece of fabric, both on the diagram and on the back of the fabric.
- Pay attention to folds, folds, folds, etc., so that you can repeat them later when making new upholstery.
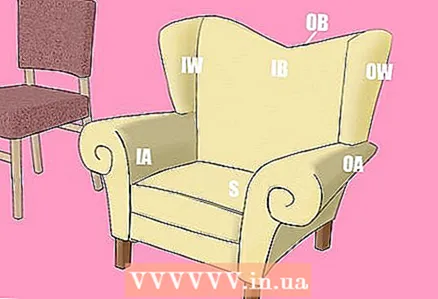 3 When you remove the cladding sections, write down the order in which you do it. This will help you a lot when you start putting it all back together. Chair / chair upholstery sections are usually labeled as follows:
 - IB = inside back
- OB = outside back
- IW = inside wing
- OW = outside wing
- IA = inside arm
- OA = outside arm
- S = seat
- SC = seat cushion
- FB = front border
- SB = side border
- AF = arm facing
- SK = skirt. (edge)
Part 4 of 7: Retaining the Padding
Whether the padding is worth keeping or not depends on its condition and age. Rate it when you see it, and if you decide to keep the padding, here are some guidelines for what to do.
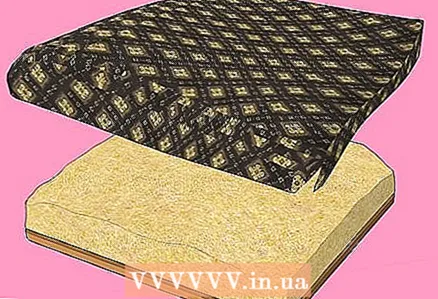
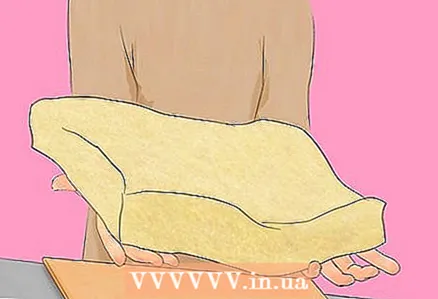 1 Lift up the packing carefully. Try not to break or break anything. Its current shape has been achieved by years of sitting in a chair, so its shape already fits this chair perfectly.
 - It should be lifted with both hands, placing the padding on the crook of the elbow and holding it with your fingers.
- Prepare a level, clean place to place the padding on while working on the upholstery.
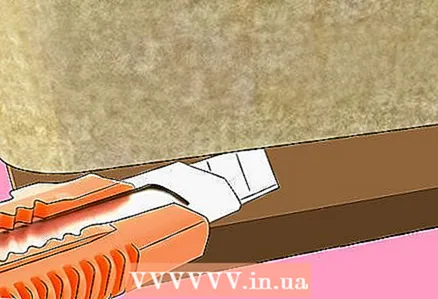 2 Cut off the glued part of the packing. Sometimes you have to cut off the padding that was attached with glue. To do this, take a long-bladed knife, such as a serrated knife, and carefully slide it under the padding. Cut off the packing gently and very carefully.
 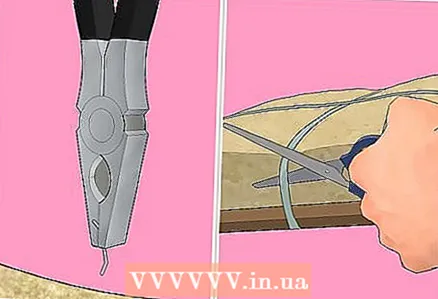 3 Remove other fasteners. You may find that the padding is held in place with extra staples or wallpaper nails or string. Remove the nails and staples as described above, and simply cut the rope.
  4 Check the chair frame. Should it be repaired or left as it is? If you can leave it as it is, you can move on to preparing the new upholstery. If not, the chair / chair frame will have to be repaired.
Part 5 of 7: Fixing the frame
This section is a summary of the basics for a standard modern chair / armchair frame. Here we do not consider such intricate frames that require weaving, dragging and other corrections, since do not tell about it briefly.
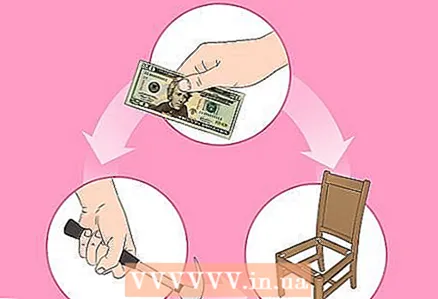 1 First, decide if you want to handle it yourself or entrust the job to a professional. It can be tricky, but basic frame repairs can be done on your own. The only thing that cannot be done is to leave everything as it is, because a weak frame will not stand for a long time and the chair will break.
 - If you are not in the mood for this kind of work, take the chair to an upholsterer or master furniture maker.
 2 Check glued joints first. If you need to straighten or tighten or re-glue them, do it yourself. Pull the slats of the chair in different directions to test for stability or strength. If no weak points are found, there are no questions about the joints. If they move in the grooves or bend, they need to be repaired.
 - Old furniture has staples, screws or tongue-and-groove joints. If you yourself do not understand, then it is better to show the damaged tongue and groove to a professional.
- You don't need to put in a lot of effort during testing, because a well-held connection on the pins (dowels) can come loose if you pull too hard.
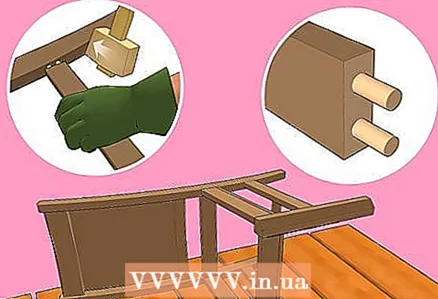
 3 Check corner blocks. If you need to re-glue the joints, the corner will have to be removed first.It is a triangular piece located in the inner corner of the chair seat frame; it can be glued, screwed or nailed in place. To remove it, you need:
 - Drive the tip of the spacer chisel into the edge of the corner block where it meets one side of the frame.
- Tap the tip of the chisel with a wooden mallet.
- As the bit advances, use it as a lever to pull the block out of the frame. Do not push too hard, the bit may break if you feel the block is giving in, remove the bit and push only with your hand.
- Do the same for the rest of the corners.
 4 Fix the connections.
- Place the chair on the workbench with the part that needs to be repaired up (facing you, not the workbench). Hold the chair firmly.
- Tap with a rubber mallet near the joint to loosen it slightly. Don't force it.
- Remove the detached part. Scrub and sand to remove any old glue residue.
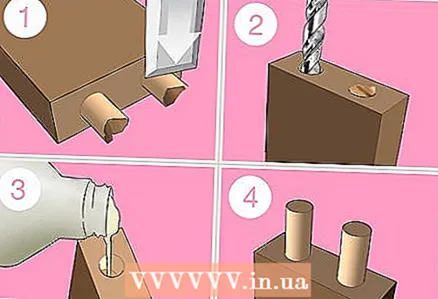 5 Replace broken keys. If you find the key is broken, it must be repaired before reassembling the joint.
 - chisel the edges of the key to a level surface so that you can work with the drill. Then drill into the old key, being careful not to damage the chair frame.
- Squeeze some wood glue into the resulting hole, then insert a new key into it. Tap it lightly with a hammer. Wipe off any excess glue squeezed up and let dry completely.
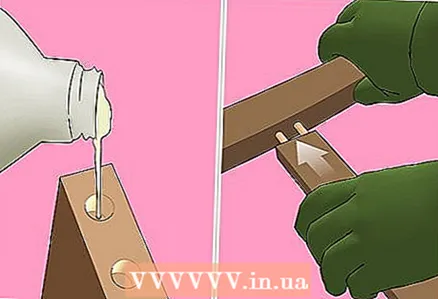 6 Reestablish the connection. Pour wood glue into the holes for the dowels. Connect the parts neatly but firmly.
 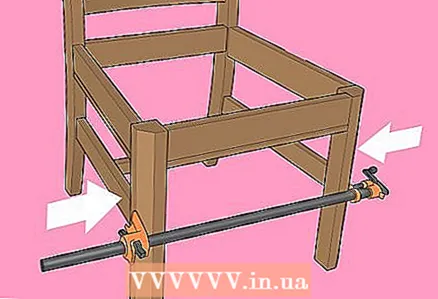 7 Clamp the entire frame together to give proper pressure to the joints and prevent them from moving as they dry. Wipe off excess glue to prevent drips from drying on the chair frame.
 - Put the corner blocks back in place, wipe off excess glue again before they dry.
Part 6 of 7: Applying the new upholstery fabric
Here's a simple method using blanks from the old skin. There are more complex methods, but this method is better for beginners.
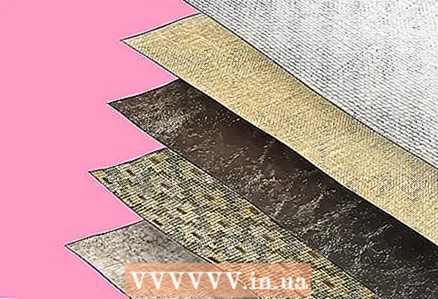 1 Choose the right fabric. Usually, the upholstery fabric should be strong so that it does not wipe quickly. Here are the recommended types of fabrics:
 - Cotton: Reinforced cotton is suitable for permanent household use.
- Linen: This is a durable fabric suitable for medium to occasional household use. Very nice upholstery that looks "classic".
- Jacquard: This is a cotton fabric with synthetic (nylon or polyester) added for durability. This fabric will withstand heavy use in a home environment and is also suitable for a commercial environment.
- Vinyl: Also known as synthetic leather, it is durable and water-repellent. Withstands medium to heavy use as well as commercial use. Just remember that this is not an ideal choice for hot climates.
- Tapestry: A traditional upholstery material that's also quite durable. It is often expensive, but worth it. The fabric will withstand heavy use in home and commercial environments, such as upholstery chairs for the reception area of a beauty salon. Also, the tapestry is ideal for the restoration of antique furniture.
- Velvet: Durable and soft fabric for long-lasting upholstery. It is pleasant to work with and will withstand medium to heavy use at home. It is difficult to clean, so it is best not to use it for commercial purposes.
- If you have leftover upholstery or fabric that is strong enough to use to upholster your chair, this should be sufficient.
 2 Measure the fabric for the new upholstery. This requires a lot of care when removing the old skin so that nothing is ripped or cut because you will be using the old piece as a reference for the new one.
 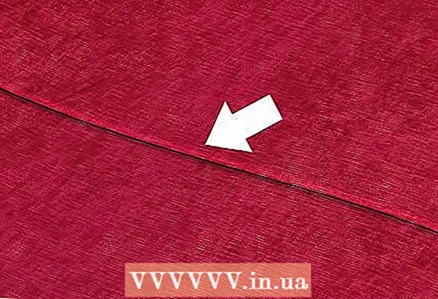 3 Embroider the old workpiece. Anything that is chipped or sewn must be spread out in order to see the seams and allowances made by the upholstery manufacturers.
 - Always make sure you have sufficient seam and seam allowances when taking measurements for new upholstery.
 4 Iron the pieces until flat. They should be as even as possible.
 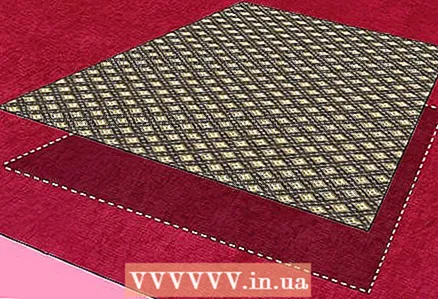 5 Place the old piece on top of the new fabric as a reference. Then, with a chalk or invisible felt-tip pen for fabric, trace the contours, and so on for each workpiece.
 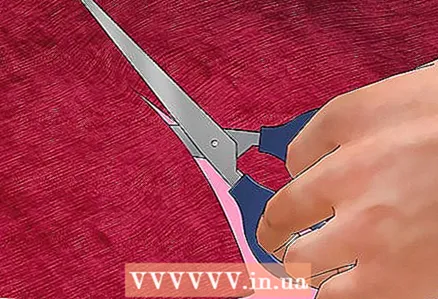 6 Cut out new blanks. Here are some things to keep in mind:
 - Cut to the right side, you should be able to see the texture of the fabric.
- For symmetrical workpieces, you can cut out half, then bend and check if the workpiece is the same on the other side. If so, keep cutting. Or make an amendment if necessary.
- Cut all objects in the same direction, along the line of the thread.
- Label all the cut pieces with the names of the sections that you have defined for yourself so as not to mix them. Write down the correct instruction for a specific workpiece using the abbreviations recommended above. Add additional arrows so you know which side the workpiece is on. Be careful when marking thin fabric, marks may appear on the front side.
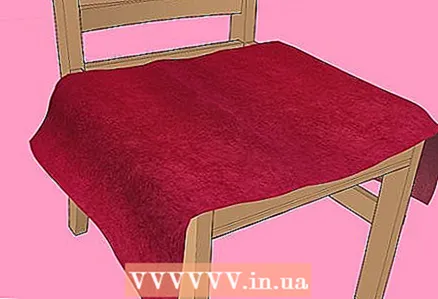 7 Place each piece on a chair / chair for testing. Correct where necessary.
  8 Sew as before. We give this section specifically in a short form, because everyone will have to follow individual instructions, depending on the type of chair and the number of sections that need to be sewn. In general, you need to make seams, join back and front blanks, sew on armrests, sew a seat cushion, etc. If there was an edge (edging) on the chair, it must also be sewn on. You will need to insert zippers and cutouts if needed to fit parts of the chair. More detailed examples are provided in the sections on specific types of chairs.
 - Use straight seams to sew upholstery.
- You must have more advanced skills to do the folds. If you do not know how to do this, ask more experienced people for help.
- Sturdy fabric can easily break your home sewing machine, you may need access to an industrial sewing machine, or hand over pieces of fabric to someone who can do it for you.
Part 7 of 7: Putting upholstery blanks on furniture
 1 Replace the packing.
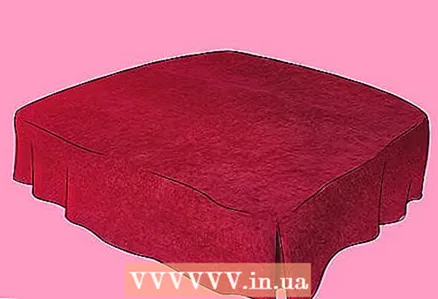 2 We put on and fix the upholstery in the reverse order from how you took it off. Check the pre-made list.
 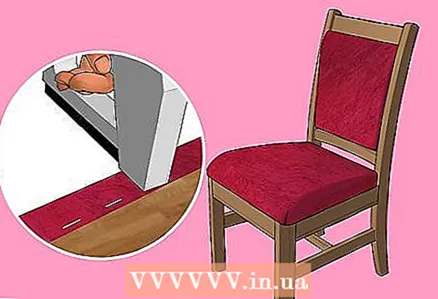 3 Nail in furniture nails, staples or other fasteners with a furniture stapler to secure the fabric to the wood. Stretch the fabric so that there are no wrinkles or wrinkles, and secure it with nails or staples in the same places where they were before.
 - To hammer in furniture nails, you need a nail gun. A masking cloth can be placed on top to soften the impact on the chair frame.
Hints
- If there is a pattern or design on the fabric, the fabric should be positioned so that it points up towards the back of the chair. Keep this in mind when preparing the central chair blank. It is better to first try your hand at a plain fabric than to create additional difficulties for yourself while you still do not have enough experience.
- All removed pieces of fabric should be kept together in a plastic bag. Then you can use them again if you want, and they will be at hand.
- Be careful when removing the cover. If you want to use it again, you need to avoid tears or cuts. Moreover, it is possible to harm the wood during the process, so keep this in mind when removing the fabric. If you want to reuse the old padding, you need to carefully remove it and do not touch it unnecessarily.
A warning
- If you pierced the skin with an old nail, staple, etc. see your doctor and get a tetanus shot. If the furniture is old, it is better to play it safe than cry later. If you're on a big project or making a living by draping, it's best to ensure that your tetanus shots are up to date.
- Wear safety glasses when removing nails and staples. You cannot predict when a piece of a sharp object may fly in your face, so it's better to play it safe.
- If you are not sure about the condition of the padding or if it is too old, it is better to wear a mask. The padding released from the fabric can release a cloud of dust and enter the respiratory tract. If you suffer from allergies, then the mask is especially useful for you.
What do you need
- Upholstery fabric
- Chair upholstery
- Wooden hammer
- Bit
- Rubber hammer
- Wood glue
- Sewing machine and thread
- Fabric scissors
- Tailor's chalk or invisible textile marker
- Nail gun


