Author:
Eric Farmer
Date Of Creation:
8 March 2021
Update Date:
27 June 2024

Content
- Steps
- Method 1 of 3: Sterilization in a water bath
- Method 2 of 3: Vacuum Preservation
- Method 3 of 3: Waxing
- What do you need
Glass jars allow dry, damp or non-perishable food to be neatly stored in a cool, dry place.The method of storing food in glass jars is the most common way of preserving food. However, you can purchase vacuum seals or use wax to seal the jar.
Steps
Method 1 of 3: Sterilization in a water bath
 1 Wash your cans in warm, soapy water. It is best to use old glass jars and rings, but buy new gaskets and lids every season.
 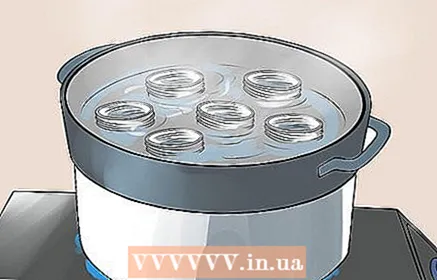 2 Sterilize your jars in a water bath if you will be processing canned food for more than 10 minutes. You can do this in boiling water or in a very hot dishwasher.
 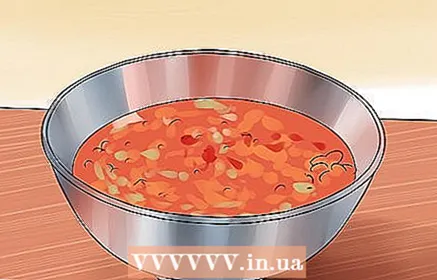 3 Prepare a recipe for your canned food. Make sure they have acid in them or that you add acid to the recipe. This is the only guaranteed way to prevent bacteria from growing in your canned food.
 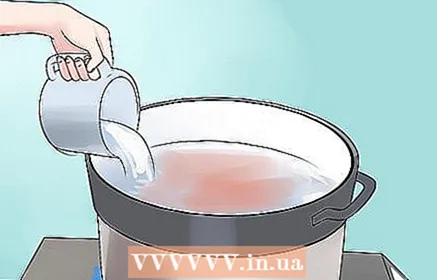 4 Fill a large saucepan or water bath two thirds full with water. Bring to a low boil and maintain the temperature.
  5 Place the jars in the dishwasher on the rinse and hot dry settings. You can also leave them in the oven, over low heat, until it's time for conservation. The jars should be warm when you pour the canned liquid.
 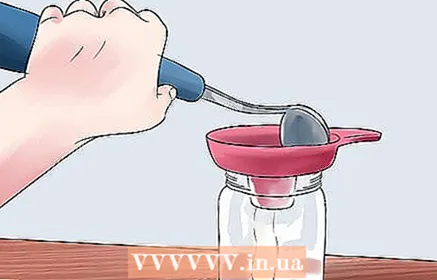 6 Get out warm jars. Place a wide funnel near the neck. Pour your canned food into a jar.
 - Repeat with the rest of the banks.
 7 Leave 0.6cm free space on top of the jam, or 1.3cm for whole fruits. Tilt one side of the can to remove bubbles. Place the lid on the jar and screw the ring onto it.
 - A bit of free space is important, it helps the jar retain extra oxygen and breathe as you twirl the jar.
- Do not tighten the cover ring too tightly, as excess air cannot escape.
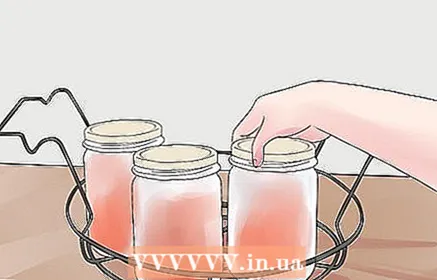 8 Place the cans on the counter. The stand is installed at the bottom of the water bath to prevent the cans from breaking on the bottom. Do not stack cans on top of each other.
 - You may need to twist them in several batches.
 9 Dip the cans in boiling water. Follow the directions in the recipe. The boil time will depend on the height of the can. bra>
  10 Remove the cans and rack and refrigerate overnight. Use fireproof gloves to reach the jars. Use a pair of canning tongs to remove the wire rack.
 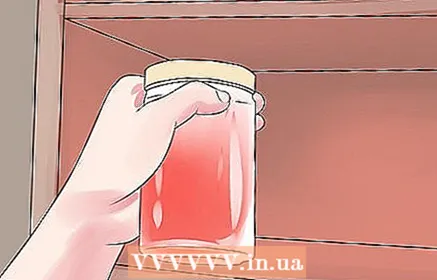 11 Store them in a cool, dry place as soon as they cool. If the lid does not retract, then the jar is not sealed, you should eat it soon.
Method 2 of 3: Vacuum Preservation
 1 Buy jars for your vacuum twist. This is a special item that fits over the jar like a lid.
 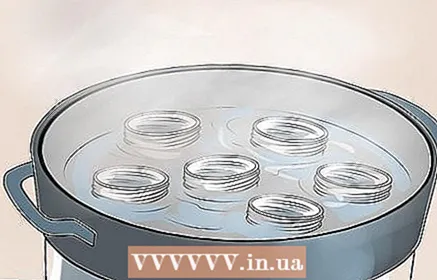 2 Sterilize the jars before rolling. You can boil them or place them in a very hot dishwasher.
  3 Prepare your canning recipe. Make sure there is enough acid in there to keep bacteria from growing.
  4 Pour your mixture into sterilized jars using a wide funnel. Leave 2.5 cm of free space. This is more than your standard boiling process.
 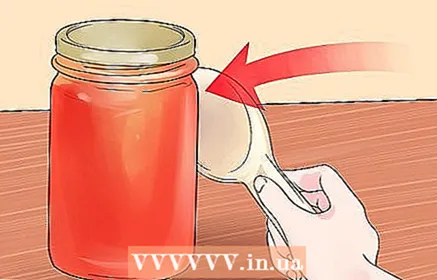 5 Tap the jar with a wooden spoon to remove excess air. Cover with a lid, but do not spin the wheel.
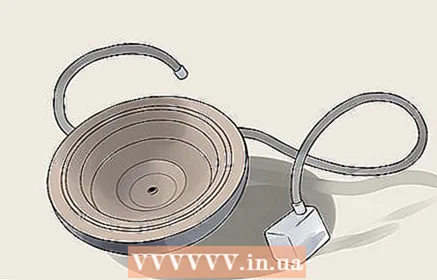
  6 Install the vacuum screw and attach to the jar. Attach the air hose.
 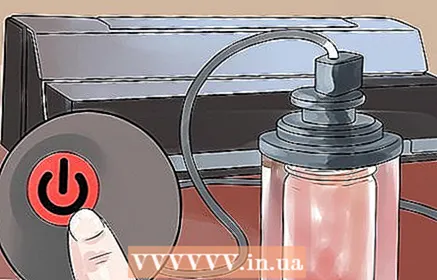 7 Turn on vacuum twist. Use the instructions for your vacuum twist. You should hear the sound of the lid when the can is mothballed.
 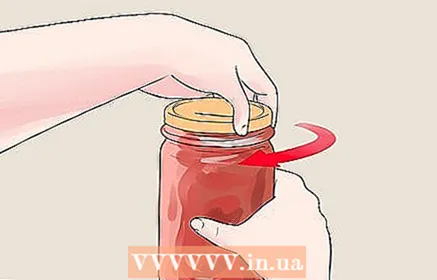 8 Spin the wheel over the can. Store in a cool, dry place.
Method 3 of 3: Waxing
 1 Place the ceramic wax melting dish on the table. You will need to use multiple packs of wax to complete this task. This process is best for preserving glass jars and narrow-necked bottles.
 - This container should be wide and deep enough to dip into the rim of the can.
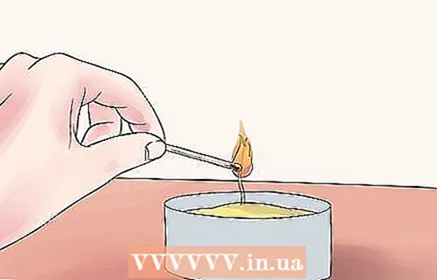 2 Light a candle and place under a container to melt the wax there.
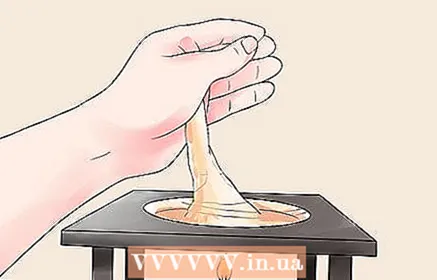 3 Place any color of granular wax in a ceramic container. Leave to heat for about 20 minutes, and then remove the tealight. It must be completely dissolved.
 - Add just enough wax so you can dip the 1-inch jar into the container.
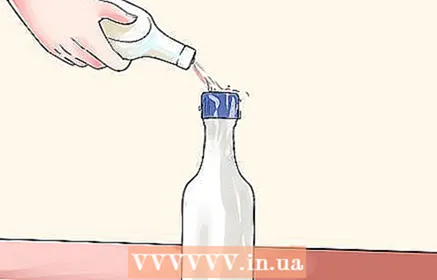 4 Pour your concoction or alcohol into a bottle. Screw the cap onto the bottle. If you are not using the product for food, you can use a cork.
  5 Cut a piece of thread tape. Wrap around the cork or cap at the joint.
  6 Turn the jar upside down. Dip the lid in wax. Pick it up immediately.
  7 Press on the tip of the wax with a wax seal.
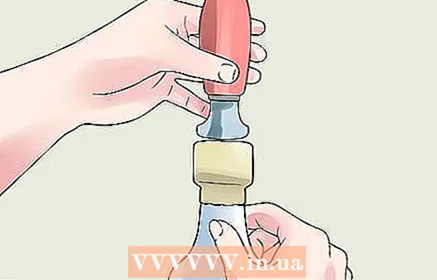 8 Press down with your seal immediately after dipping into the wax. A monogram or insignia on the print will distinguish and personalize your preservation.
 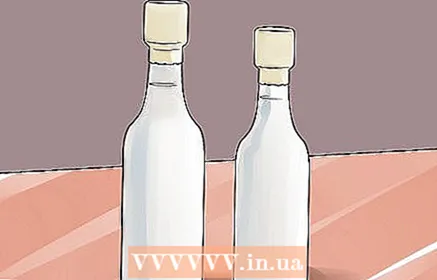 9 Allow the product to settle and cool before transporting.
What do you need
- Water bath
- Dishwasher
- Soap
- Water
- Glass jars
- New covers
- Funnel
- Preservation tongs
- Wooden cover
- Vacuum twist
- Cover gasket
- Sealed wax
- Granular wax
- Bottle with cap or stopper
- Tea candle
- Lighter
- Scissors
- Thread tape


