Author:
Mark Sanchez
Date Of Creation:
7 January 2021
Update Date:
29 June 2024

Content
- Steps
- Part 1 of 3: Finding the puncture
- Part 2 of 3: Sealing the puncture
- Part 3 of 3: Reassembling the Wheel
- Tips
- Warnings
- You will need
Just imagine: in the middle of a 30 km off-road bike race, you suddenly bump into an old rusty nail and punch your front wheel. What will you do in this case: will you return to the start on foot and go home, or will you patch up the puncture and finish as a winner? If you know how to find a hole and patch a bike camera, and as a precautionary measure, carry a basic repair kit with you on long trips, you will have the opportunity to choose (otherwise you will only have one option).
Steps
Part 1 of 3: Finding the puncture
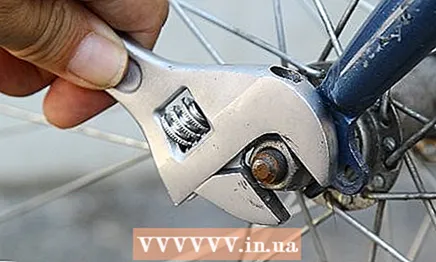
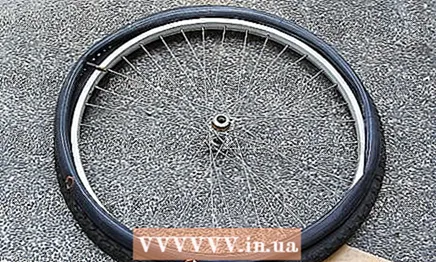
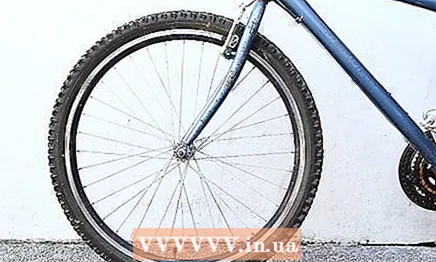
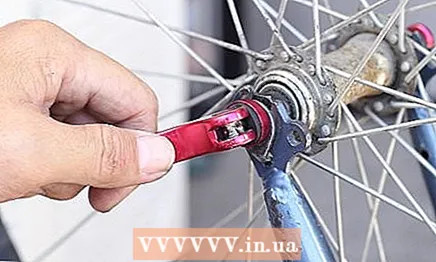 1 Remove the wheel from the bike. The first thing to do in the event of a punctured wheel is to remove the damaged wheel. Examine the wheel from the side, in the center where the spokes converge. If you have an eccentric wheel (it looks like a small lever), lift it up and rotate it counterclockwise to loosen the clamp. Then disengage the brakes, move the brake pads away from the rim (if you have rim brakes) and remove the wheel.
 - If you have a punctured rear wheel, you also have to deal with the chain and derailleur. Loosen the chain by switching to the smallest sprockets. Loosen the clamp by unscrewing the eccentric or nut holding the wheel. If necessary, use your hands to move the rear derailleur ("foot" with small rollers through which the chain runs) and remove the chain if it prevents you from removing the wheel.
- If you have a punctured rear wheel, you also have to deal with the chain and derailleur. Loosen the chain by switching to the smallest sprockets. Loosen the clamp by unscrewing the eccentric or nut holding the wheel. If necessary, use your hands to move the rear derailleur ("foot" with small rollers through which the chain runs) and remove the chain if it prevents you from removing the wheel.
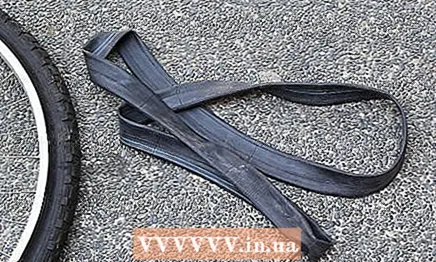
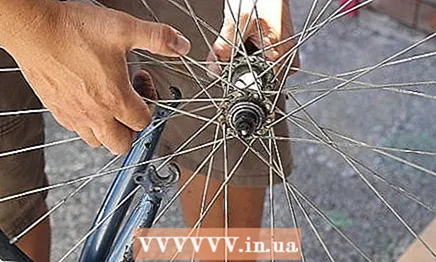 2 Remove the tire with the help of assemblies. After removing the punctured wheel, remove the outer tire. In this case, you will need a strong lever. Some bike shops sell special small tools - assemblies. If you use rails or other tools to remove the tire, be careful not to pinch the camera, damaging it further. You do not need to remove the tire completely from the rim, leaving one edge of the tire on the rim to make it easier to reassemble at the end of the job.
 - To be precise, for this task you do not need monitors. Any tool that is strong enough to act as a lever will do. Even very unusual solutions, such as screwdrivers or butter knives, will work for this job.
- To be precise, for this task you do not need monitors. Any tool that is strong enough to act as a lever will do. Even very unusual solutions, such as screwdrivers or butter knives, will work for this job.
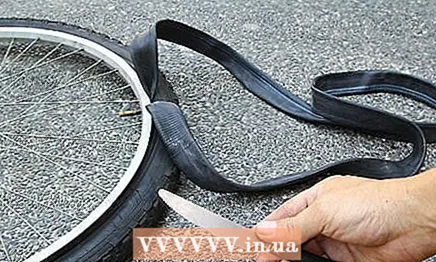
 3 Find the puncture site. After removing the tire, pull out the deflated tube and locate the puncture site. This can be done in various ways, some of which are listed below:
 - Pump up the camera and try to visually locate the hole (or holes) in the rubber surface.

- Listen for the hissing sound of air coming out.

- Try to feel the flow of air coming out.
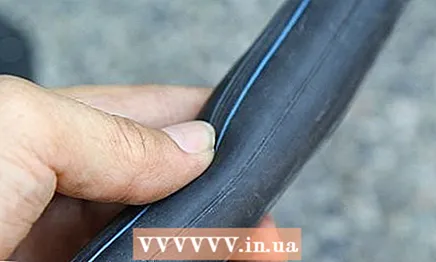
- Submerge the camera in water and find where the air bubbles are coming from.

- Pump up the camera and try to visually locate the hole (or holes) in the rubber surface.
 4 Mark the puncture in the chamber. Punctures can be surprisingly tiny. If you have found a puncture - do not lose it! With chalk draw a cross centered at the puncture site. If you will be glueing the hole, make a mark large enough to be visible after you apply the glue.
 - If you don't have chalk in your kit, a pen or other writing instrument will do. But chalk is better, as the white on black rubber is of course slightly more noticeable than a blue or black pen.
Part 2 of 3: Sealing the puncture
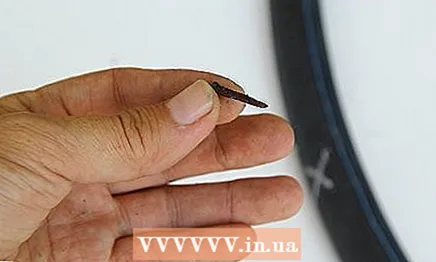 1 Remove any foreign objects from the puncture. Having found a puncture, check what could have caused it: a glass shard, a sharp stone, etc., or a hole appeared due to pinching - the puncture will look like a snakebite mark, but there will be no foreign objects.Carefully inspect the inside of the tire and the rim for any protruding (protruding) objects, and if so, remove them. After all, you would not want to get a new puncture in the same place because you overlooked the reason for the first puncture?
 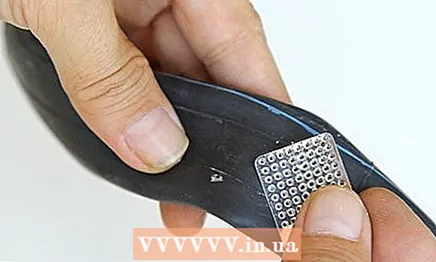 2 Sand the area around the puncture if necessary. Different patches are used in different ways: some require glue, others do not; for some, the surface needs to be sanded, while others will adhere to the camera surface without any problems. Look at the instructions for your repair kit. If sanding is required, use a small piece of sandpaper to sand the surface slightly larger than the size of the patch. By roughening the surface, the adhesion of some types of adhesives can be improved.
 - If you're not sure if you need to sand, a little emery is unlikely to impair the adhesion of most patches, so you can sand the surface just in case.
 3 Apply the patch. Next, apply the patch over the puncture according to the instructions included with the repair kit. Some patches require glue, some are self-adhesive.The second option is more convenient, but considered less reliable. The basic principles for applying both types of patches are given below. If the instructions for your repair kit differ from these instructions, follow the instructions.
 - Patches that are glued with glue: apply glue (preferably rubber) to the area of the chamber around the puncture, wait until the glue sets (as a rule, the glue should dry, not be sticky, see the instructions for the glue). Finally, place the patch over the dried glue and press firmly for a few minutes until it adheres to the puncture.

- Glueless patches (called "self-adhesive"): remove the protective film from the patch and apply the patch to the sanded surface like a sticker. Press it firmly so that it adheres well and, if necessary, wait for it to dry before rolling.
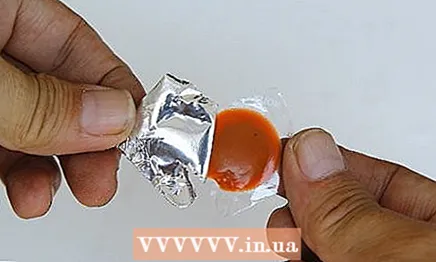
- Patches that are glued with glue: apply glue (preferably rubber) to the area of the chamber around the puncture, wait until the glue sets (as a rule, the glue should dry, not be sticky, see the instructions for the glue). Finally, place the patch over the dried glue and press firmly for a few minutes until it adheres to the puncture.
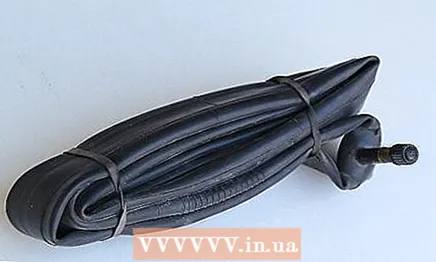 4 Understand that sometimes it is better to replace the camera entirely. If the camera is badly damaged, it's best not to waste patches, instead just replacing the camera with a new one. Severely damaged chambers, even with patches, can leak air, so a complete replacement is wiser. Fortunately, if you have a new camera on hand, the replacement procedure is not overly complicated. Below are some of the signs that you need to replace the camera:
 - Multiple punctures
- Large breaks
- Air leaks even after patching.
Part 3 of 3: Reassembling the Wheel
 1 Install the tube into the tire. Once the patch on the wheel has adhered, carefully slide the repaired tube into the hollow of the tire. The easiest thing to do is to slightly inflate the camera and insert one edge, and then refuel the rest of the camera. When finished, check that the tube does not protrude beyond the edge of the tire anywhere.
 - Do not confuse - insert the tube into the tire with the air valve pointing inward (away from the tire) so that you can inflate the tube later.

- Do not confuse - insert the tube into the tire with the air valve pointing inward (away from the tire) so that you can inflate the tube later.
 2 Insert the tire and tube back into the wheel rim. Next, use your thumbs to tuck the tire (with a partially inflated tube) back into the rim. Press down on the outside edge of the tire so that it goes over the edge of the metal rim and locks into place. Be careful not to pinch the tube between the tire and the rim. To refuel the last part of the tire, you may need a crimper or other tool, as sometimes it is not so easy.
 - Note that some high-end tires are designed to rotate in one specific direction. In this case, the intended direction of rotation will be indicated by small arrows on the beads of the tire. Do not install the tire in the opposite direction! Otherwise, the performance of the tire will decrease and its wear will increase.
- Remember to remove the cap from the air valve before replacing the chamber. A valve without a cap should easily pass through the hole in the rim and be easily accessible for inflating the tire.
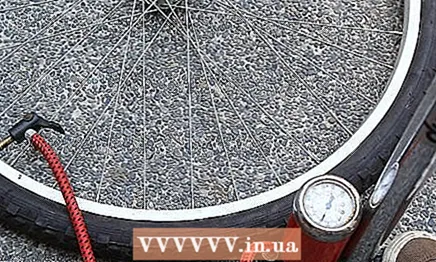 3 Inflate the camera gradually until it snaps into place. Next, take a manual or automatic pump and start pumping up the chamber. Do not swing too hard to distribute the tube and "sit" into place in the tire. When you fully inflate the tube, try compressing the tire by checking the tightness. Then leave the bike for a couple of minutes and then squeeze the tire again. If it is as hard as when you first checked it, you are ready to continue driving!
 - If you are worried about installing the tube incorrectly in the tire, you can safely inflate the tube completely before installing the tire on the wheel. But, keep in mind that it will be more difficult to put on the tire this way.
 4 Place the wheel on the bike. You are almost finished: all you have to do is put the wheel back in place, fix it with an eccentric or a nut, connect the brakes - and you can move on the road (unless, of course, you worked with the rear wheel - in this case, you need to carefully wind the chain on the sprockets gear). Ride carefully at first until you feel the patch is holding up well, and then you can pick up your usual pace!
 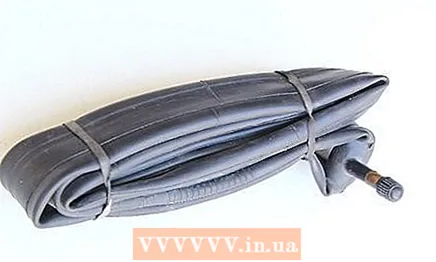 5 Buy a spare camera if possible. Camera salaries are convenient, but not forever. Patches are a great option to get out of the thicket if you have a punctured tire and there is no spare, but they are not a very reliable option as a permanent solution. Although quality patches are close to the reliability of a new camera in terms of reliability, some patches can leak air literally immediately after gluing, or act as a purely temporary measure. There is no substitute for a new camera, so on occasion you should buy a new camera so that you have it at your fingertips if another puncture happens.
Tips
- Some chambers have a special fluid that fills the hole, automatically repairing the puncture. But sometimes this method doesn't work. The only thing you can do in this case is to remove the chamber and, pumping air, squeeze the liquid out of the chamber. If it does not come out, clean the puncture site of debris, this can work and the liquid will fill the puncture. If everything worked out, put the camera back in place, pump it up and drive on. If no liquid is observed, it's time to glue a regular patch.
- Self-adhesive patches, as a rule, do not last long, then they begin to let air through. The patches, which are attached with glue, are chemically "welded" to the surface of the chamber, thus avoiding the passage of air.
- The adhesive included in the kit is safe for the skin, so don't worry if you touch it.
Warnings
- To prevent it from piercing your camera, it must have been sharp. In case this object gets stuck in the camera, be careful when feeling around the camera.
You will need
- Repair kit
- Pump
- Wrench (if the wheel is not on the eccentric)
- Edgers


