Author:
Virginia Floyd
Date Of Creation:
13 August 2021
Update Date:
22 June 2024

Content
Potholes and other damage to the asphalt pavement can often be repaired with cold asphalt aggregate. Below you will find a guide to help you successfully repair your road.
Steps
 1 Measure or count the amount of aggregate you will need to complete your repair. Small pits, less than 0.2 sq. m can be covered with about 20 kg of cold asphalt aggregate.
 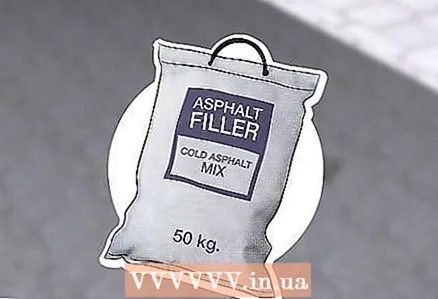 2 Select the asphalt aggregate to be used for the renovation. Cold asphalt aggregate (a mixture of asphalt resin and stones) is sold in 20 kg plastic bags, similar to cement bags, and also in 4 to 20 liter buckets.
 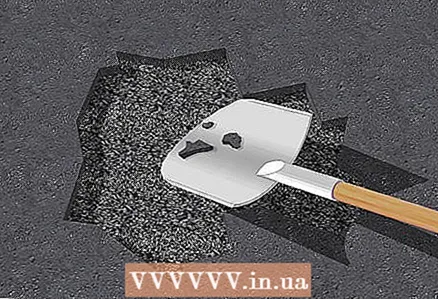 3 Use a garden trowel, scoop, or other handy tool to remove pieces of dirt and other debris from the pit. If the bottom of the pit is dry soil, you should moisten it with a garden hose, as the resin only grabs on wet soil.
 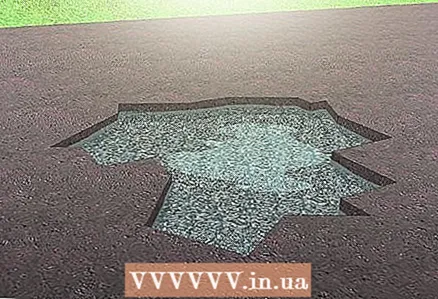 4 If there is water in the pit, let it dry, because the resin will not stick to wet ground either. If you are in a hurry, you can use a fan or hairdryer.
 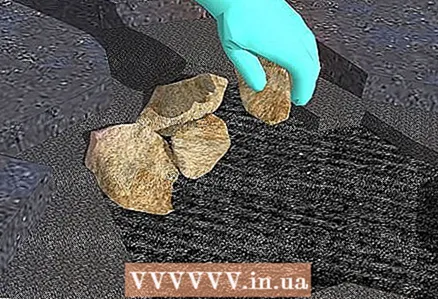 5 Pits more than 7-10 cm deep must be filled with material that can then be compacted tightly, such as clay, broken concrete or crushed limestone. For renovation projects in which it is impossible to tamp the substrate under the patch using the usual method, it is recommended to completely excavate the hole and fill it with concrete 5 cm below the final level of the road - this will strengthen the problem area.
  6 Fill the pit with asphalt filler about one and a half centimeters above the final road level. Thus, after tamping, the patch will be flush with the rest of the road surface.
 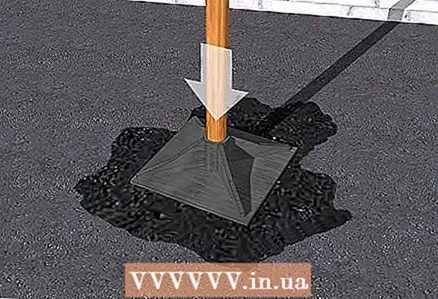 7 Tamp the patch with a hand rammer, a petrol vibratory plate or even a hammer for very small holes. Make sure the cold filler is well tamped into the hole, otherwise the patch will quickly come apart when heavy traffic starts.
  8 Cover the patch if possible. To further strengthen the patch, you can cover it with a board or piece of plywood for a couple of days, but this is not necessary. If you've tamped the litter well, the patch is already ready for traffic.
  9 Remove tools and excess materials left around the patch so that you can admire your work.
 10 End.
Tips
- For the repair of pits over 0.2 sq. m it is more convenient to use a vibrating plate.
- The resin is rinsed off with a good mechanical hand cleaner. Be careful when using solvents such as white spirit, lubricants and other chemicals - they can be harmful to your skin.
- If you wish, you can dig under the asphalt covering around the pit and fill the space with filler so that the patch material will reinforce and support the edges of the pit weakened by the initial incident.
Warnings
- Large patches tend to sag a little after cars start to run over them, so don't be afraid to fill the middle of the hole half a centimeter higher. Car traffic will eventually smooth out the patch flush with the rest of the coating.
What do you need
- A shovel or other digging tool
- Manual rammer or vibrating plate
- Cold asphalt mix
- Material to stabilize and strengthen the base under the patch, if necessary
- Rubberized work gloves
- Respirator (if the area is poorly ventilated)


