Author:
Florence Bailey
Date Of Creation:
27 March 2021
Update Date:
21 June 2024

Content
- Steps
- Method 1 of 5: On an iOS device
- Method 2 of 5: On a Windows computer
- Method 3 of 5: On a Mac OS X computer
- Method 4 of 5: In a web browser
- Method 5 of 5: Troubleshooting
If you sign in to iCloud with your Apple ID, you can download and back up your photos, videos, documents, and other important information so you can access it from any device. You can sign in to iCloud on your iOS device, computer, or iCloud.com.
Steps
Method 1 of 5: On an iOS device
 1 Open the Settings app and tap General.
 2 Click Software Update> Download and Install. All available updates will be downloaded and installed on your device. This will sign in to iCloud and access new features.
  3 Follow the onscreen instructions to sign in and set up iCloud. This allows you to sign in to iCloud on a new device or on a device with an updated operating system.
 - Open the Settings app, select iCloud, enter your Apple ID if you haven't already. This will sign in to iCloud.

- Open the Settings app, select iCloud, enter your Apple ID if you haven't already. This will sign in to iCloud.
Method 2 of 5: On a Windows computer
 1 Go to the iCloud for Windows download page (https://support.apple.com/ru-ru/HT204283). This program is only compatible with Windows 7 and Windows 8.
 - If your computer is running a different version of Windows, use the different iCloud sign-in method outlined in this article.
 2 Click Download and download the iCloud.exe file to your desktop.
 3 Open your desktop and double-click on the downloaded EXE file.
 4 Follow the onscreen instructions to install iCloud on your computer.
 5 Open iCloud for Windows and sign in with your Apple ID and password.
- If you don't have an Apple ID, follow the steps in the fourth section of this article to create an ID on iCloud.com.
 6 Check the boxes next to the iCloud features you want to enable. These functions are "Photos", "Mail", "Contacts" and so on.
  7 Click Apply. You are now signed in to iCloud and activated the features you want.
Method 3 of 5: On a Mac OS X computer
 1 Open the Apple menu and click App Store. The Apple App Store menu will open.
  2 Click Updates, and then update the entire system or all available programs. This will install the latest version of Mac OS X on your computer.
  3 Open the Apple menu and choose System Preferences.
 4 Click on "iCloud" and then enter your Apple ID and password.
- If you don't have an Apple ID, follow the steps in the fourth section of this article to create an ID on iCloud.com.
 5 Check the boxes next to the iCloud features you want to enable. These functions are "Photos", "Mail", "Contacts" and so on. You are now signed in to iCloud and have activated the features you want.
Method 4 of 5: In a web browser
 1 Open the iCloud website (https://www.icloud.com/).
 2 Enter your Apple ID and password, and then click the arrow icon.You are now signed into iCloud.
 - If you don't have an Apple ID, click Create, and then follow the onscreen instructions to create an ID and sign in to iCloud.
Method 5 of 5: Troubleshooting
 1 Sign out of iCloud and turn off Find My iPhone if iCloud keeps asking you to sign in to your iPhone or iPad. This issue occurs when the device has been restored using iTunes or the operating system has been updated on the device.
 - Open the Settings app and select iCloud.

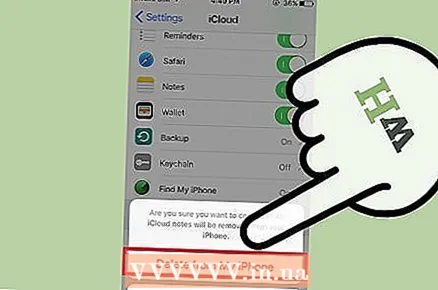
- Click Sign Out at the bottom of the screen and then click Sign Out in the pop-up window.

- Click Remove from iPhone> Disconnect.
- Hold down the power button and the Home button; the Apple logo should appear on the screen.The device will reboot.

- Open the Settings app and sign in to iCloud. This will solve the problem.

- Open the Settings app and select iCloud.
 2 Turn off your device if iCloud keeps asking you to sign in. Typically, this issue is related to an unstable wireless network connection; the problem can be resolved by restarting the device.
 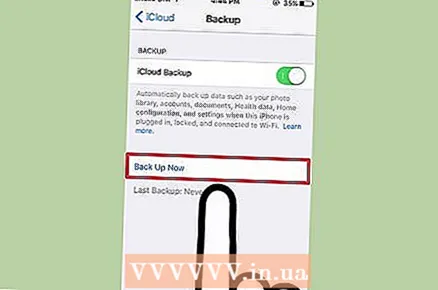 3 Reboot and restore your device using iTunes if iCloud keeps asking you to sign in. In this case, all settings will be reset to factory defaults; the device can now be reconfigured or restored from a backup.


