Author:
Joan Hall
Date Of Creation:
27 July 2021
Update Date:
1 July 2024
Content
- Steps
- Method 1 of 3: Method 1: Manual hemming
- Method 2 of 3: Method 2: Sewing the hem with the sewing machine
- Method 3 of 3: Method 3: Sewing the hem using the hemming foot
- Tips
- What do you need
- Manual hemming
- Sewing the hem with the sewing machine
- Sewing the hemming seam with the hemming foot
Chiffon is a light, delicate slippery fabric that is difficult to hem. This can be done by hand or with a sewing machine, but in any case, work slowly to get the most accurate hemming.
Steps
Method 1 of 3: Method 1: Manual hemming
 1 Run straight stitches along the raw edge of the fabric. Insert a thin thread of the fabric color into the needle and run the stitches along the entire fabric, 6 mm from it.
 - Then trim the raw edge so that there is 3mm between the stitches and the cut.
- The stitch you sew will ensure that the fabric is evenly folded over.
 2 Fold over the raw edge. Fold the edge of the fabric to the wrong side. Smooth the fold with an iron.
 - While it is not necessary to use an iron, it will have less chance of turning the fold when you hem it.
- Fold the fabric so that the fold is just behind the stitch line. The stitches after turning the fabric should be visible from the inside, but not from the face.
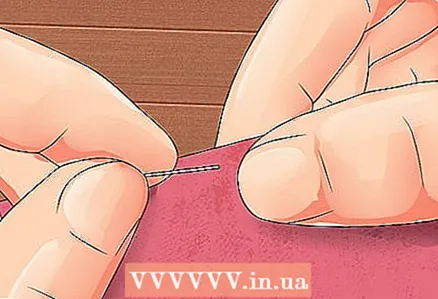
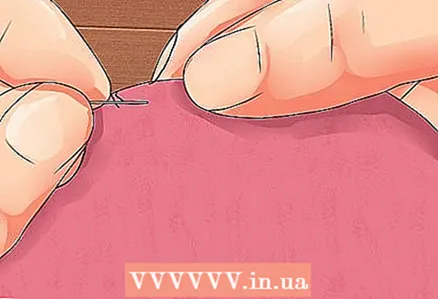
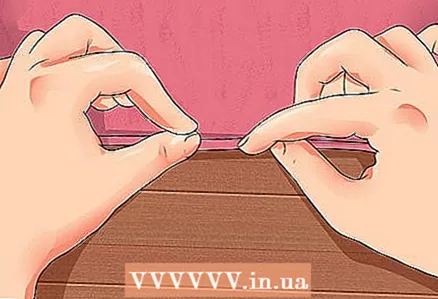
 3 Hook up a few threads on the chiffon with your sewing needle. Pick up one strand from the main chiffon and sew a small stitch around the edge of the collar. Pull out the thread, but do not tighten it yet.
 - For best results, use a small, sharp needle. This will make it easier to pick up single threads when sewing the hem.
- The back stitch should be as close to the fold as possible. Place it between your original stitch line and the fold itself.
- Threads picked up from the main fabric should be taken directly over the backstitch. They sit just above the raw edge of the fabric.
- You should pick up no more than 1-2 threads from the main fabric of the fabric. Otherwise, your hem will be more visible from the right side of the fabric.
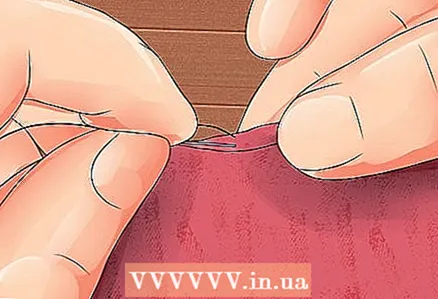
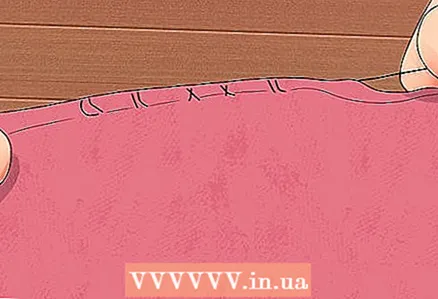
 4 Sew a few stitches in this manner. Each stitch should only pick up 1 or 2 strands of fabric, and the stitches should be 6 mm apart.
 - Repeat the procedure until you have sewn 2.5-5 cm.
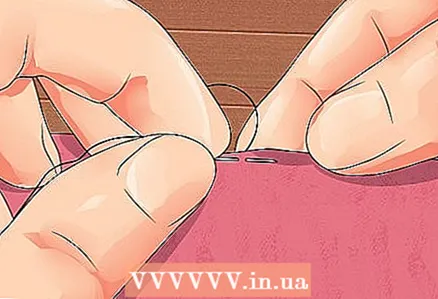
 5 Pull the thread. Pull the thread slightly in the direction you are sewing. The open cut should hide on its own inside your seam.
 - Make some effort, but not too much. Pulling too hard on the thread can cause the fabric to pucker up.
- Use your fingers to smooth out any bumps.
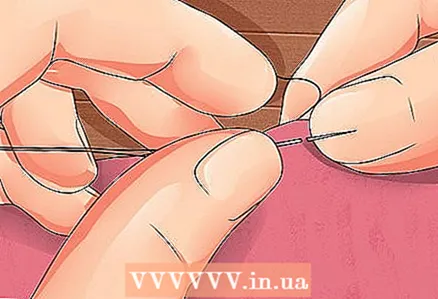
 6 Repeat the process for the entire length of the seam. Stitch in the same way to the very end of the fabric. At the end, tie a knot and cut off the excess thread.
 - When you fill your hand, you can pull the thread every 10-13 cm, and not every 2.5-5 cm.
- When the seam is done correctly, the raw edge will be hidden on the wrong side of the fabric, and the hem itself will be barely visible from the right side.
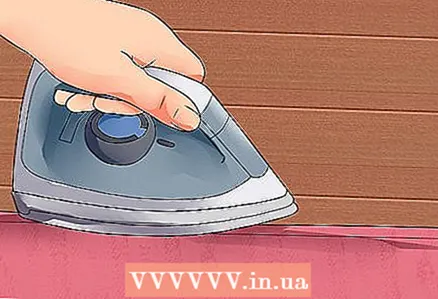 7 When finished, iron the seam with an iron. The seam can already be quite even, but if desired, it can still be ironed additionally.
 - This step completes the entire process.
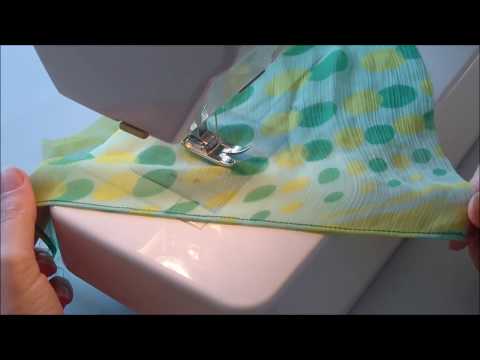
Method 2 of 3: Method 2: Sewing the hem with the sewing machine
 1 Sew a straight stitch along the raw edge of the fabric. Using your sewing machine, sew a straight stitch 6mm from the raw edge of the chiffon.
 - This stitch will be a guide line to make it easier to fold the fabric. It will also strengthen the edge, which will also make it easier to fold back later.
- Consider raising the thread tension one more value than needed when sewing. Then return the sewing machine to the normal setting.
 2 Fold up the fabric and press the fold over. Fold the raw edge of the fabric to the wrong side along the stitching. Smooth the fold with a hot iron.
 - Tensioning the fabric along the stitch line will help when folding and ironing the fabric.
- Move the iron up and down, not side to side, to prevent the fabric from stretching or shifting when ironing.
- Use plenty of steam when smoothing the fold.
 3 Stitch along the fold. Use the sewing machine to sew another stitch around the edge of the fabric. It should be 3 mm from the fold.
 - This stitch will be the second guideline to make it easier to fold the fabric again.
 4 Trim the raw fabric. Use sharp scissors to cut the raw edge of the fabric as close to the second line as possible.
 - Do not cut the main fabric or stitches.
 5 Fold up along the stitching line. Fold the fabric back over to the wrong side to hide the raw cut in the fold. Smooth the fold with an iron.
 - In this step, you will fold over the second stitch that you made. The first line will still be visible.
 6 Place a stitch in the center of the fold. Sew slowly along the entire fold of the fabric.
 - You will have 2 visible stitches on the wrong side and 1 on the front side.
- You can use a regular straight stitch in this step.
- Do not machine bartack fabric. Leave the ends of the threads long enough at both ends to be tied into a knot by hand.
 7 Iron the seam. Iron the seam to smooth it as much as possible.
 - This step completes the entire procedure.
Method 3 of 3: Method 3: Sewing the hem using the hemming foot
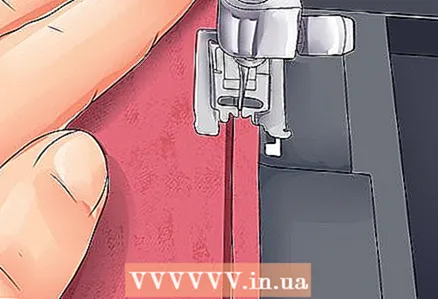
 1 Attach the hemming foot to the sewing machine. Follow the instructions for your sewing machine to change the standard foot for the hemming foot.
 - If you don't already have a hemming foot, choose one carefully in the store. The best and most versatile foot will be one that will allow you to sew straight stitches, zigzag stitches and overhead stitches. In this case, to process chiffon, you only need the ability to sew a straight stitch.
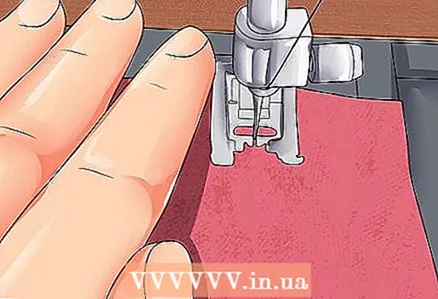
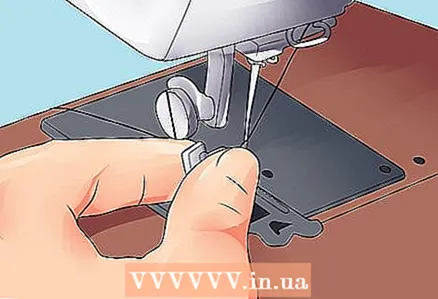
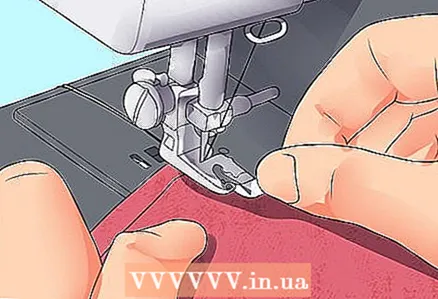
 2 Sew a small line of straight stitches. Lower the foot onto the fabric without inserting the fabric into the foot. Sew a straight stitch 1–2.5 cm long, 6 mm from the edge.
 - Leave the long ends of the threads. Both the stitch itself and the ends of the threads from it will help bring the fabric into the foot.
- You do not need to fold the fabric in this step.
- Run the stitching on the wrong side.
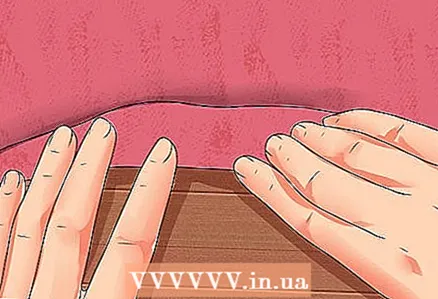
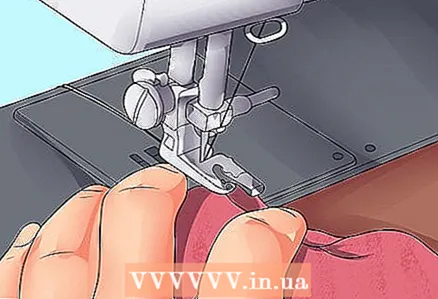
 3 Slide the edge of the fabric into the foot. Notice the guide at the front edge of the foot that curls the fabric.
 - The presser foot should be raised when threading the fabric into the foot. Lower the foot when finished.
- It can be difficult to get the fabric into the foot. Use the fitted stitching threads to guide the edge of the fabric when threading the foot.
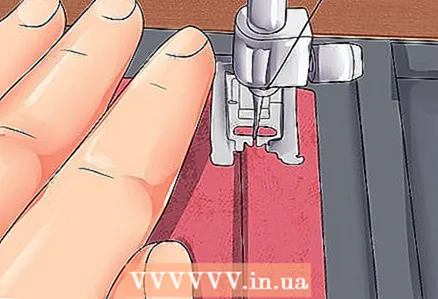
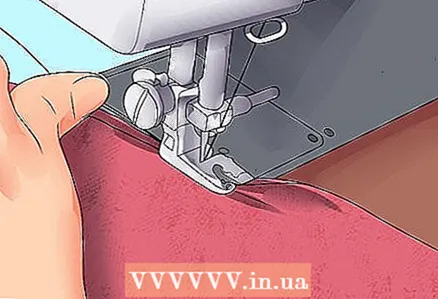 4 Stitch along the edge. When the fabric is threaded into the foot and the foot is lowered, slowly and carefully sew the stitch along the entire edge of the chiffon, stopping at the very end.
 - If the edge of the fabric is properly threaded into the foot, the edge will roll up by itself while sewing. No further effort is required from you.
- Hold the raw end of the fabric taut when sewing so that it will evenly feed into the foot.
- Work slowly and carefully to prevent the fabric from warping or gathering. At the end of the work, you should get an even hemmed edge of the fabric.
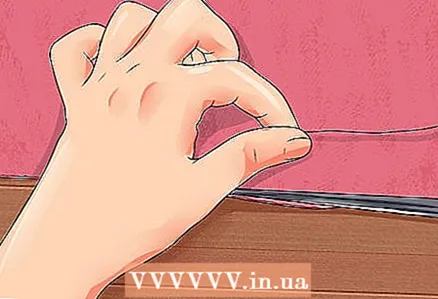
- Do not sew machine bartacks. Leave ponytails at the beginning and end of the stitch for hand knotting.
- You will have only one line visible on both sides of the fabric.
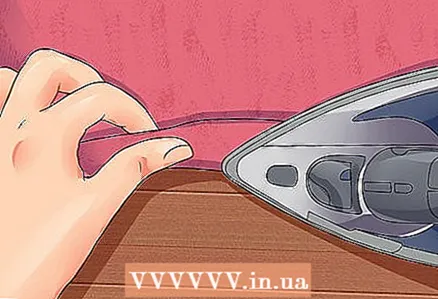 5 Iron the seam. After finishing work on the sewing machine, iron the seam carefully with an iron, smoothing the folds as best as possible.
 - This step completes the entire process.
Tips
- Since chiffon is a very light material, you should also use thin and light threads.
- Consider pre-treating your chiffon with a spray fabric stabilizer. It will make the material denser, making it easier to cut and sew.
- After cutting the chiffon fabric, let it rest for at least 30 minutes. This will give the fibers of the fabric a chance to return to their original shape before sewing.
- The needle in the sewing machine must be new, sharp and fine.For best results use 65/9 or 70/10 needles.
- The length of the stitches should be short enough when hand sewing chiffon. Sew 12-20 stitches for every 2.5 cm.
- Use the straight stitch needle plate whenever possible to prevent the chiffon from being pulled under the throat plate.
- When placing the chiffon under the foot, hold the upper and lower threads of the sewing machine with your left hand and pull them to the back. Sew the initial stitches slowly by gently depressing the foot control and turning the handwheel. Following this procedure should help prevent material from being pulled under the throat plate.
What do you need
Manual hemming
- Iron
- Thin threads
- Sharp small needle
- Scissors
Sewing the hem with the sewing machine
- Sewing machine
- Thin threads
- Fine Pointed Sewing Machine Needle
- Iron
- Scissors
Sewing the hemming seam with the hemming foot
- Sewing machine
- Hemming foot
- Thin threads
- Fine Pointed Sewing Machine Needle
- Iron
- Scissors


