Author:
Janice Evans
Date Of Creation:
3 July 2021
Update Date:
1 July 2024
Content
- Steps
- Method 1 of 3: Slide the cake off the baking dish
- Method 2 of 3: Using the Spatulas to Remove the Cake
- Method 3 of 3: Bake the cake on parchment
- Warnings
After all the effort you put into making the cheesecake, it will be a shame if it cracks when you start taking it out of the mold. Make sure your cheesecake is completely cool before you start peeling it off. When you remove the split collars, you can remove the cheesecake by simply sliding it off the sheet, or use the paddle to gently remove it. If you are just going to bake a cheesecake, you can cover the bottom of the pan with parchment paper so that you can easily remove the finished baked goods later. Start with the first step and learn more about each method.
Steps
Method 1 of 3: Slide the cake off the baking dish
 1 Leave your cake to cool overnight. This is an important step that ultimately determines how your cheesecake will look. If the cake is still warm or at room temperature when you start peeling it off, you will end up with a cracked and bumpy surface. If you want your cheesecake to look perfect, don't skip this step.
 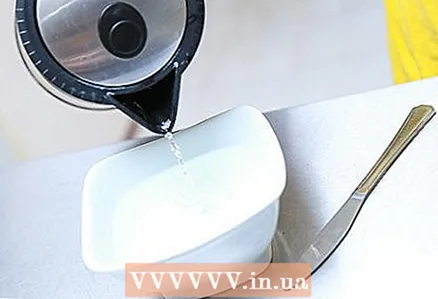 2 Use a knife and hot water to separate the sides of the cheesecake from the rims of the pan. When you start shooting the cake, the knife and hot water trick is the best way to separate the cheesecake from the sides of the pan. Take a small knife and hold it under hot water or immerse it in a cup of boiling water. Insert a knife between the cake and the rim of the pan and carefully slide it along the edge of the cheesecake. This will help separate the cake from the mold, keeping the edges straight.
 - You will need to soak the knife again in hot water, walking a few centimeters along the edge of the mold.If you don't, the knife will dry out and damage the edges of the cheesecake.
- Don't use cold water, it doesn't have the same effect. If you use cold water, chances are high that the cheesecake will crack or break.
 3 Use heat to remove the cheesecake from the base of the pan. Removing the finished cheesecake from the base of the pan is much more difficult than separating the edges from the rims. If you heat the bottom of the pan a little, the butter in the cake will melt and the cake will be easier to remove from the pan. Try one of these ways:
 - Kitchen Gas Cutter If you're lucky enough to have such a great tool in your kitchen, you can use it to heat the bottom of a baking dish with it. Put oven mitts on your hands and keep the cheesecake shape. Turn on the cutter and slowly bring the flame under the bottom of the mold. This is enough to melt the butter and soften the cheese, allowing you to easily remove the cake from the mold. Attention: do not heat the mold too much.
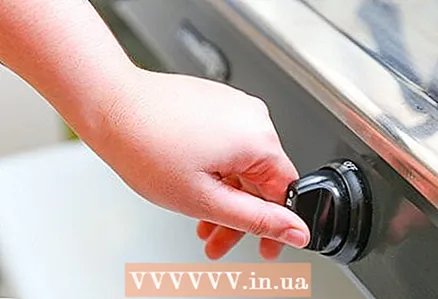
- Gas-burner. Hold the baking dish with oven mitts. Turn on the gas burner and gently hold the cheesecake pan over it to heat the bottom. As in the previous case, be careful not to overheat the mold. It can get very hot.
- Knife dipped in hot water. This method is less preferable because moisturizing the crust affects the texture of the cheesecake. But if you do not have the equipment that allows you to directly heat the bottom of the mold, you can use this method.
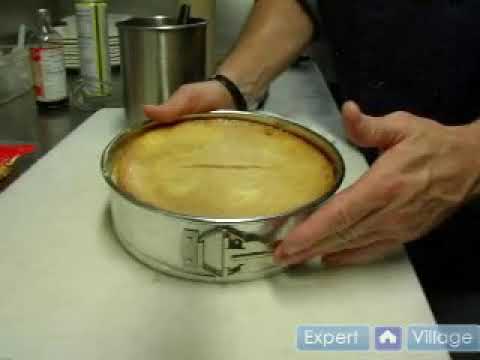
 4 Remove the sides of the mold. Open the lock and carefully remove the sides. The cooled cheesecake should keep its shape and not roll onto its side. If you see any bumps or specks on the surface of the cheesecake that need to be removed, soak the knife in hot water and gently smooth out any uneven areas.
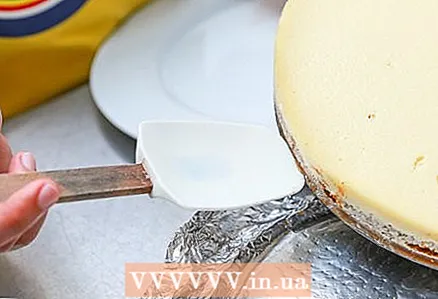
 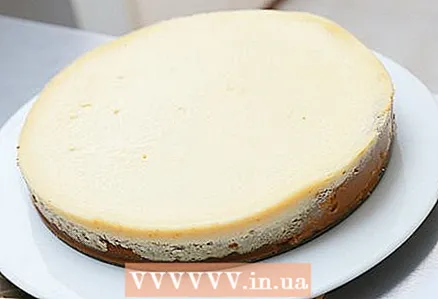 5 Slide the cheesecake onto the platter. Immediately after heating the bottom of the pan, gently slide the cake onto the dish you prepared in advance. If the cake doesn't move, take a large-bladed knife and use the flat side to gently push the cake off the backing. Press on the crust, not on the soft cheese filling, which is easily deformed.
 - Many housewives simply leave the cake on the base of the mold without removing it. You can also put your cheesecake on the dish along with the bottom of the pan. The metallic edges can be masked by beautifully spreading raspberries or chopped strawberries on the side of the cake.
Method 2 of 3: Using the Spatulas to Remove the Cake
 1 Leave your cake to cool overnight! If the cake is still warm or at room temperature, it will fall apart when you start removing it. Wait for the inside of the cake to freeze completely before continuing to bake.
 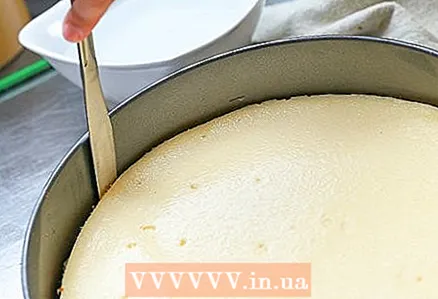 2 Remove the collars from the split baking dish. Soak the knife in hot water and run it along the edge of the cheesecake to separate it from the sides of the pan. Moisten the knife periodically in hot water to avoid damaging the surface of the cake. After you are finished separating the edges, open the mold lock and remove the collars.
 - Do not use cold water to separate the cake from the sides; it does not have the same effect as hot water.
- You can fix small cracks and damage on the sides of the cake by smoothing the surface with a knife dipped in hot water.
 3 Remove the sides of the mold. Open the lock and carefully remove the sides. The cooled cheesecake should keep its shape and not roll onto its side. If you see any bumps or specks on the surface of the cheesecake that need to be removed, soak the knife in hot water and gently smooth out any uneven areas.
  4 Take three shoulder blades and a friend. The spatula method requires the help of someone else because the cake can fall apart if you support it with two spatulas instead of three. Three scoops are enough to gently lift the cheesecake and transfer it to the platter. Choose wide, flat, thin shoulder blades that are easy to slide under your cheesecake.
 - You can warm up the bottom of the pan before trying to transfer it to the plate. This will make it easier to separate the cake from the bottom of the baking dish.
 5 Slip the shoulder blades under the cake. Very carefully slide the shoulder blades between the bottom of the pan and the cheesecake crust. Try to have as much area of the cake as possible supported by the spatula. Make sure that the cake is evenly on all three shoulder blades and that no part of the cake is left unsupported.
  6 Place the cake on a platter. Hold the handles of two shoulder blades and ask the person who is helping you to hold the third. On the count of three, gently lift the cake up and transfer it to the dish you placed next to it. This must be done quickly, but carefully, then you will get an excellent result.
 - Be sure to make sure you start lifting the cake at the same time and do it at the same speed, otherwise your cheesecake will fall apart.
- When the cake is on the platter, gently pull the shoulder blades out from under it.
Method 3 of 3: Bake the cake on parchment
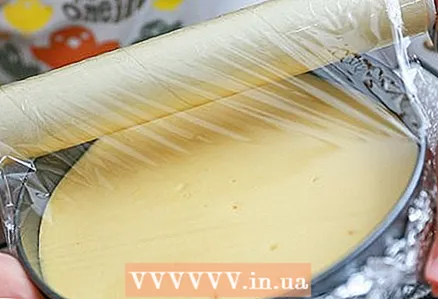
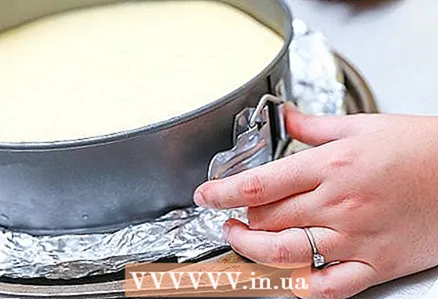
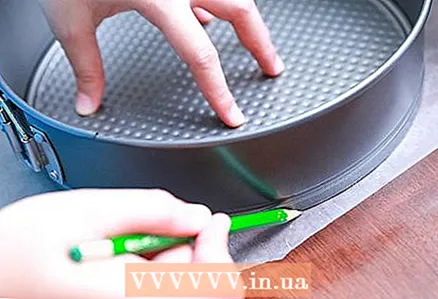 1 Place parchment paper on the bottom of the mold. If you are just going to bake a cheesecake, this method will make it much easier for you to remove the cake. Cut a circle out of parchment paper that is slightly larger than the bottom of your baking dish. Connect the sides and base of the baking dish and carefully lay out the cut out circle on the bottom of the baking dish. You will be baking the cheesecake on a parchment base, not directly on the metal bottom of the pan. In this method, you simply slide the baked cheesecake off the base along with the parchment, which is not as visible on the platter as the metal base of the mold.
 - Many pastry chefs prefer to use a cardboard circle to give the cake more support. Cut a circle out of cardboard the size of the bottom of your baking dish. Place a circle of parchment paper on top of it.
- If you want, you can line the sides of the mold with parchment. Cut a strip of parchment paper long enough to lay along the sides of the mold. The strip should be slightly wider than the depth of your shape. Now you can bake your cheesecake as usual, and when it is completely cool, you can easily remove it from the mold.
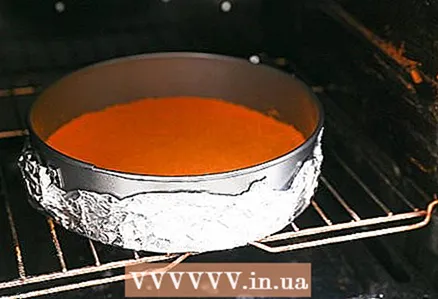 2 Bake the cheesecake as directed. The presence of parchment does not affect the cheesecake preparation process in any way. Start baking and do everything as usual.
  3 Leave your cake to cool overnight. Even parchment won't help if you start taking the warm cheesecake out of the mold. Make sure that the cake is completely cool, and only then begin to remove the sides or slide the cake from the bottom of the mold.
  4 Remove the collars from the split baking dish. If you didn’t use parchment paper to line the sides of the mold, soak a knife in hot water and run it between the edges of the cheesecake and the sides, separating the cake from the mold. Then open the mold lock and remove the sides. If you've covered the sides with parchment, you can skip the knife trick and just remove the sides of the mold. Then very carefully remove the strip of paper from the side of the cheesecake.
 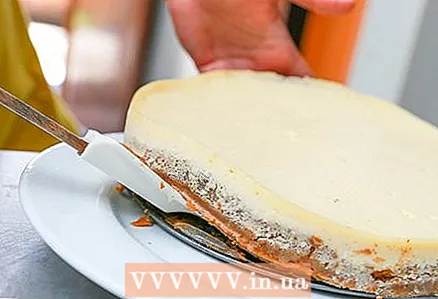 5 Remove the cheesecake from the base of the baking dish. Pull gently on the edge of the parchment and slowly drag the cake from the base of the tin to the serving platter. The parchment will peel off easily from the bottom of your baking dish.
Warnings
- Do not try to remove the cheesecake from the pan until it has cooled completely. Leave it overnight, or at least 12 hours.
- Make sure to use parchment and not wax paper. Waxed paper is not suitable for baking, in a hot oven the wax will melt and the paper may catch fire.
- If you use a knife, there is a chance of scratching the surface of the baking dish.
- If you are using a kitchen gas cutter, hold the shape with a special holder.


