Author:
Gregory Harris
Date Of Creation:
16 August 2021
Update Date:
1 July 2024

Content
- Steps
- Method 1 of 3: Use a hammer and screwdriver
- Method 2 of 3: Heat the screw
- Method 3 of 3: Cut the groove if the slot is damaged
- Tips
- Warnings
- What do you need
- Using a hammer and screwdriver
- Heating the screw
- Cutting a groove
Over time, any fastener can rust. Sooner or later, you will certainly come across a rusted screw on the farm, which is very difficult to unscrew. Rust additionally holds the screw to the surface into which it is screwed, therefore, in order to remove it, it is necessary to destroy the rust. If you cannot loosen the rust with a special solvent, you can do this by heating. It may also be necessary to cut a new groove in the screw head if the slot has been ripped off. Removing a rusted screw may seem like a very difficult task, but in fact, just about any screw can be removed using a thinner and a screwdriver.
Steps
Method 1 of 3: Use a hammer and screwdriver
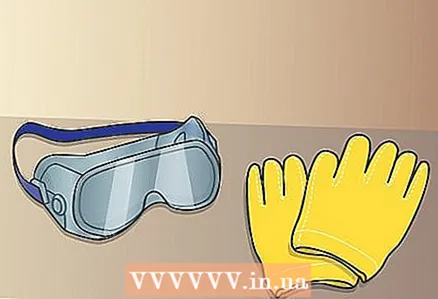 1 Wear thick leather gloves and goggles. Operate the tool only with gloves in case of inadvertent hitting with a hammer on the fingers. This will help prevent serious injury, and the protective polycarbonate goggles will keep you from getting debris of rust in your eyes.
 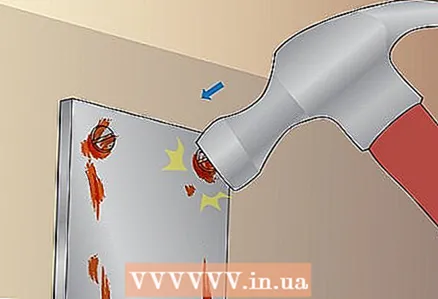 2 Hit the screw with a metal hammer several times. Place a hammer on the screw head. Hit it hard several times to break up the rust. Try to loosen the screw. To do this, hit hard and accurately on the hat.
 - Do not place your other hand close to the screw to avoid accidentally hitting it with a hammer.
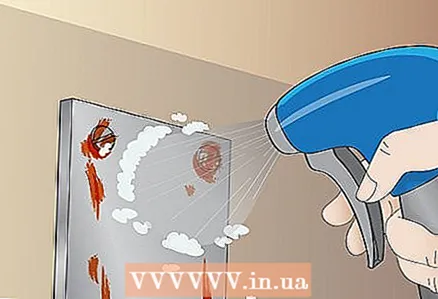
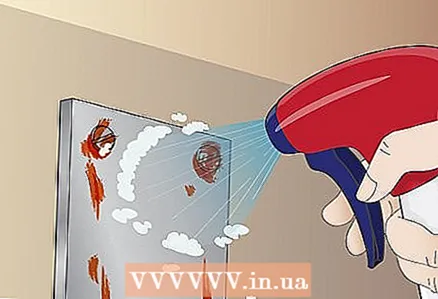 3 Apply rust remover to the head of the screw and let sit for 15 minutes. The solvent is usually sold in the form of an aerosol can. Aim it at the screw and press down on the valve. Spray a generous amount of solvent around the head of the screw so that it not only dampens the head itself, but also penetrates the shaft.
 - Rust remover is sold at most hardware and hardware stores.
- If you don't have a solvent on hand, you can make it yourself by mixing equal proportions of acetone and transmission fluid.
- Use WD-40 as a last resort, but it is not as effective at dissolving rust as a special solvent.
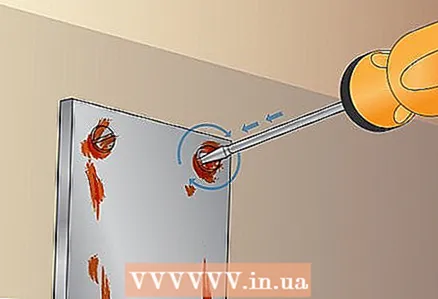
 4 Hit the screw several times with a hammer and tap on the cap from all sides. Hit the screw a few more times with a hammer to break the rust even further. Then lightly tap the side of the hat. Tap the cap on all sides to loosen the screw more.
 - You can also try to loosen the stuck screw with a wrench.
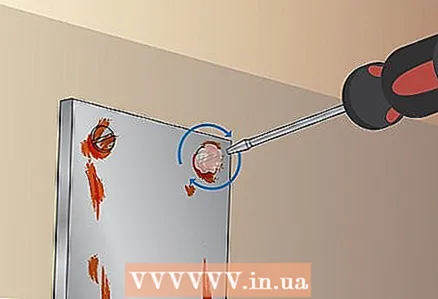
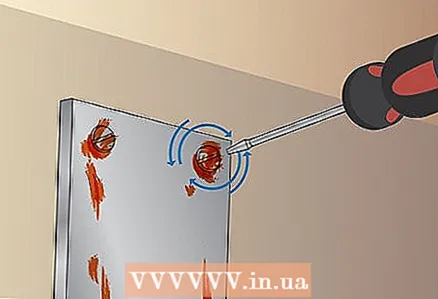
 5 Remove the screw with a screwdriver. Choose a screwdriver with a tip that matches the slot of the screw. If the slot is Phillips, use a Phillips screwdriver. Insert a screwdriver into the slot and turn counterclockwise. If the screw is too tight and the screwdriver damages the slot during unscrewing, stop unscrewing it. If you continue to try to unscrew the screw, it will only worsen the situation.
 - Stop removing the screw as soon as the screwdriver starts to pop out of the slot. This could damage the spline.
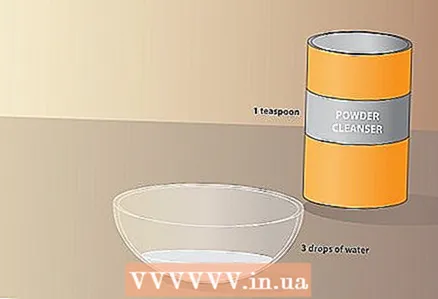 6 If the screw cannot be removed, make a paste to prevent the screwdriver from slipping off. Place 1 teaspoon (5 g) of powder detergent in a bowl. Add 3 drops of room temperature water and stir into a smooth paste. Apply the paste with a rag to the screw head.
 - To make the paste, you can use a common powder bath or kitchen cleaner found in almost every home.
- If you cannot make a paste, you can use a car engine valve lapping compound instead.
 7 Try unscrewing the screw again with the screwdriver. Insert a screwdriver into the greased slot and turn counterclockwise while pressing down on it. Under the influence of your efforts, the rust should finally collapse and release the screw.
 - If you are unable to unscrew the screw with a screwdriver, try unscrewing it with a socket wrench. More effort can be created with it.
Method 2 of 3: Heat the screw
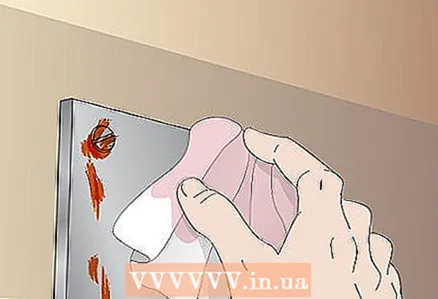 1 Clean the screw with a water-based degreaser. It is imperative to clean the screw from the rust solvent before proceeding to heating it, as the heat can ignite the solvent. To prevent this, dampen a cloth with degreaser and wipe the screw thoroughly.
 - You can buy a degreaser at a hardware store or make your own with vinegar and baking soda.
- Dispose of oily rags properly. Place them away from direct sunlight and sources of fire. When they are dry, discard them in the trash can.
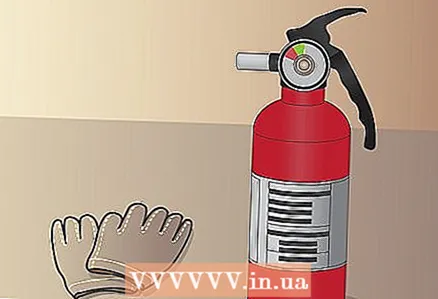 2 Wear leather gloves and keep a fire extinguisher handy. Take all necessary precautions to reduce the risk of accidents during heating. A pair of thick gloves will protect your hands from scalding, and a fire extinguisher will help keep the flames from spreading in the event of a fire.
 - Wear gloves only after you have finished degreasing the surface to prevent potentially hazardous degreasing from getting on the gloves.
- Even if you are confident you have completely flushed out flammable chemicals, keep a fire extinguisher handy just in case.
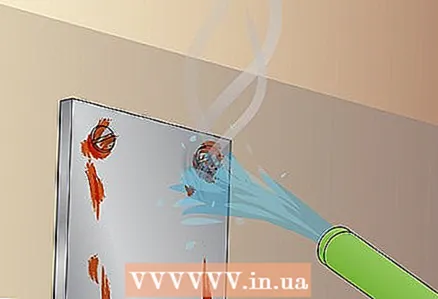
 3 Heat the propeller with a gas burner until smoke appears. You can also use a lighter for heating, but with a gas burner it will be easier for you to do this. For this task, you can safely use a propane or butane burner. Light the burner and bring the flame to the propeller. Wait for steam or smoke to appear.
 - To avoid overheating, hold the burner so that only the edge of the flame touches the screw.
- If the screw is red hot, remove the burner. It does not need to be heated to such an extent.
 4 Cool the propeller immediately with cold water. If you have a watering hose handy, pour water over the screw to cool it again. If not, pour water over the screw from a bucket or moisten it with a wet rag. Wait until it stops emitting heat.
 - As a result of heating, the screw increases in size, and as a result of cooling, on the contrary, it decreases. This should destroy the rust.
 5 Repeat heating and cooling of the screw 2-3 times. You can try to remove the screw right away, but it usually takes several heating cycles to loosen the stuck screw. Heat the head of the screw with a burner and immediately after that douse it with cold water.
 - If after several cycles the screw still does not give in, you can always try again to heat it up and cool it down.
 6 Remove the screw with a screwdriver. Select a screwdriver that matches the screw slot. If you do this after cutting a new groove, you will need to use a flat head screwdriver. Turn the screwdriver counterclockwise to remove the screw.
 - Make sure the screw is completely cool before touching it. Bring your hand close to the screw. If you feel warm, douse it with cold water.
 7 If the screw does not give way, apply rust remover to it. Moisten the screw head liberally with solvent. While the liquid is draining, turn the screw back and forth to distribute it over the entire surface. After that, you should be able to remove the screw with a screwdriver.
 - You may need to soak the screw with solvent several times to get it loose. Continuously turn the screw back and forth to ensure that the solvent eats away the rust properly.
Method 3 of 3: Cut the groove if the slot is damaged
 1 Wear thick leather gloves and goggles. Do not remove gloves during the entire process - they will protect against injury if you accidentally hit your hand with a tool. Also, remember to wear polycarbonate glasses to protect your eyes from metal debris.
 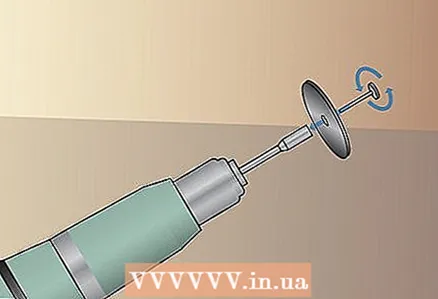 2 Install on drill cutting disc. The drill has removable nozzles. They can be changed depending on the task that needs to be completed. To cut the groove in the screw head, you will need a flat metal disc. Place it on the drill following the manufacturer's instructions.
 - Turn on the drill to see how it works. The disc should rotate freely at a constant speed.
 3 Cut a groove in the head of the screw about the size of the tip of the largest screwdriver you have. Keep this screwdriver nearby to use as a measure. Bring the drill to the screw so that the edge of the disc is above the screw head. Then place the drill against the cap to start cutting the groove. Take your time to cut the groove and extend it to the desired length.
 - Try to make a groove in which the screwdriver fits snugly so that you can remove the screw with maximum force.
 4 Remove the screw with a screwdriver. Insert a screwdriver into the slot you made. Turn the screwdriver counterclockwise while pressing down on the screw. If the groove allows the screw to be removed, you should be able to loosen it and remove it from the wall.
 - If the groove is too small, enlarge it with a drill. Too large a groove can also prevent the screw from being removed. In this case, you will have to look for a larger screwdriver.
- Sometimes a rusty screw will not be removed even if the groove is perfect. Therefore, you first need to destroy the rust by heating.
Tips
- Coca-Cola can be a good rust dissolver thanks to the acid it contains.
- Rotate the screw back and forth with maximum amplitude so that not only the cap, but also the shaft of the screw is abundantly moistened with solvent.
- Do not forcibly remove a stubborn screw. If the screwdriver does not fit snugly in the slot, you can break the slot, which will only complicate further attempts to remove it.
Warnings
- Always wear leather gloves and safety glasses when handling rusty screws.
- Be careful when heating the screw as there is a risk of burns or fire. Take precautions and make sure there are no flammable chemicals left on the screw.
- Greasy rags may catch fire when exposed to heat. Dry them out of direct sunlight.
What do you need
Using a hammer and screwdriver
- Thick Leather Gloves
- Rust remover
- Screwdriver
- A hammer
- Powder Kitchen or Bath Cleaner
- Water
- A bowl
Heating the screw
- Thick Leather Gloves
- Water based degreaser
- Rags
- Fire extinguisher
- Propane or butane gas burner
- Water
- Screwdriver
- Rust remover
Cutting a groove
- Thick Leather Gloves
- Drill
- Cutting disc
- Large flat head screwdriver


