Author:
Mark Sanchez
Date Of Creation:
28 January 2021
Update Date:
1 July 2024
Content
- Steps
- Part 1 of 5: Basic Steps
- Part 2 of 5: Troubleshooting Hardware Issues
- Part 3 of 5: Troubleshoot software problems
- Part 4 of 5: Change DNS Settings in Windows
- Part 5 of 5: Change DNS Settings on Mac OS X
This article will show you how to increase the speed and stability of your internet connection. Although the connection speed cannot be increased beyond the one indicated in the tariff plan you choose, the speed of the Internet connection is often slower than the provider provides. Therefore, if you follow some basic steps, and troubleshoot hardware and software problems (you may need to change your DNS settings), you can optimize your internet connection speed.
Steps
Part 1 of 5: Basic Steps
 1 Find out what is causing your slow internet connection. There can be a great variety of such reasons, but, as a rule, the most common are the following:
 - Old hardware or software.
- Excessive number of computers or mobile devices on the network.
- Downloading files.
- Weak wireless signal due to obstacles (walls, furniture, etc.).
- Low speed from the ISP.
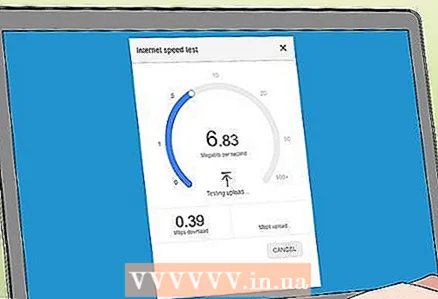 2 Check your internet connection speed. You pay for specific download and upload speeds (measured in Mbps, megabits per second). If you find out the download and download speeds, you can compare them with those indicated in your tariff plan.
 - Many ISPs indicate the speed with the preposition "to" - this means that the stated maximum speed is not guaranteed.
- In most cases, the maximum upload or download speed will be slightly slower than the advertised speed. If the actual speed is close to the advertised speed, the ISP is not the source of the problem.
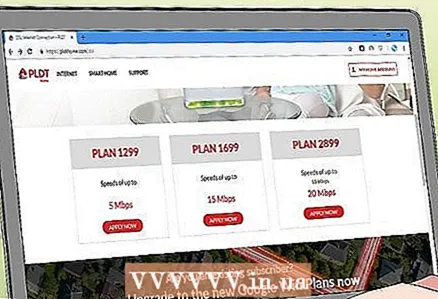 3 Compare the download and upload speeds found with those listed in your tariff plan. If speeds vary greatly, contact your ISP.
 - Perhaps you should switch to a different data plan (or a different provider) that provides faster internet for less money.
- Don't confuse megabits with megabytes. ISPs indicate speeds in megabits, not megabytes. The 1 Mb (megabyte) is 8 Mbps (megabits), so if you're paying for 25 Mbps (megabits per second), that's just over 3 Mbps (megabytes per second).
 4 Reduce the distance between the computer and the router for the best connection speed. If the computer is connected to the Internet through a wireless router, the connection speed will decrease as the distance between the computer and the router increases.
 - Make sure there is enough space around the router and computer to keep them from overheating.
 5 Make a visual line from your computer to your router. If the router signal passes through at least one wall or device (such as a refrigerator), the signal will be attenuated. Therefore, make sure that the router is visible from where the computer or smartphone is located.
 - If the router is on a different floor, the computer may not receive a signal at all.
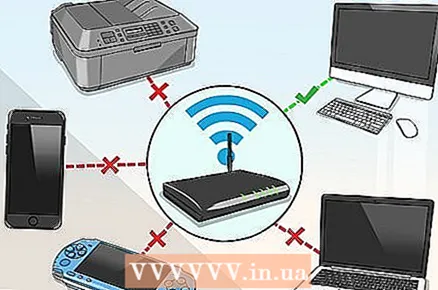 6 Reduce the number of devices that are connected to the network. The network has a certain bandwidth - if you use it completely, the speed of your Internet connection will decrease. Therefore, try to make sure that the computer is the only device connected to the router.
 - This, of course, is not always possible, but we recommend disconnecting the smart TV, the second computer, game console and tablet from the network.
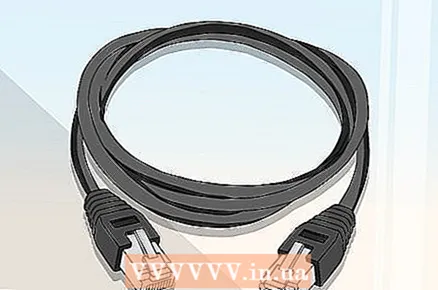 7 Use an Ethernet connection instead of a wireless connection. Most computers can be connected to a router using an Ethernet cable, which eliminates the delay in signal transmission from the router to the computer.
 - If you are using a Mac computer, you will most likely need an Ethernet to USB / C adapter to connect your computer to the router.
- Mobile devices (such as smartphones and tablets) do not support Ethernet.
Part 2 of 5: Troubleshooting Hardware Issues
 1 Determine how old your hardware is. Routers, modems, computers, smartphones and tablets are getting old, so if the device is more than 4 years old, you will inevitably face some problems connecting to the internet.
 - In this case, we recommend buying a new device.
- Also, the problem can arise if you install a new operating system on an old computer or mobile device.
- Keep in mind that if your router and / or modem is more than three years old, it is best to buy a newer model.
 2 Turn off your router and modem for a few minutes. This will reboot these devices, that is, clear their internal caches. Also, rebooting the router will cause it to select the least congested wireless channel, which may change daily depending on your location.
 - You can set up a daily router reboot on its configuration page.
 3 Update your router's firmware. The outdated firmware may no longer provide a stable connection. The firmware upgrade process depends on the router model, so read the instructions for it. But usually you need to open the router's configuration page and then find and click on the “Update” or “Install Firmware” option.
 - This is especially important if you've just bought a new router or are using a router that's more than a year old or two years old.
 4 Reposition your router. The visual line between the computer and the router is important, but it makes no sense if there are multiple devices near the router that are interfering. Such devices can be, for example, microwave ovens and refrigerators, so make sure the router is far away from them.
 - The router must be above the surface on which the computer or mobile device is located - otherwise, you are likely to run into problems connecting to the Internet.
 5 Reboot all devices connected to the internet. The turn off / on method is good for troubleshooting all sorts of problems, especially if the device is working day and night.
  6 Take advantage of wireless signal booster. It is a small device that amplifies the signal received from the router; thus, the coverage area of the wireless network will significantly increase. These amplifiers can cost $ 3,000, but are often cheaper than newer routers.
 - You can make your own signal booster if you have an aluminum can.
- Please make sure your chosen signal booster will work with your router before purchasing.
 7 Buy a new router. Remember that old hardware can be a hassle. Therefore, it is better to buy a new router to increase your internet connection speed for sure.
 - Please read this section before purchasing a new router.
Part 3 of 5: Troubleshoot software problems
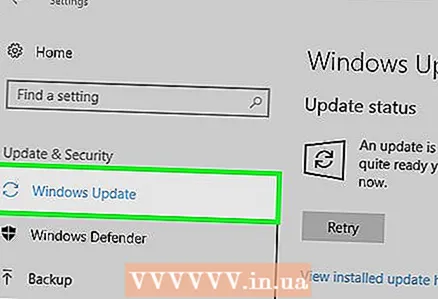 1 Update the operating system of your computer or mobile device. Do this regularly, unless you have an old device (a new system will slow down the performance of your old device). To find out how to update your system, click on one of the following links:
 - Windows
- Mac
- iPhone
- Android
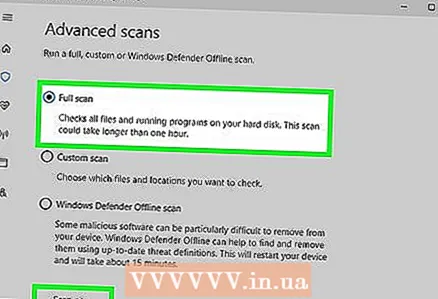 2 Check your computer for viruses. Sometimes malware or viruses prevent your computer from accessing the internet. Run your antivirus to find and remove any malware.
 - We recommend that you regularly (for example, once a week) scan your computer with an antivirus, even if everything works fine.
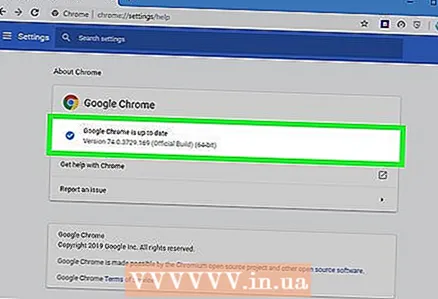 3 Refresh your web browser. An outdated web browser may be slow to load web pages or videos. To find out how to update your browser, click on one of the following links:
 - Google chrome
- Firefox
- Safari
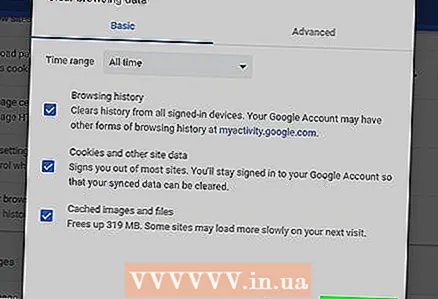 4 Clear your web browser cache. Browser cache can be the reason for slowing down your internet connection. Cached information allows web pages you've already opened to load faster, but can also lead to errors and connection problems if the website's cache doesn't match the browser's entries.
 - When you clear the cache, the first time, web pages will load slower than usual.
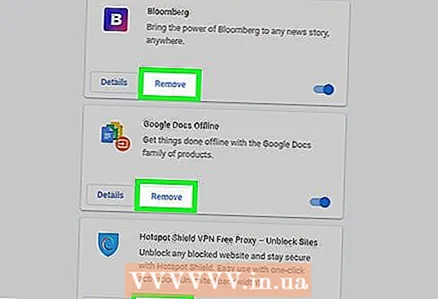 5 Remove toolbars from a web browser. If your browser has many toolbars and / or extensions installed, remove the unnecessary ones to speed up the browser.
  6 Use Google chrome or Firefox. These browsers are generally faster than others and are available for all systems including Windows, Mac OS X, iOS, and Android.
  7 Try using a VPN. Virtual private networks (VPNs) allow you to bypass ISP restrictions by using external servers. While this usually does not increase the speed of your internet connection (unless your ISP enforces restrictions), a VPN will prevent your ISP from slowing down your network speed without permission.
Part 4 of 5: Change DNS Settings in Windows
 1 Open the start menu
  . Click on the Windows logo in the lower left corner of the screen.
  2 Open Control Panel. Enter Control Panel, and then click Control Panel at the top of the Start menu.
  3 Switch to a different control panel view. Open the View By menu in the upper-right corner of the window, and then click Large Icons.
 - If you already see the Large Icons option in the View By menu, skip this step.
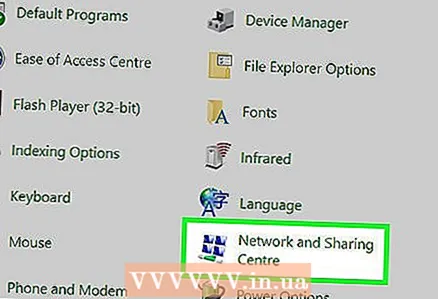 4 Click on Network and Sharing Center. It's on the right side of the Control Panel window.
  5 Click on Change adapter settings. This link is in the upper-left side of the window.
 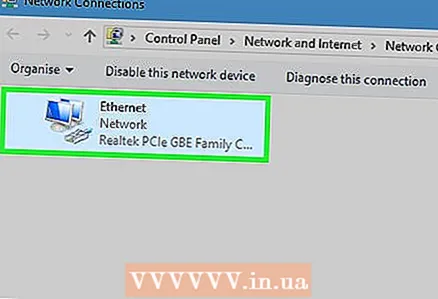 6 Open the properties of the current connection. Select your current wireless connection, and then click "Change settings for this connection" at the top of the window.
 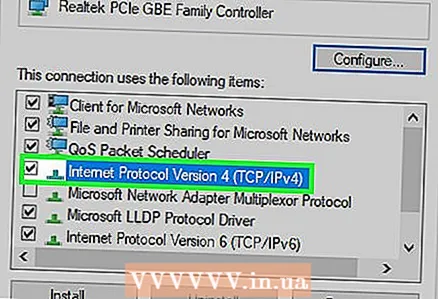 7 Click on Internet Protocol Version 4 (TCP / IPv4). It's in the pane in the middle of the Wireless Connection Properties window.
 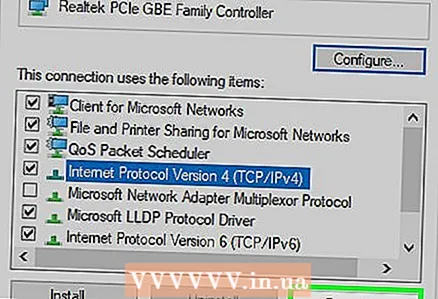 8 Click on Properties. You will find this button below the panel. A new window will open.
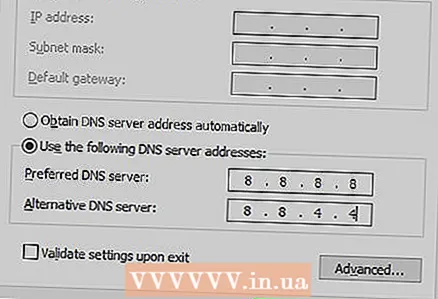
 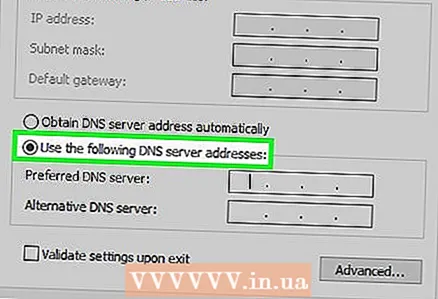 9 Check the box next to "Use the following DNS server addresses". It's an option at the bottom of the new window.
 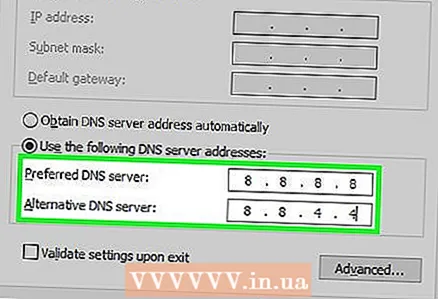 10 Enter a new DNS address in each of the fields. Do one of the following, depending on whether you want to use OpenDNS or Google servers:
 - Google - enter 8.8.8.8 in the "Preferred DNS Server" text box, and then enter 8.8.4.4 in the Alternate DNS Server text box.
- OpenDNS - enter 208.67.222.222 in the "Preferred DNS Server" text box, and then enter 208.67.220.220 in the Alternate DNS Server text box.
 11 Click on OK. It's a button at the bottom of the window.
 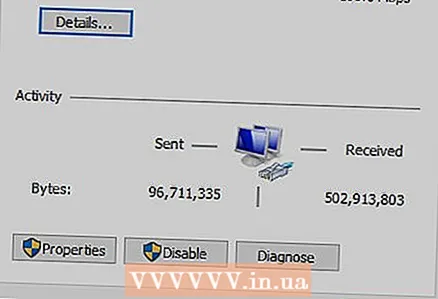 12 Click on Close. You will find this button at the bottom of the window. The settings will be saved and take effect.
Part 5 of 5: Change DNS Settings on Mac OS X
 1 Open the Apple menu
  . Click on the Apple logo in the upper left corner of the screen.
  2 Click on System settings. It's an option on the menu.
 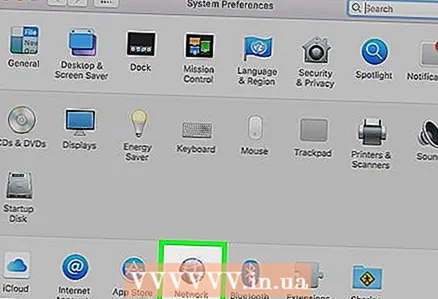 3 Click on Network. You will find this option in the System Preferences window. A new window will open.
 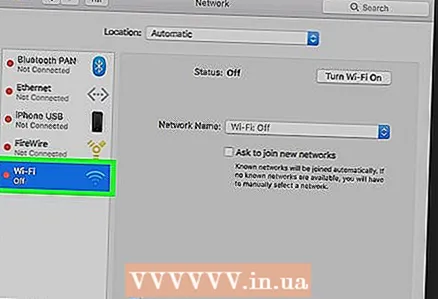 4 Choose your connection. Select your current wireless connection from the left sidebar.
 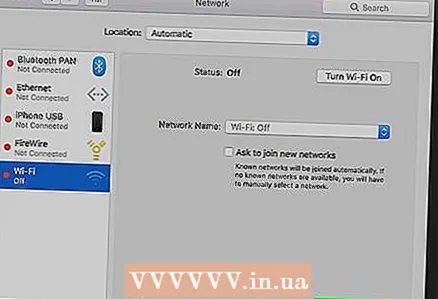 5 Click on Additionally. It's an option at the bottom of the window. Another window will open.
 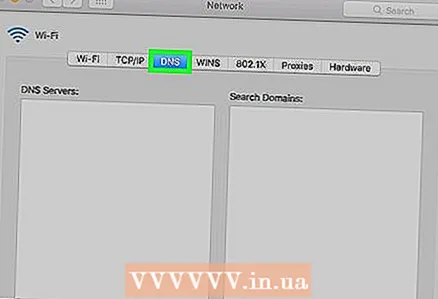 6 Click on DNS. This tab is at the top of the window.
  7 Click on +. It's an icon in the lower left corner of the window.
 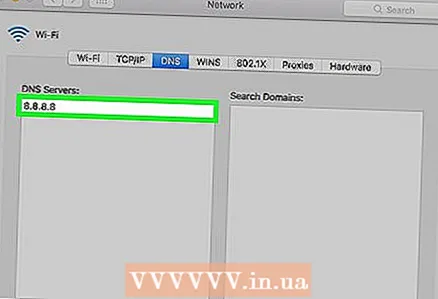 8 Enter your primary DNS address. Do one of the following depending on whether you want to use OpenDNS or Google servers:
 - Google - enter 8.8.8.8 and press ⏎ Return.
- OpenDNS - enter 208.67.222.222 and press ⏎ Return.
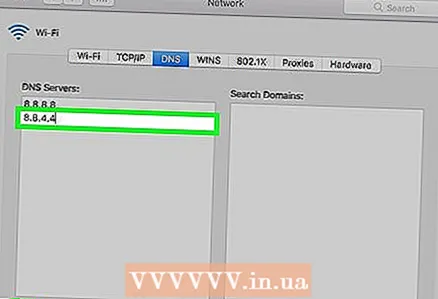 9 Click on + again, and then enter the secondary DNS address. Do one of the following, depending on the selected primary DNS address:
 - Google - enter 8.8.4.4 and press ⏎ Return.
- OpenDNS - enter 208.67.220.220 and press ⏎ Return.
 10 Click on OK. It's a button at the bottom of the window. DNS settings will be saved.
  11 Click on Apply. It's at the bottom of the window. The DNS settings will take effect.


