Author:
Eric Farmer
Date Of Creation:
12 March 2021
Update Date:
1 July 2024

Content
IMovie allows users to use the zoom feature on any photo, still image of a captured video, or video clip that has been imported into an iMovie project. The process of zooming and panning back and forth across a photo, still frame of a captured video, or video is called the "Ken Burns Effect" and is how the effect buttons are labeled in iMovie. Ken Burns is a renowned documentary filmmaker who developed this special way of zooming and panning.
Steps
- 1 Launch the IMOVIE program and select the IMOVIE project for which you want to add a Zoom effect (scaling).
 2 Click on the video clip you are using the zoom effect for within the Event Browser window in the upper middle of the iMovie project screen. This will allow the selected clip to appear in the window to the right of the video clip event browser. Make sure to select the appropriate video clip to apply the zoom effect to it.
  3 Click on the "Crop" button, located in the middle of the panel, separating the upper workspace of the project from the bottom. This button is indicated by a square with 2 lines that create corners that overlap with each other. This button will load the "Fit," "Crop," and "Ken Burns" video editing effects into the selected video clip within the editing viewport.
  4 Select the "Ken Burns" button located in the upper middle of the video editing screen. After that, green and red rectangles will appear.
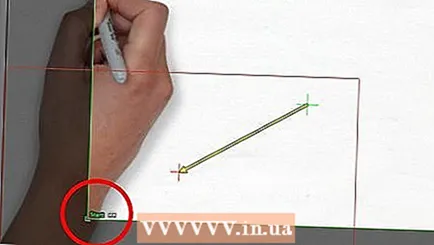
 - 5 Place the rectangles where you want the scaling effect to start and end.
- Place the green rectangle in the area of the image where you want the zoom effect when the clip begins. Place the red rectangle over the desired area where the Zoom effect ends. For example, a green rectangle can be focused on a smaller area to create a zoom effect, and a red rectangle can be placed on a larger aspect of a clip to zoom out. You can move these rectangles around by dragging each one to a specific location where you want to make the zoom effect.

- Also, resize the rectangles by dragging the corners of each rectangle back and forth accordingly, resizing the image area.
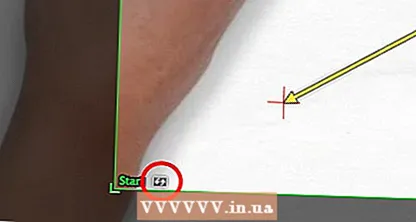
- Selecting the double arrow button at the bottom of the video editing screen will swap the positions of the green and red rectangles.
- Place the green rectangle in the area of the image where you want the zoom effect when the clip begins. Place the red rectangle over the desired area where the Zoom effect ends. For example, a green rectangle can be focused on a smaller area to create a zoom effect, and a red rectangle can be placed on a larger aspect of a clip to zoom out. You can move these rectangles around by dragging each one to a specific location where you want to make the zoom effect.
 6 Preview the Ken Burns effect you just created by clicking the "Play" button in the video preview / editing window. This button is indicated by a play symbol (triangle pointing to the side). Adjust the rectangles to get the effect you want.
  7Click on the "Done" button once you have changed the effect to the desired position to overlay the effects you just created
Tips
- In older versions of IMOVIE, the Ken Burns effect applies only to still images in videos and photos.


