Author:
Joan Hall
Date Of Creation:
4 July 2021
Update Date:
1 July 2024

Content
- Steps
- Part 1 of 3: Installing a switch to the panel of your devices
- Part 2 of 3: Connecting the switch to the device
- Part 3 of 3: Buying the Right Switch for Your Device
- What do you need
A toggle switch is an electrical component that controls the flow of electricity through a circuit through a mechanical lever, which in turn is manually operated. Although toggle switches come in many forms, in general they are designed to switch all circuits connected to it. As a rule, tumblers are installed in devices that did not previously have such means of regulating additional operations. For example, a person can put a toggle switch in a car to regulate an aftermarket LED lighting system. See step 1 to start setting up the toggle switch yourself.
Steps
Part 1 of 3: Installing a switch to the panel of your devices
 1 Turn off the power to the devices before starting. As with all types of electrical work, it is extremely important here to ensure that there is no risk of electrical shock before working on your device. Attempting to "revive" your device is an easy way to seriously damage your own health or short-circuit that could damage your device.
 - The exact method for turning off the power from the source depends on the device you are working with. In a car, you will want to disconnect the negative terminal of the battery, but at other points you may need to unplug the plug or manually disconnect the power in another way.
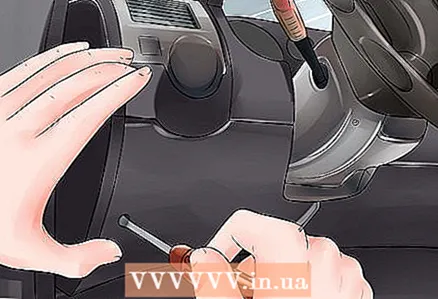 2 Remove the panel or casing of the device. Installing a toggle switch into a device will require you to access the internal wiring, which usually means removing the outside of the device. If possible, instead of removing the cover from the entire object, try to remove only the part of the cover of the device in which you plan to install the toggle switch.
 - For example, if you are installing a toggle switch in your car, you will want to remove only part of the panel - if possible, removing a small part of that panel will be much more convenient than removing the entire dashboard.
- This may require screwdrivers, mounting tools - "panel pullers", or other specialized tools.
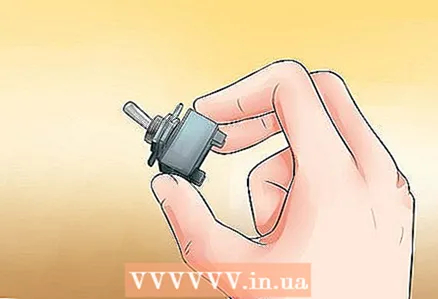
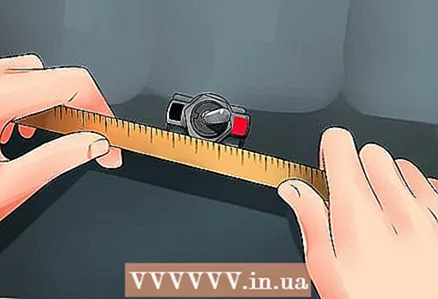 3 Measure the diameter of the toggle switch protruding bushing. To install a switch, it is usually necessary to create a suitable cutout in the panel or housing of the device. A round hole will work for standard toggle switches, but depending on the type of switch there may be other shapes. Measure the dimensions of the bushing of your toggle switch (the part where the lever is installed). Now you know what size to make the hole.
 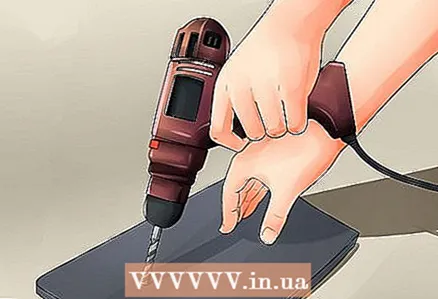 4 Drill or cut a hole in the panel. Next, make a hole in the panel of your device to place the switch there. For most toggle switches with round bushing, this can be done with a nozzle that is slightly larger than the diameter of the bushing. Other hole shapes may require the use of a jigsaw, emery and / or other tools.
 - Use an HSS (Fast Cutting Steel) twist drill to drill through wood, plastic, or mild steel. The nib can also be used to drill wood.
 5 Install the switch starting from the bottom of the panel. Finally, place your toggle switch in the hole you just made so that it goes through the bottom. Fasten the toggle switch at the attachment point. This usually means screwing over the hole where the switch is inserted and tightening with a nut.
 - For example, with most toggle switches, you may need to thread the locknut on the bushing of the switch and tighten the nut with an adjustable wrench.
Part 2 of 3: Connecting the switch to the device
 1 Always give priority to the instructions supplied with the toggle switch or device. The devices on which you might want to install the switch can vary greatly in the types of electrical configurations. Therefore, none of the instructions will be able to fit your specific case. The actions in this section are intended to ensure the quality of execution of the general principles of operation of toggle switches. They can never replace any specific instructions included with the device or switch you are installing.
 - If in doubt, consult a qualified electrician to save time and avoid unwanted damage.
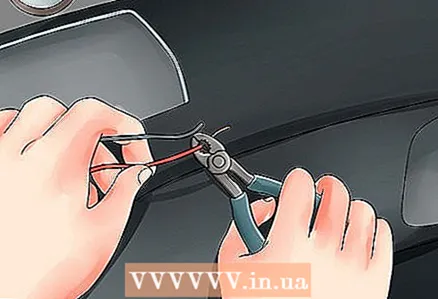 2 Cut off the power cable in the device. Your toggle switch will need to be powered in order for it to function properly. Use a wire cutter to cut the device's power cord at the desired location so that both ends of the wire can be routed to the switch. Strip approximately half an inch (1.3 cm) of insulation from each end of the wire using a wire stripper.
  3 If one end of the wire does not reach the switch, add a cut. A stub is a short piece of wire (usually about 6 inches (15 cm)) stripped from both sides. It can be connected to wires that are slightly out of reach. Thus, adding a segment will serve as a kind of "extension", do it as follows:
 - Determine the type of existing wire and obtain a black wire of the same type.
- Cut a piece of black wire just enough to reach the wire and the switch.
- Strip half-inch (1.3 cm) of insulation from each end of the cut.
- Connect one end of the cut to the power wire by twisting the ends of the wires together in a clockwise direction.Thread a wire gasket of the appropriate size clockwise over the wire strand to stiffen it.
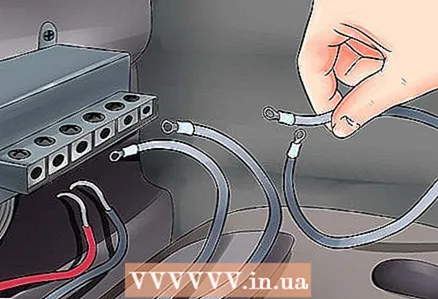
 4 Connect the power wire to the toggle switch. At this point, you have created a power break for the device. You need to add a switch to the center of the break so that it can regulate the flow of electricity. How to do this depends on the type of switch you have. See below:
 - If your toggle switch has wire leads, twist each end to one of the power wires (or extra lengths) and thread a seal over your twist to stiffen the connection.
- If your toggle switch has threaded terminals, loosen the screws, loop the power wires, and connect each loop to the terminals. Loops should be wound around each terminal screw in a clockwise direction. Then tighten the terminal screws.
- If the toggle switch has soldered connections, bend the wire ends around the switch terminals. Nippers can come in handy. Heat each lead with a soldering iron, keeping the end of the solder wire in the lead contact (but not in direct contact with the soldering iron tip). When the solder begins to melt, remove the tip of the soldering iron to allow the solder to flow into the joint.
 5 Check your switch. When your toggle switch is connected correctly, you need to reconnect the power to the device and test the operation of the switch. If it works correctly, you can replace the panel or the case of the device. Congratulations! You have successfully set the toggle switch.
Part 3 of 3: Buying the Right Switch for Your Device
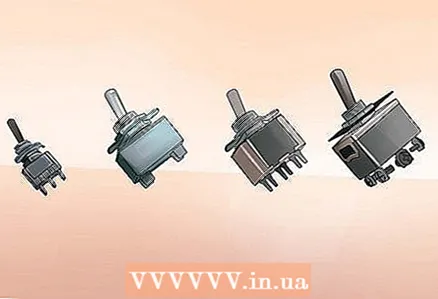 1 Select a toggle switch with the appropriate number of "poles" and "positions" required for your purpose. In electrical terminology, a toggle switch can have one or more "poles" and "positions". Pole is the number of circuits controlled by the switch - usually the external number of “legs” on the toggle switch. Positions are a series of positions that are found on a switch. Typically, you need an SPST (Single Pole) switch for normal on / off switching.
 - However, if your device needs more features than the standard on / off switch, you may need a more suitable toggle switch. For example, if you are installing a toggle switch for a vehicle's hydraulic system, you will likely need a multi-pole switch to control the hydraulics from different sides of the vehicle and / or multiple positions to set the hydraulics to different modes of operation rather than just “on” or “off”. ".
- Note that there are differences between British and American terminology when it comes to the colloquial name of conventional switches. In the United States, the SPST switch is also called a "two way" switch, while in the UK it is called a "one way" switch. In addition, in the US and UK switch, SPDT (Single Pole, Two Way) is referred to as a "three way" and "two way" switch, respectively.
 2 Select a switch whose rated current is higher than the maximum (in amperes) in the breaker itself. Different electrical devices require different currents to power them. When looking for a switch, make sure that the current carrying capacity of the switch is equal to or greater than what you plan to regulate with it.
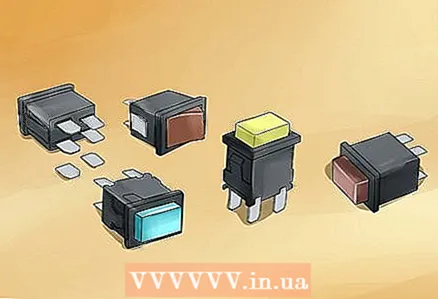
 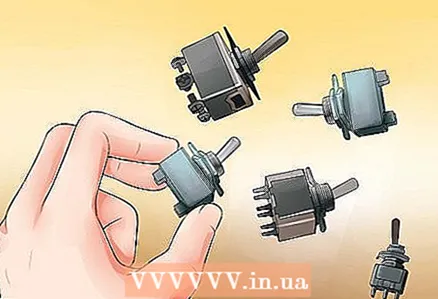 3 Select the breaker with the correct type of electrical connection for your project. Your toggle switch is useless if it can't connect to the device it needs to work with. Make sure to select a switch that is compatible with the electrical connections inside your appliance. If you don't, you may find yourself doing unnecessary work related to soldering iron and electrical tape, etc., which can be difficult for a beginner. The most common types of switches include:
 - Threaded connectors.
- Solder lugs, feet or connectors.
- Wired conclusions.
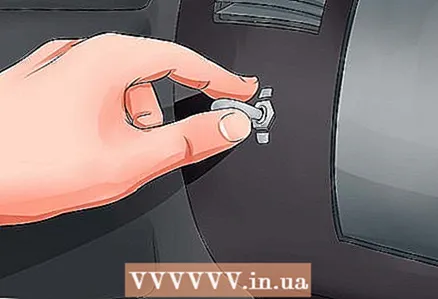
 4 Choose a suitable installation. If the appliance comes with dedicated toggle switch locations, you can avoid modifying your appliance. However, devices in which toggle switches are usually installed usually do not provide for this. So you have to drill a hole for the toggle switch and install a mount to place the switch inside.
 - You will probably need a panel mount that interacts with the type of switch, the so-called. panel switch. Panel mounting has a threaded element that protrudes through a hole in the panel and is fastened to it with a nut.
What do you need
- Toggle switch
- Screwdriver
- Drill
- Drill
- Adjustable wrench
- Nippers
- Wire stripper
- Plastic twists for wires
- Needle-nose pliers
- Soldering iron
- Solder


