Author:
Virginia Floyd
Date Of Creation:
6 August 2021
Update Date:
22 June 2024

Content
- Steps
- Part 1 of 3: Design
- Part 2 of 3: Assembling the Chassis and Steering Column
- Part 3 of 3: Installing the engine and steering column
- Tips
- Warnings
Nothing quenches your need for speed like go-kart acceleration. You can assemble it yourself from a set of spare parts or from a sketch - it will be an exciting and fun garage project for amateur mechanics of any age. Depending on what tools are available, you can learn how to design a cool kart on your own, weld the chassis correctly and achieve a powerful move. See step 1 for more information.
Steps
Part 1 of 3: Design
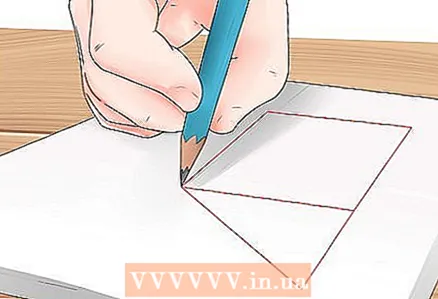 1 Draw a detailed diagram of the future karting. It can be of various sizes, shapes, models. Almost any element can be added to the designs of these homemade machines. It is based on the chassis, simple engine and steering / braking system.
 - Get creative with your project planning and draw a detailed diagram to make sure you have enough materials to complete the work.Look at other kart models for inspiration, chat with mechanics who already have go-kart experience.
- In addition, you can find schematics of many different models on the Internet if you would rather trust someone else to design. Use the template and modify it to your liking.
 2 Carefully work out the dimensions of the kart. They are determined by the age and height of the driver. For teenagers, sizes 0.76 meters wide and 1.3 meters long are suitable, for adults - 1 meter wide and 1.8 meters long.
 - It is very important to design the karting as accurately as possible using specific measurements, otherwise it will be difficult to choose the right materials and their quantity.
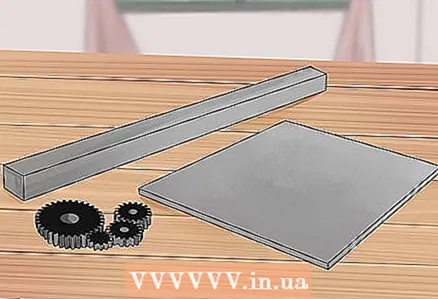 3 Collect materials. If you are on a budget, look for inexpensive parts in a landfill. Alternatively, you can use usable parts from an old lawn mower or broken go-karts from a flea market. In workshops where lawn mowers are repaired, you may be given unnecessary parts or broken trimmers, as well as a used 10-15 horsepower four-stroke engine with a horizontal shaft and a clutch drive. Here's what you need:
 - For chassis:
- 9.2 meters 2.5 cm square pipe
- 1.8 meters 2cm round steel pipe
- 1.8 meters of 1.5 cm pipe
- Steel plate 0.5 cm thick, slightly wider and longer than the engine
- Plywood or metal (for seat and bottom)
- Seat
- For the engine:
- Engine (you can take the engine of an old gasoline trimmer)
- Chain suitable for sprocket hub
- Bolts, washers
- Fuel tank
- For transmission:
- Wheels
- Steering wheel
- Gearbox and handbrake
- Drive shaft
- Bearings
- Steering shaft
- Brake pedal
- Throttle / gas pedal
- For chassis:
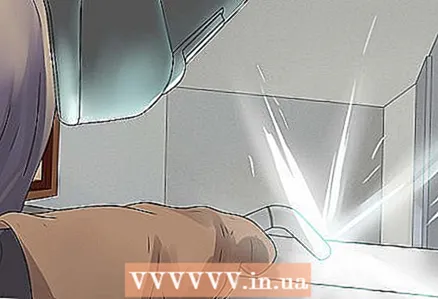
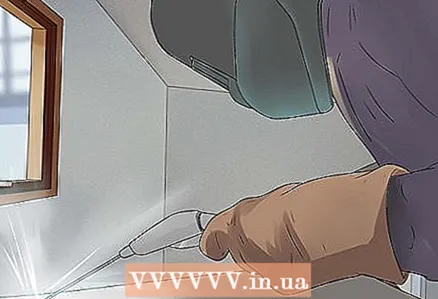
 4 Get a welder. If you don't know how to cook, you will need to hire a welder. The most important part of karting is a strong chassis that will hold you in place as you ride. They also house the engine. If you intend to make a chassis from several pieces, the welding should be done at a sufficiently high temperature and penetration rate, with neat welds. Otherwise, the elements may not weld well, and bubbles, cracks and / or they will only appear strong at the welded places, which will turn your kart into a death machine.
 - If you've never welded before, don't start by assembling a go-kart. Start with small items to practice.
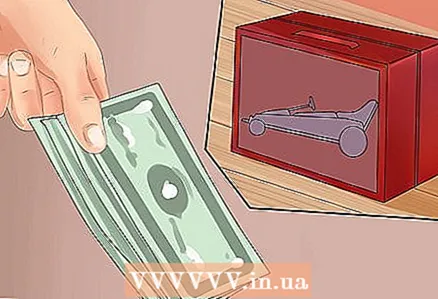 5 Consider purchasing a map kit. If you are not interested in inventing and welding karting parts on your own, buy a constructor with detailed instructions and diagrams that you can easily assemble without welding using simple tools.
 - The pleasure of assembling a go-kart with your own hands without the hassle of designing a model and finding materials will cost you about $ 550.
Part 2 of 3: Assembling the Chassis and Steering Column
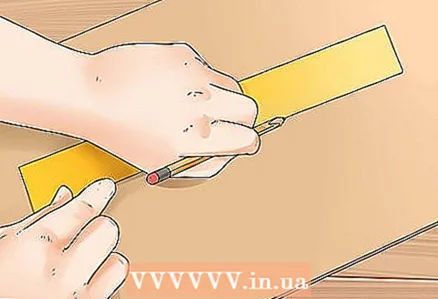
 1 Cut the metal pipe to the required lengths according to your drawings.
- On most models, the front camber is narrower than the rear, allowing the wheels to turn, allowing the chassis to spin slightly. To accomplish this, reinforce the pivot pin at the front corners where the wheels will be to allow easy rolling.
- To make it easier to navigate the dimensions, you can draw chalk marks on the floor where you are working, and not take measurements again each time. You can even sketch the entire model on the floor and lay the details on top of it.
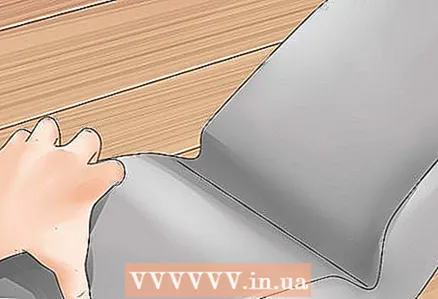
 2 Weld the frame members according to the diagram. Press down the parts with a concrete slab while welding, make sure the welds hold well and the chassis is secure. They must be strong enough to support your weight and the weight of the engine, so welding cannot be done haphazardly. For added strength, insert wedges at all corners. Use concrete blocks to secure the frame in a raised position during operation.
 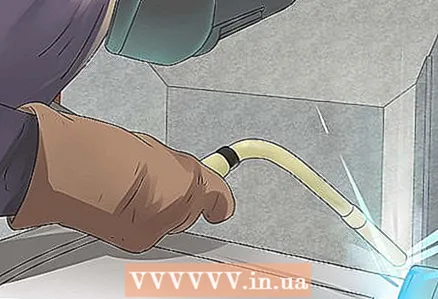 3 Assemble the front axle plugs. Make the axle from a strong metal rod with a diameter of 2 cm and two bushings attached to the frame. Fasten the structure with washers and cotter pins, screwing them into the axle.
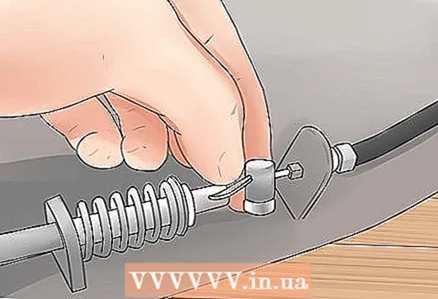
 - Install the front end caps for easy pivoting before using the steering column and attach the pivot pin to the bipod. In the calculations, assume that the front wheel alignment angle must be at least 110 degrees.
 4 Install the rear axle of the wheelset. Most likely, you will need to attach the axle holder with a support bracket to the rear axle, that is, the axle will be welded to the frame, but will be able to rotate freely. Weld the steel plate to the chassis, securing the pressure plate on the outside with high strength bolts and cap nuts to press down on the bearing.
 - Instead of doing it yourself, you can purchase ready-made designs, which are called "support and bearing assemblies".
 5 Use plywood or metal to make the seat and bottom of the go-kart. To save money, you can use a worn-out kart seat or find a suitable car seat at a junkyard, or make one out of a simple seat with a cushion to support. Leave room for steering wheel and controls.
Part 3 of 3: Installing the engine and steering column
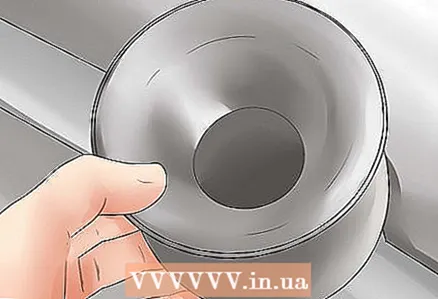
 1 Install the engine mounts. Weld a steel plate to the back of the frame to strengthen the engine. Place the motor on the plate and mark the holes where the bolts will be inserted so that the motor pulley aligns with the idler pulley on the axle.
 - Attach the pulley to the axle before inserting the axle into the bushings. You can also use a set screw to secure the pulley or weld directly to the axle, but it must be in line with the motor pulley.
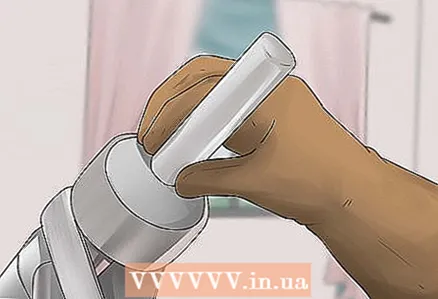
 2 Assemble the steering gear. Use a 1.5cm steel rod for the drive and 2cm for the axles. To bend a 1.5 cm rod to a right angle, you may need to use a soldering iron to heat the steel.
 - Adjustable joints are needed to align the handlebars because it is very important to correctly adjust camber and toe: the vertical of the front wheel and the tilt of the handlebars.
 3 Install wheels and brakes. Use small racing wheels for optimal acceleration and control. Attach them to the axles and start installing the brakes to keep the karts safe.
 - To install the brakes, attach the disc to the rear axle and the caliper assembly to the chassis for the most professional system you can make. Sometimes this mechanism, in relatively good condition, can be found in broken motorcycles. They fit in and will be easy to work with.
- Install the foot brake pedal no matter what type of accelerator you have. Leave driving and a minimum of other activities to your hands.
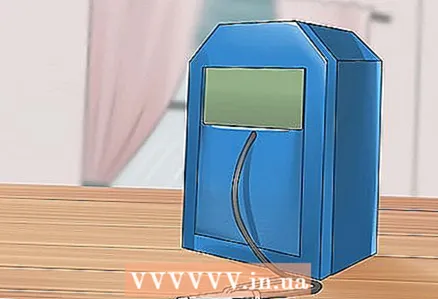
 4 Connect the ignition cable to the hand throttle. Depending on your experience and the type of engine, you can attach a foot pedal, or you can make the task easier and add gas just like on a lawnmower.
  5 Double check the brakes and suspension before a test drive. Even if you are driving at a relatively low speed, it is important to make sure that the axle does not slip on the first run. Take a good look at the welds, brakes, engine mountings. And then on the gases!
Tips
- Try to add extra details at the end to make all the complex, more important mechanical work in the first place.
- Find a karting instruction, it will help. There are also driving and tuning tips.
- This kart assumes the use of a centrifugal clutch, but modifications may include a tension belt drive system or a hand or foot operated throttle / clutch pedal.
- There is no accelerator in the mechanism, which can also be added using a simple cable from a lawn mower or a more sophisticated gas foot pedal.
- This manual assumes that the mechanic will use unnecessary parts from broken lawn mowers and other sources.It will probably be cheaper to buy a ready-made go-kart than to assemble it from new purchased parts.
- The price of the simplest card reaches $ 60-70, if not more. A good set of models can be purchased for about $ 40, some are even cheaper. The price of the blueprints is a little less than $ 80. It might be worth considering this, unless you are a pro.
- It is often advisable to acquire a set of blueprints for well-designed and well-thought-out models that incorporate tried and tested motoring principles: Ackermann angles, castor angles, kingpin tilt, and so on. You are more likely to finish building and enjoy your go-kart if you create it from a good blueprint.
Warnings
- Check the kart before driving onto the track as parts may come loose or break.
- Since the model is simple, without high-tech engineering and design solutions, it is not recommended to use a high gear ratio or a large motor. Speed above 15-25 km / h can cause malfunctioning of insufficiently well-designed components.
- Wear protection while driving - helmets, linings and so on.
- This is not a real car, and under no circumstances should it be used on the road!


