Author:
Sara Rhodes
Date Of Creation:
17 February 2021
Update Date:
1 July 2024

Content
You may have come across a situation where you had to manually select an audio track in the VLC media player (if a movie or video has multiple audio tracks). For example, a Japanese anime is constantly being played in Japanese, although you want to watch it in Russian. Therefore, you need to set your preferred audio language.
Steps
Method 1 of 2: Simple Settings
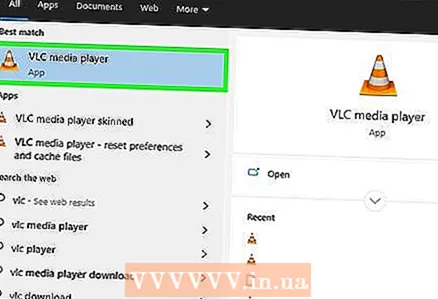 1 Launch VLC media player. You do not need to open the video file, since you will only change the program settings.
 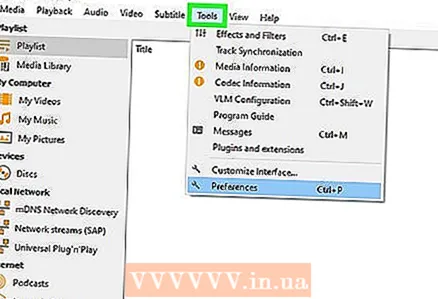 2 Open the Tools menu. It's at the top of the window.
 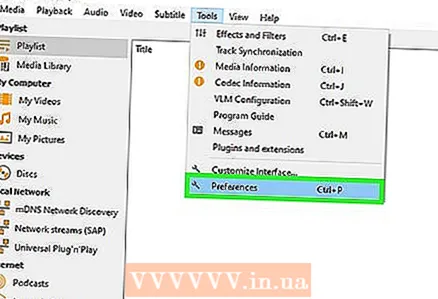 3 Select "Settings" from the menu. The settings window will open.
 - Alternatively, press CTRL + P to open the preferences window.
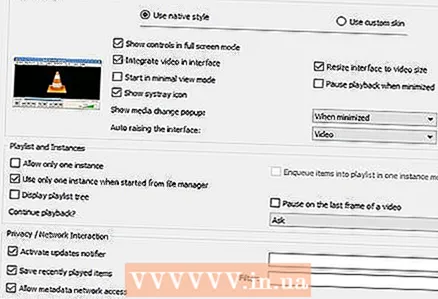 4 Switch to easy setting mode. In the lower left corner of the window, in the "Show settings" section, check the "Simple" option.
 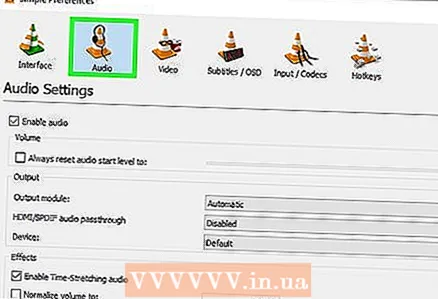 5 Click on the "Audio" tab. You will find it on the left or top of the window. This tab is marked with an orange headphone cone icon.
 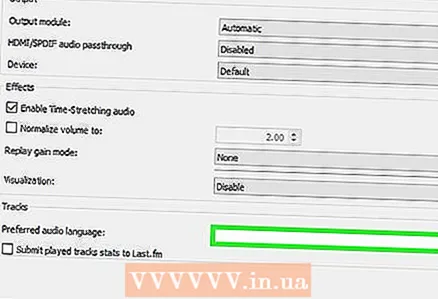 6 Enter your preferred audio language. At the bottom of the sound settings, find the Tracks section. In the "Preferred audio language" line, enter the language code. A list of codes can be found at http://www.loc.gov/standards/iso639-2/php/code_list.php. Try entering the ISO 639-2 format code first; if it doesn't work please enter ISO 639-1 format code.
 - Russian: rus
- English: eng
- Spanish: spa
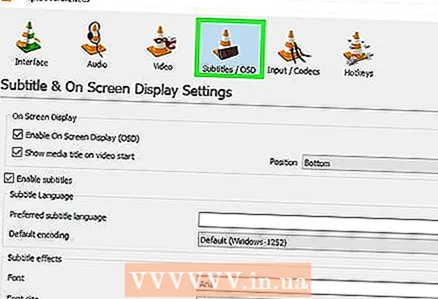 7 Set up subtitles. You can set your preferred subtitle language in the VLC settings window. You can also set the font, font size, and other subtitle options.
 - Go to the "Subtitles" tab; you will find it at the left or top of the window.
- Enter the language code in the "Preferred subtitle language" line. A list of codes can be found at http://www.loc.gov/standards/iso639-2/php/code_list.php
 8 Click "Save". This button is in the lower right corner of the screen. The changes will be saved.
  9 Restart VLC. Do this for the changes to take effect.
Method 2 of 2: Advanced Settings
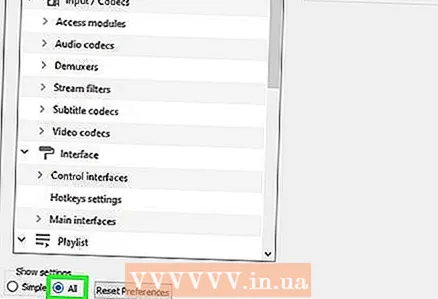 1 Switch to advanced settings mode. In the lower left corner of the preferences window, select "All". If the method described in the previous section was unsuccessful, the audio tracks may not be properly labeled. In this case, the preferred audio track must be found by trial and error.
 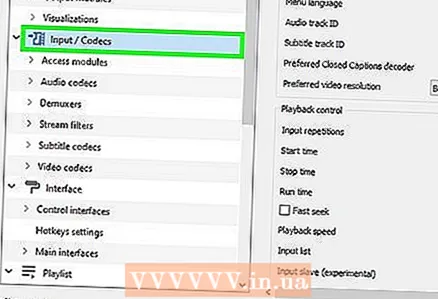 2 Click on the Input / Codecs section. It's in the left pane of the Advanced Settings window. A number of options will open in the right pane.
 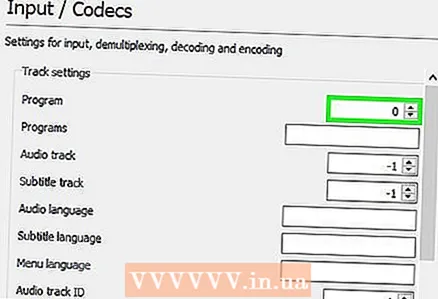 3 Change the audio track number. If the video file contains multiple audio tracks, find the correct one using the iteration method. If the video file only contains 2 audio tracks, the correct track is 0 or 1.0 is the preferred track (if you reset the settings), 1 is the additional track.
 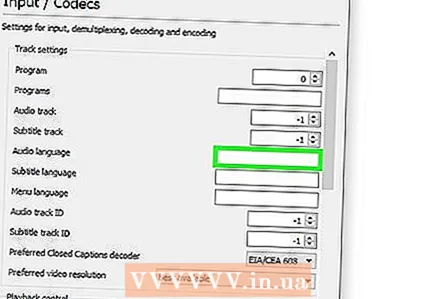 4 Try entering the language code. This step will most likely not produce the desired results if the method from the previous section did not work, but it is still worth trying. Enter the language code in the Audio Language line. The language code can be found at http://www.loc.gov/standards/iso639-2/php/code_list.php.
  5 Change the subtitle track number. If you are having problems with your preferred subtitle track, try entering the numbers of different subtitle tracks.
 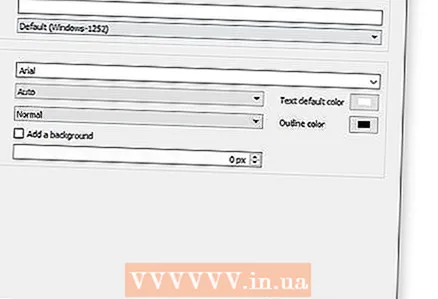 6 Click "Save". This button is in the lower right corner of the screen. The changes will be saved.
  7 Restart VLC. Do this for the changes to take effect.
Tips
- Be patient - this is a tedious process, but it should be done once to avoid tweaking the audio and subtitle tracks each time.
Warnings
- Be careful when downloading videos from torrent trackers.


