Author:
Joan Hall
Date Of Creation:
26 July 2021
Update Date:
23 June 2024

Content
Is your computer slower? Does it fail with the latest software? Installing additional random access memory (RAM - random access memory) is the easiest and cheapest way to improve your computer's performance. This can be done both on a computer and on a laptop.
Steps
Method 1 of 2: Computer
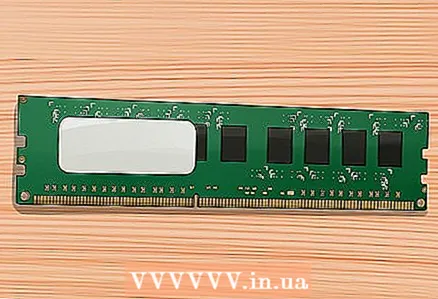 1 Determine the type of RAM you need. The type of RAM depends on the motherboard of the computer. Check your motherboard, consult your computer documentation, or go to your motherboard manufacturer's website to find out the type of RAM compatible with your motherboard.
 - RAM types: DDR, DDR2, DDR3 and DDR4. Most new computers have DDR3 or DDR4 RAM.
- RAM is identified by its bandwidth and speed. Make sure both options match your motherboard's specifications.
- For example, PC3 ID 12800 refers to maximum bandwidth and means that it is 12.8 GB.
- The DDR3 1600 identifier refers to the frequency and means that it is equal to 1600 MHz.
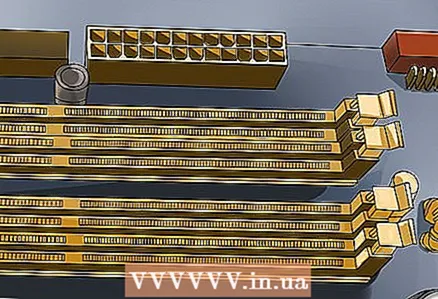 2 Determine the number of slots for installing RAM. There can be 2, 4, 6 or more of them.
 - Most motherboards have a limit on the maximum amount of memory they can support (regardless of the number of slots).
- If you are using an iMac, skip to the next section of this article, as these computers have laptop memory installed.
 3 RAM is produced by many companies. Their products differ in quality and price.The most famous manufacturers are:
 - Corsair
- Kingston
- Crucial
- G. Skill
- OCZ
- Patriot
- Mushkin
- A-Data
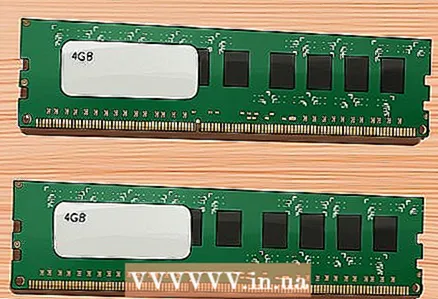 4 Buy RAM SDRAM. If you buy RAM memory, buy paired modules (two or four).
 - For example, to get 8GB of RAM, buy two 4GB modules or four 2GB modules.
- All memory modules must be of the same speed and bandwidth. Otherwise, the system will tune for speed and bandwidth at their minimum values (which will reduce the performance of the computer).
- Double check that your motherboard supports the RAM you selected.
 5 Turn off your computer and disconnect all peripheral devices (monitor, keyboard, and mouse) from the computer.
 6 Open the computer case and lay it on its side to gain access to the motherboard.
 7 Eliminate static electricity that can damage your computer components. Or use an anti-static wrist strap.
 - You can dispose of static electricity by touching the metal chassis of your computer (while the computer is not running but plugged into an electrical outlet).
- Do not stand on carpet while handling computer components.
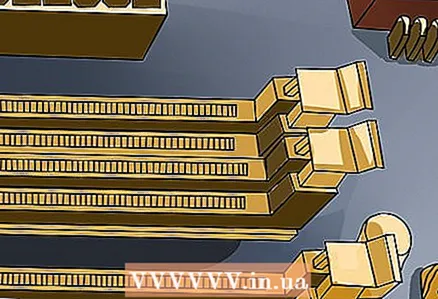 8 Most motherboards have 2 or 4 RAM sockets. They are usually located next to the processor (the location may vary depending on the manufacturer or model of the motherboard). If you can't find the connectors, see your motherboard documentation. ...
  9 To remove the old RAM module (if you are removing it), open the clips on both sides of the connector and slide the module out.
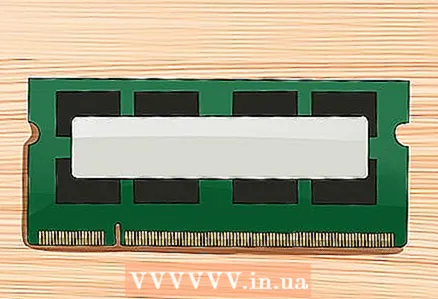
 10 Remove the new module carefully from the package. Hold it so as not to touch the bottom contacts or side ICs ..
 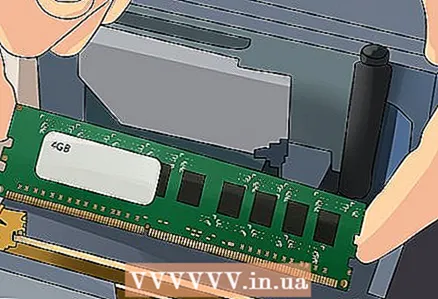 11 Insert the module into the connector so that the notch on the module aligns with the tab in the connector. Then push (lightly) on the module until it slides into the connector and the connector clamps close and secure the module.
 - Make sure the paired modules are inserted into the correct slots (marked on the motherboard or differ in color; refer to your motherboard documentation for details).
- Repeat this process for each RAM module.
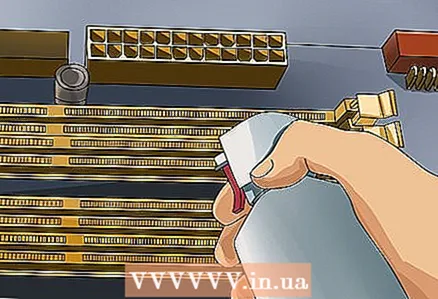 12 Clean the inside of the computer case and components from dust using a can of compressed air. Thus, you will improve air circulation in the computer case and increase its performance.
  13 Close the computer case. Do not turn on the computer with the case open; this will only impair the cooling of the computer components. Connect peripherals and a monitor to your computer.
  14 Turn on your computer. If the computer tests that the components are working properly at startup, make sure the RAM is installed correctly. If not, you can check it in Windows.
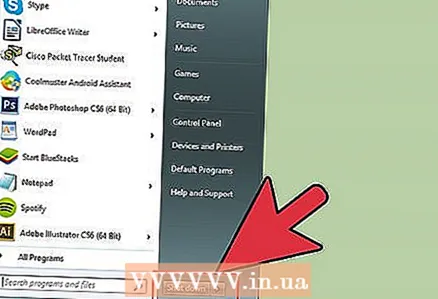
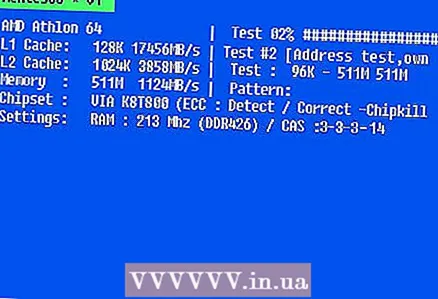
 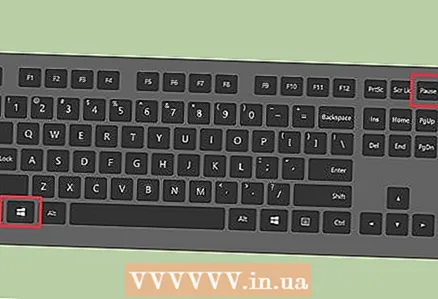 15 To test your RAM in Windows, press Windows + Pause / Break to open the System window (or click Start, right-click Computer and select Properties). In this window, see information about the installed RAM.
 - Operating systems display the size of installed RAM in different ways. Some computers reserve a certain amount of memory for their specific needs. For example, if you installed 1 GB of RAM, then the system can only display 0.99 GB.
 16 Start Memtest. If you are still not sure if the memory is installed correctly or that it is functioning properly, run the free Memtest utility to check the memory modules.
Method 2 of 2: Laptop
 1 Determine the type of RAM you need. The type of RAM depends on the laptop. Read the notebook documentation or visit the laptop manufacturer's website to find out the type of RAM supported.
  2 Eliminate static electricity that can damage your computer components. Or use an anti-static wrist strap. You can dispose of static electricity by touching the metal chassis of your computer (while the computer is not running but plugged into an electrical outlet). You can also touch any grounded electrical appliance or water pipe.
  3 Turn off the laptop and remove the battery. Then press the power button to flush out any residual charges in the capacitors.
  4 To gain access to the RAM connectors, you need to remove the panel on the bottom of the laptop (there are several panels located there, so refer to your laptop documentation).
- Most laptops have two RAM connectors, and some only have one (expensive laptops may have more connectors).
 5 Determine if you need to install a couple of modules. This is not required on most laptops, but check your laptop documentation to be sure.
 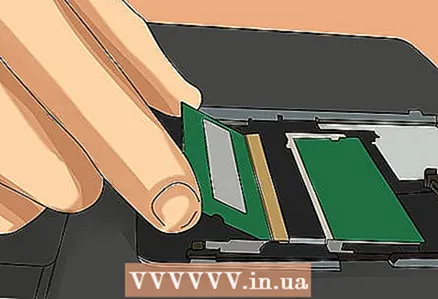 6 To remove the old RAM module, open the clips on both sides of the connector by simply pushing down on them. The released module will lift at a 45 ° angle and you can remove it.
 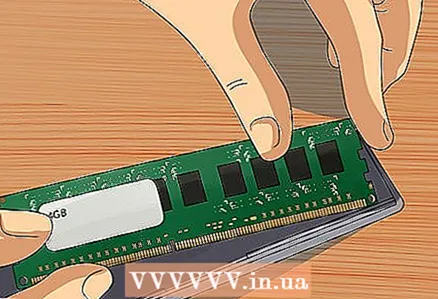 7 Remove the new module carefully from the package. Hold it so as not to touch the bottom contacts or side chips.
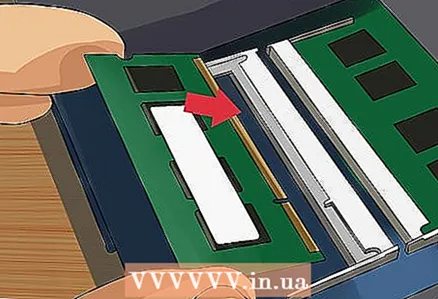
 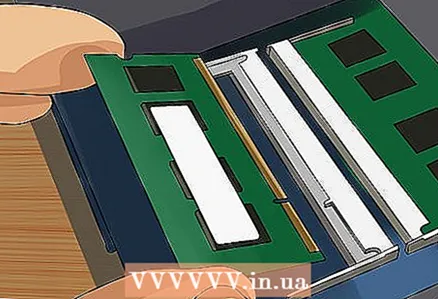 8 Insert the module into the connector so that the notch on the module aligns with the tab in the connector. Insert the module into the slot at a 45 ° angle.
 - If you have more than one free slot, first install the module in the slot with the lower serial number.
 9 With the module inserted at a 45 ° angle, press down (from top to bottom) to automatically close the connector latches.
 10 Turn the laptop over and turn it on. You may need to enter the BIOS to confirm that the memory is installed correctly. Most likely, it will be detected automatically as soon as the operating system boots.
 - If you are still not sure if the memory is installed correctly, or that it is functioning properly, run the free Memtest utility to check the memory modules.
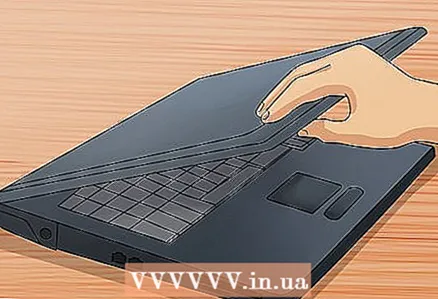 11 After confirming that the new RAM modules are installed correctly, close the RAM panel on the bottom of the laptop.
Tips
- If you hear a beep (but not a single beep) when you turn on your computer, refer to your motherboard documentation to find out what it means. Beeps alert the user to defective or incompatible hardware.
- Don't worry if the system displays a smaller memory size than what you have installed. The slight difference is due to the reservation of memory for the needs of the system. The big difference is due to improper installation or malfunction of the RAM modules.
- When installing RAM, refer to the website https://www.crucial.com.ru/, as it shows the type and amount of RAM your computer needs. You can also buy new RAM on this site.
- If you hear a beep when turning on the computer, then you either installed the wrong type of RAM, or installed it incorrectly. Check your motherboard documentation, manufacturer, or the store you purchased it from to find out what this signal means.
- Recommended amount of RAM in different systems:
- Windows Vista / 7/8. 1 GB for 32-bit and 2 GB for 64-bit (2 GB for 32-bit and 4 GB for 64-bit recommended).
- Windows XP. Minimum requirements: 64 MB. Recommended requirements: 128 MB.
- Mac OS X 10.6. 2GB.
- Ubuntu. Recommended requirements: 512 MB.
Warnings
- Dispose of static charges before touching the memory module (RAM chips are very sensitive to electrostatic discharge). To do this, simply touch something metallic.
- Do not touch the metal parts of the RAM module as this may damage it.
- If you don't want to open your computer, take it to a professional. Since you bought RAM yourself, it shouldn't be too expensive to install it.
- Do not install the RAM backwards, as when you turn on the computer, both the connector and the RAM modules will immediately burn out and become unusable. In rare cases, the entire motherboard can be damaged.


