Author:
Janice Evans
Date Of Creation:
24 July 2021
Update Date:
1 July 2024
Content
- Steps
- Part 1 of 3: Setting up an answering machine
- Call forwarding to voicemail
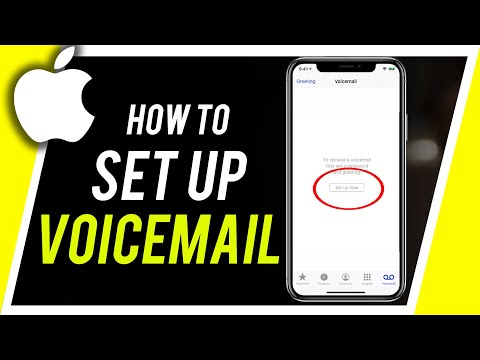
- The iPhone displays the Set Up Now icon.
- Part 2 of 3: Using an answering machine
- Part 3 of 3: Troubleshooting
- Tips
Have a new iPhone? Do you want to install an autoresponder? This is a convenient service, thanks to which you will always stay in touch and do not miss important calls and messages. Before you can start using this feature, you need to set up a mailbox on your phone. In addition, you will need to set up Visual Voicemail, which allows you to see your voicemail messages in a list and play them back on your phone.
Steps
Part 1 of 3: Setting up an answering machine
 1 Click on "Phone".
 2 Click on the “Voicemail” icon in the lower right corner of the screen. You will be presented with two options. Select the one that you need at the moment:
 - Call forwarding to voicemail.
- The iPhone displays the Set Up Now icon.
Call forwarding to voicemail
 1 Enter your voicemail password. If you already have a voicemail box, you will need to enter your voicemail password. If you can't remember it, read below.
  2 Follow the instructions to set up your voice mailbox. This is usually required if you have just recently activated a new plan.
  3 Pressing the End key can end the call after setting up the voicemail.
 4 Enter your voicemail password when prompted to do so. Now, when you select the voicemail application on your phone again, you will see the Set Up Now icon.
The iPhone displays the Set Up Now icon.
 1 Click the Configure Now icon to start configuring the Visual Voicemail application. Visual Voicemail is a free service. It allows you to view all messages left on your answering machine, listen to them in any order.
 - If for some reason you are unable to set up visual voicemail, read below.
 2 Enter password. This will be the password you use to log into your answering machine. You need to enter it twice.
  3 Choose a greeting. You can choose it as the default, enter it yourself, or record an audio message.
 - To record your own message, click on the "Record" button, say your greeting and click on the "Stop" button. You can listen to it and then click “Save”.
- To change your greeting, open the Autoresponder app and then tap Greeting. You can choose the default voice greeting or record a new one.
Part 2 of 3: Using an answering machine
 1 Access to answering machine. Once you have set up your autoresponder, you can open it by pressing the Autoresponder button in the phone app. You will be able to view all messages and select the ones you want to listen to.
  2 Click on a message to listen to it. Click "Delete" if you want to delete the message.
  3 After listening to the message, delete it if necessary. If you want to delete multiple messages, click Edit, select the messages, and then click Delete.
 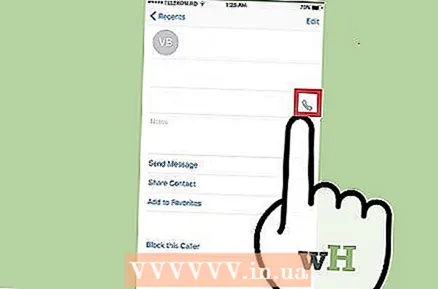 4 Click "Call Back" to call back the subscriber who left the message.
- You can see how many new messages you have by clicking on the little red number next to the Answering Machine icon.
Part 3 of 3: Troubleshooting
 1 Call your carrier if you cannot access your voice mailbox. There can be some complications when setting up your voicemail. Contact your carrier if you are having difficulty setting up your answering machine, changing your password, or setting up the Visual Voicemail app.
 - AT&T - (800) 331-0500 or 611 from your iPhone.
- Verizon - (800) 922-0204 or * 611 from your iPhone.
- Sprint - (844) 665-6327
- T-Mobile - (877) 746-0909 or 611 from your iPhone.
- Boost Mobile - (866) 402-7366
- Cricket - (800) 274-2538 or 611 from your iPhone.
 2 Reset your Visual Voicemail password. If you need to change your password, you can do so by going to Settings.
 - Click on Settings → Telephone → Change voicemail password.
- Enter a new password.
- Click "Finish" to save your new password.
Tips
- Visual voicemail is not available for all mobile operators.If your mobile operator provides this service, it should be enabled in your tariff plan.


