Author:
Joan Hall
Date Of Creation:
4 July 2021
Update Date:
1 July 2024
Content
- Steps
- Method 1 of 4: Obtaining superuser rights from the terminal
- Method 2 of 4: Unlocking the Superuser Account (Ubuntu)
- Method 3 of 4: Logging in as superuser
- Method 4 of 4: Resetting the superuser password
- Warnings
The Linux superuser account grants full access to the system. Superuser (administrator) rights are required to execute commands in Linux, especially those that affect system files. Since the superuser account has unrestricted access to system files, it is recommended that you obtain superuser rights only when necessary, rather than logging in as an administrator. This will help prevent accidental damage to important system files.
Steps
Method 1 of 4: Obtaining superuser rights from the terminal
 1 Open a terminal. To do this, in many distributions, you need to press Ctrl+Alt+T.
 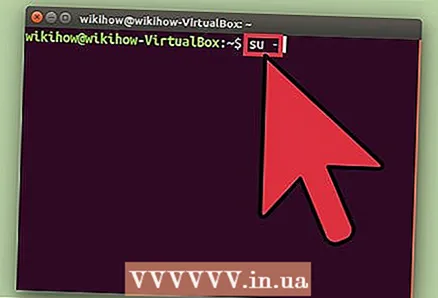 2 Enter.su - and press ↵ Enter... With this command, you can log in as superuser. Use the specified command to log in as any user, but if the command does not contain a username, you will be logged in as an administrator.
 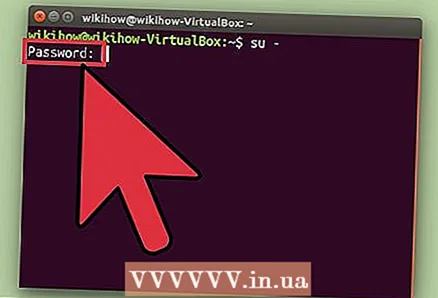 3 Enter the superuser password (when prompted). After entering the command su - and pressing ↵ Enter the system will ask you to enter the administrator password.
 - If you get an authentication error message, it is most likely that the superuser account has been locked out. To find out how to unblock your account, read the next section.
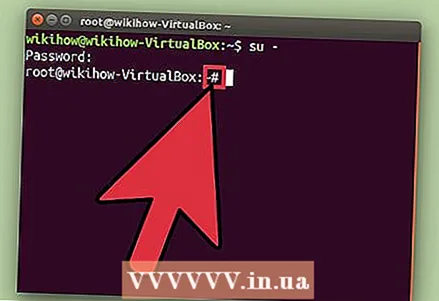 4 Notice the command prompt (in a terminal window). If you have obtained superuser rights, at the end of the command prompt, instead of the icon $ icon appears #.
 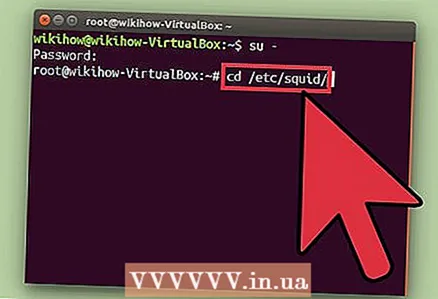 5 Enter the commands that require superuser rights to execute. After logging in with the command su - and obtaining superuser rights, you can run any commands that require administrative access. Team activity su - is saved until the end of the session, so the superuser password does not need to be entered every time you need to execute the next command.
 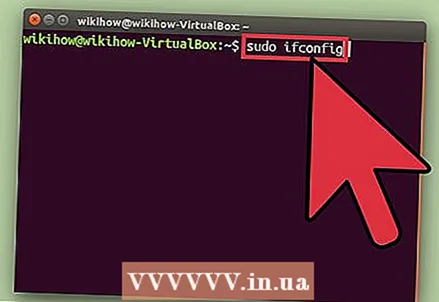 6 Instead of the command su - you can use the command.sudo... Team sudo allows you to run other commands when superuser rights are granted for a limited time. Most users are advised to use this particular command to run commands that require administrative access, because in this case the user is not logged on as superuser and it is not necessary to know the administrator password. Instead, the user enters his user password to gain superuser rights for a limited time.
 - Enter sudo team and press ↵ Enter (For example, sudo ifconfig). Enter your user password, not your superuser password.
- The team sudo it is recommended to use it in some Linux distributions, for example Ubuntu, because it works even when the superuser account is locked.
- This command is available to users with administrator rights. You can add or remove a user in / etc / sudoers.
Method 2 of 4: Unlocking the Superuser Account (Ubuntu)
 1 Unlock the superuser account (Ubuntu). In Ubuntu (and several other distributions), the superuser account is locked out, so a regular user cannot access that account. This is because to use the command sudo (see previous section) superuser access is not required. By unlocking the superuser account, you can log on as an administrator.
 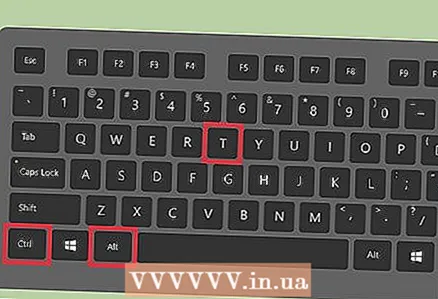 2 Open a terminal. If you are running a distribution with a graphical user interface, click Ctrl+Alt+Tto open a terminal.
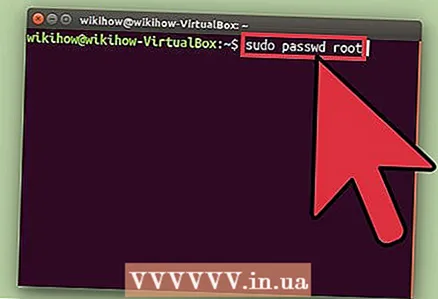
  3 Enter.sudo passwd root and press ↵ Enter... Enter your user password.
 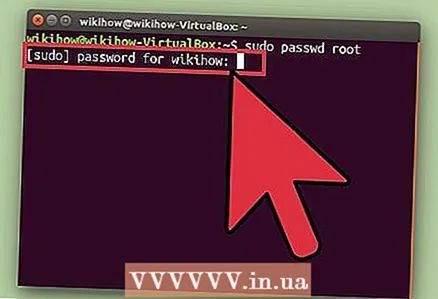 4 Create a new password. The system will offer to create a new password; enter it twice. After creating a password, the superuser account will be unlocked.
 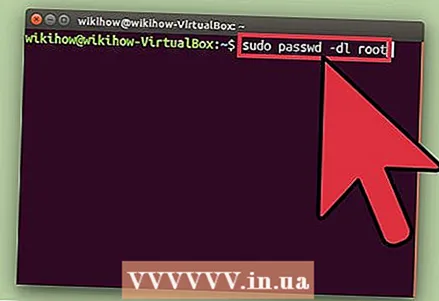 5 Block the superuser account again. If you need to block the superuser account, enter the following command to remove the password and block the account:
 - sudo passwd -dl root
Method 3 of 4: Logging in as superuser
 1 Use other methods to gain temporary administrative access. It is not recommended to log in regularly as superuser because you can accidentally execute commands that will crash the system. Log on as an administrator for troubleshooting purposes only, such as fixing failed drives or recovering locked accounts.
 - Instead of logging in as administrator, use the commands sudo or suto prevent accidental damage to important system files. These commands allow you to think about the consequences before irreparable damage is done to the system.
- In some distributions, for example, in Ubuntu, the administrative account is locked by default (you need to unlock it manually). This approach protects the system not only from accidental or rash user actions, but also from potential hacker attacks, which are primarily aimed at the superuser account. If the administrative account is locked, an attacker will not be able to access it. Read the previous section to find out how to unlock the superuser account in Ubuntu.
 2 In the Linux login window, enter.root... If the superuser account is not locked out and you know the administrative password, you can log on as superuser. In the login window, for the username, enter root.
 - If superuser rights are required to execute the command, use the method described in the previous section.
 3 Enter the superuser password. After entering root (as username), enter the administrator password.
 - In some cases, the word password is used as a password.
- If you do not know or have forgotten the superuser password, read the next section to learn how to reset your password.
- In Ubuntu, the superuser account is locked by default and cannot be used until unlocked.
 4 Once logged in as a superuser, do not run complex programs. There is a possibility that such a program, run with superuser rights, will have a negative impact on the system. Therefore, to run programs, it is recommended to use the commands sudo or surather than logging in as superuser.
Method 4 of 4: Resetting the superuser password
 1 If you forgot your superuser password and your user password, reset them. To do this, boot the system into recovery mode. If you know your user password but need to change the superuser password, enter sudo passwd root, then enter the user password, and then create a new administrative password.
  2 Restart your computer and after the BIOS screen appears, hold down the left key.⇧ Shift... The GRUB menu will open.
 - Holding the key in time is quite difficult, so you may have to make several tries.
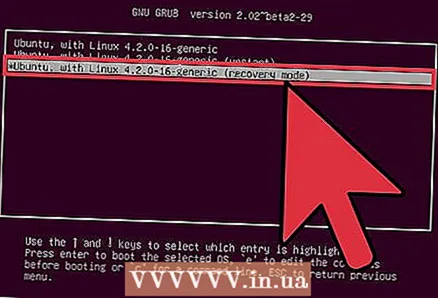 3 Select the first option from the list.(recovery mode) (Recovery mode).The installed distribution will be loaded in recovery mode.
 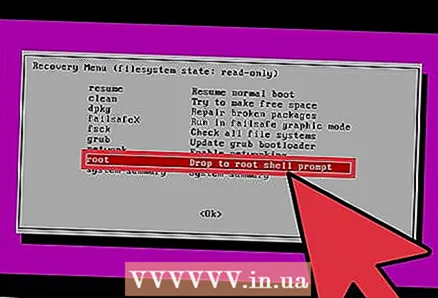 4 In the menu that opens, select an option.root... A terminal with superuser rights will open.
 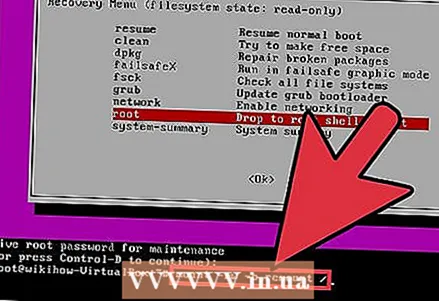 5 Mount the disk to activate write permission. In recovery mode, the drive usually only has read permission. Enter the following command to enable writing:
 - mount -rw -o remount /
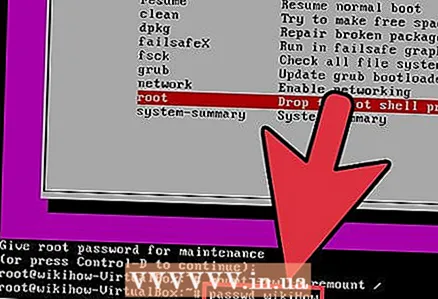 6 Create a new password for any account you don't have access to. After logging in as an administrator and changing access rights, you can create a new password for any account.
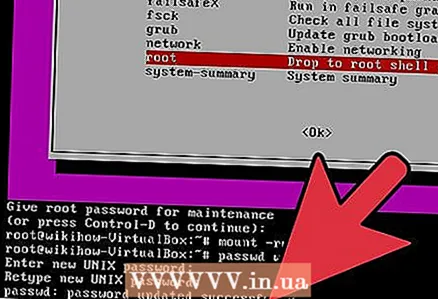
 - Enter passwd Account and press ↵ Enter... To change the superuser password, enter passwd root.
- Enter your new password twice when prompted.
 7 After resetting your passwords, restart your computer. The system will boot normally. The new passwords will take effect immediately.
Warnings
- Log into the superuser account only when necessary, and remember to log out of this account.
- Only give the superuser password to people you trust and need to know the password.


